
Installing your own kitchen cabinets is one of those projects that looks terrifying from the outside and turns out to be mostly… screwing boxes to walls. Don’t get me wrong — it’s real work, it demands patience and precision, and a wall cabinet hung badly is genuinely dangerous. But there’s no black magic involved. If you can find a stud, drive a screw straight, and read a level, you can install stock or RTA kitchen cabinets yourself and save $2,000–$5,000 in labor on a typical kitchen.
This guide walks through the whole job: honest difficulty assessment, every tool and material you’ll need, prep, the step-by-step install (uppers first, then lowers), leveling tricks the pros use, and clear guidance on when to put the drill down and call a professional.
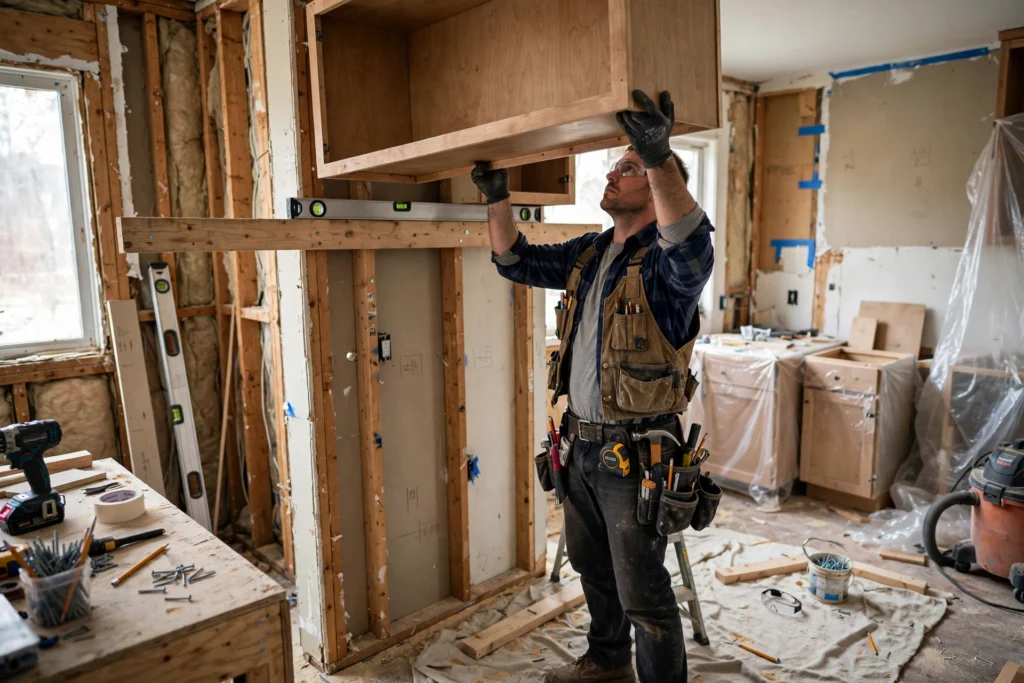
Should You DIY This? An Honest Assessment
DIY it if: you’re installing stock or RTA (ready-to-assemble) cabinets in a straightforward layout, your walls are reasonably plumb, you’re comfortable with a drill and a level, and you have a helper for the wall cabinets. Budget a full weekend for a small kitchen, 3–4 days for a large one.
Call a pro if: any of these are true — walls are badly out of plumb or square (old houses, we’re looking at you), you’re installing heavy custom cabinets, the layout needs scribing to uneven walls, you’re not confident finding studs and driving structural screws, or the thought of holding a 60-pound box overhead while someone else drives screws sounds like a bad time. There’s no shame in it; a pro crew does in a day what takes you a weekend, and wall cabinets that fall are not a lesson you want to learn firsthand.
The middle path: DIY the base cabinets (they sit on the floor — much more forgiving) and hire out just the wall cabinet installation. Plenty of installers will do uppers-only.
My honest take: base cabinets are a confident-beginner project. Wall cabinets are an intermediate project that becomes a beginner project if you use a ledger board and have a solid helper. The ledger board is the whole trick — more on that below.
Tools and Materials: The Complete List
Don’t start until you have everything. Mid-install hardware store runs kill momentum.
Tools:
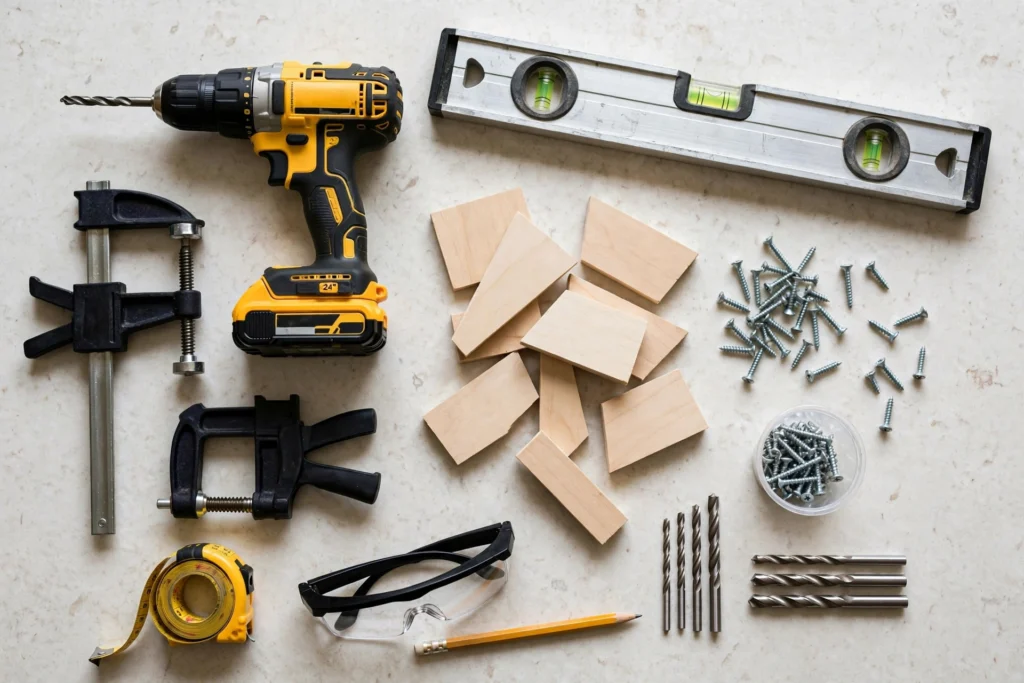
- Drill/driver + impact driver (the impact driver is worth its weight in gold for cabinet screws)
- 4-foot level and a torpedo level (or a laser level — the single best upgrade for this job, ~$40–$80)
- Stud finder (a good one — the cheap ones lie; Franklin-style or magnetic finders are reliable)
- Tape measure, pencil, painter’s tape
- Clamps (at least 2–4 bar clamps for pulling face frames together)
- Circular saw or jigsaw (for filler strips, toe kicks, and scribe cuts)
- Hole saw set (for plumbing and electrical cutouts)
- Shims (wood shims, a couple of packs — you’ll use more than you think)
- Step ladder
- Safety glasses
Materials:
- Cabinets (obviously — assembled and staged in the room)
- Cabinet screws: #10 × 2.5″–3″ (for studs) — NOT drywall screws, which snap under shear load
- 1.25″ screws for joining face frames to each other
- Wood filler / putty sticks matching your finish (for covering screw holes on finished ends)
- Caulk (paintable, for gaps at walls and ceiling)
- Ledger board: a straight 1×3 or 1×4, long enough to span the wall cabinet run
- Filler strips, toe kick material, scribe molding (usually ordered with the cabinets)
Before you start, confirm your cabinet dimensions against your wall measurements. Measure the walls at multiple heights — floors slope, walls lean, and the cabinet that fit on paper needs to fit in reality.
Prep Work: The Boring Part That Determines Everything
1. Clear and demo. Remove old cabinets (shut off water and power first), patch the walls reasonably flat, and make sure the floor is clean. You don’t need perfect walls — shims and scribe molding handle imperfection — but big holes and protruding nails need to go.
2. Mark your layout on the walls. Using your cabinet plan, mark the position of every cabinet on the wall with painter’s tape or pencil: vertical lines for cabinet edges, and note which cabinet goes where. Label the actual cabinets too — “upper left of stove,” “sink base” — with tape. Future-you, mid-install and tired, will be grateful.
3. Find and mark every stud. Run the stud finder along the entire cabinet area at upper-cabinet height and base-cabinet height. Mark stud centers with vertical tape strips running top to bottom. Cabinets screw to studs — full stop. If a cabinet lands where there are no studs (it happens), plan for heavy-duty toggle bolts or add blocking inside the wall before you start.
4. Find your high spot. Floors are never level. Set your 4-foot level on the floor along the base cabinet run and find the highest point. Everything gets leveled up from there — you shim the low cabinets up to match the high one, because you can’t sink a cabinet into the floor.
5. Draw level lines. Mark 34.5″ off the floor at the high spot (top of base cabinets, before countertop) and draw a level line around the room. Mark 54″ off the floor (bottom of wall cabinets) and draw that line too. A laser level makes this a five-minute job; a 4-foot level and patience works fine.
6. Check for plumb. Hold the level vertically against the walls at several points. Note where walls lean in or out — you’ll scribe or shim to compensate. Anything more than 1/2″ out of plumb over 8 feet is “call a pro” territory for a first-timer.
Installation Order: Uppers First, Then Lowers
Always install wall cabinets before base cabinets. Two reasons: you can stand close to the wall and work comfortably without base cabinets in the way, and you won’t drop a wall cabinet onto your nice new base cabinets (or countertops). This is one of those rules that exists because someone learned it the hard way.
Hanging Wall Cabinets, Step by Step
Step 1: Mount the ledger board. Screw a straight 1×3 or 1×4 board to the wall with its top edge exactly on your 54″ level line. Drive it into studs. Every wall cabinet will rest on this board while you position and screw it — it’s like having a third hand. This is the trick that makes the job doable.
Step 2: Start with the corner cabinet. Corners first, always. Set the corner upper on the ledger, push it into the corner, and shim behind it until the face is plumb (vertical) and level. Drive cabinet screws through the cabinet’s hanging rails into the studs — minimum two screws per stud, top and bottom rails.
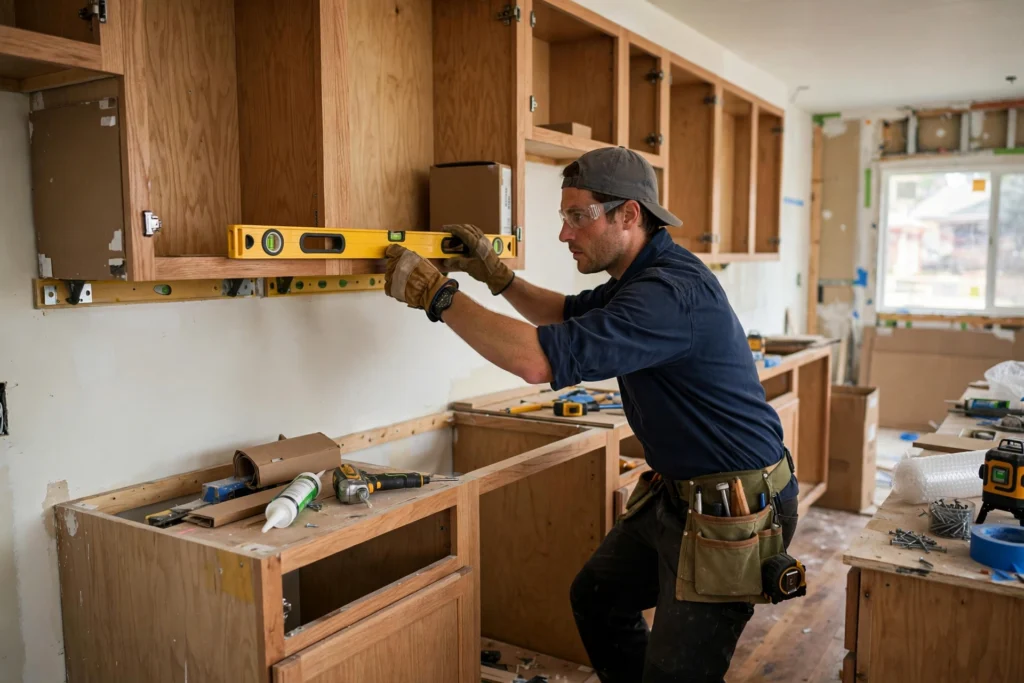
Step 3: Add the next cabinet. Set it on the ledger next to the first. Clamp the face frames together so the fronts are perfectly flush — this is what separates professional-looking installs from amateur ones. Drill pilot holes through the face frames and join them with 1.25″ screws. Then shim plumb and screw to the studs.
Step 4: Work outward from the corner. Repeat: rest on ledger, clamp flush to neighbor, join face frames, shim plumb/level, screw to studs. Check level across the fronts every two cabinets — small errors compound.
Step 5: Remove the ledger. Once all uppers are secured to studs and to each other, unscrew the ledger board. Patch the screw holes — they’ll be hidden behind the backsplash or caulk line anyway.
Step 6: Doors and hardware last. Hang doors and install knobs/pulls after all boxes are up. Adjust hinges so gaps are even (about 1/8″ between doors on frameless, consistent reveals on framed).
The leveling trick pros use: don’t chase perfect level on each individual cabinet — chase a flat, consistent plane across the whole run. A run that’s uniformly 1/16″ off over 10 feet looks perfect; five cabinets each perfectly level but 1/16″ different from their neighbor looks terrible. Sight down the fronts from the side; your eye catches steps between cabinets instantly.
Setting Base Cabinets, Step by Step
Step 1: Start at the high spot / corner. Place the first cabinet (usually the corner or the sink base) at the highest point of the floor. Shim under it until the top is exactly on your 34.5″ line and the box is level front-to-back and side-to-side. This cabinet is the reference for everything else.
Step 2: Screw to the wall. Drive cabinet screws through the back rail into studs. Base cabinets don’t carry the same falling risk as uppers, but they still need solid anchoring — especially tall pantry units.
Step 3: Add the next cabinet, clamp and join. Same as uppers: clamp face frames flush, drill pilot holes, join with screws, then level and shim. Work along the run, checking that tops stay on the 34.5″ line.
Step 4: Level across the run constantly. The critical check: lay your 4-foot level across the tops of adjacent cabinets. They should be dead flat relative to each other. Countertops forgive almost nothing — a 1/8″ step between cabinets becomes a cracked stone countertop or a wobbly laminate seam.
Step 5: Secure island and peninsula cabinets. Freestanding runs get screwed to the floor (through the toe kick area into the subfloor) and to each other. If you have in-floor heating, know where the lines are before you drive screws down.
Step 6: Install toe kicks, fillers, and panels. Toe kick boards cover the recessed bases. Filler strips fill gaps at walls (walls are never square — scribe the filler to the wall with a compass and trim with a jigsaw for a perfect fit). Decorative end panels go on exposed cabinet ends.
Step 7: Crown molding and trim. If your design includes crown molding on the uppers, now’s the time — it hides the gap at the ceiling and makes stock cabinets look custom. My crown molding guide walks through styles, cuts, and installation.
Step 8: Doors, drawers, hardware. Hang everything, adjust hinges and drawer slides until gaps are even and everything opens smoothly. Install knobs and pulls — drill hardware holes with a simple jig so they’re consistent (measure twice, drill once, on every door).
Cutouts: Plumbing, Electrical, and Appliances
You’ll cut holes in cabinet backs, floors, and sides for:
- Sink plumbing: water lines and drain through the sink base floor or back. Cut after dry-fitting the sink — hole saws, clean cuts, seal the edges with silicone.
- Dishwasher: water line, drain hose, and power through the side wall shared with the sink base.
- Range: gas line or 220V outlet through the floor or back wall behind the range opening.
- Outlets in cabinets: for garbage disposals, under-cabinet lighting transformers, or appliance garages. Cut the hole, install a proper electrical box — don’t just poke a cord through a raw hole.
Measure three times, cut once. A hole in the wrong place in a cabinet back is forever (well, until you buy a new cabinet).
Common Mistakes (Learn From Other People’s Pain)
- Using drywall screws. They snap. Use proper cabinet screws into studs. This is the #1 structural mistake.
- Skipping the ledger board. Holding a wall cabinet with one hand and driving screws with the other is how cabinets end up crooked — or on the floor.
- Not checking level across the run. Individual cabinets level, whole run wavy. Sight down the fronts.
- Forgetting the dishwasher clearance. The dishwasher needs exactly 24″ of width and the adjacent cabinets must be at the right height — a countertop 1/4″ too low means the dishwasher doesn’t fit. Verify before the countertop goes on.
- Installing doors before the run is complete. Doors get in the way and get damaged. Boxes first, doors last.
- Ignoring the ceiling gap. Uppers that stop 8″ below the ceiling with no plan look unfinished. Decide in advance: taller cabinets, crown molding, or a soffit.
- No shims behind the screws. Driving a screw into a stud pulls the cabinet to the wall — if there’s a gap, it bows the cabinet back. Shim the gap first, then screw.
DIY vs. Pro: What It Costs
DIY: your only costs are tools you don’t own (a laser level and a good stud finder run ~$100 together if you’re starting from scratch) plus screws, shims, and caulk (~$50). Your time: a weekend to 4 days.
Professional installation: $100–$300 per linear foot of cabinets, or roughly $2,000–$6,000 for a typical kitchen. Complex layouts, old houses, and high-end markets land at the top of that range.
The hybrid: DIY the bases, hire the uppers. Cuts the pro bill roughly in half and keeps the scary part in professional hands.
If you’re building the cabinets themselves from scratch rather than installing pre-made boxes, that’s a different (much bigger) project — my guide to DIY kitchen cabinets covers plans, materials, and honest difficulty.
How to Install Kitchen Cabinets: FAQs
Do you install upper or lower cabinets first?
Upper (wall) cabinets first, always. You can work close to the wall without base cabinets in the way, and there’s no risk of dropping something onto finished lowers or countertops.
Can one person install kitchen cabinets?
Base cabinets, yes. Wall cabinets, realistically no — you need a second pair of hands to hold, level, and steady while you drive screws. A ledger board helps enormously but doesn’t replace a helper.
How are kitchen cabinets attached to the wall?
With cabinet screws driven through the cabinet’s hanging rails into wall studs — minimum two screws per stud, at the top and bottom rails. Adjacent cabinets are also screwed to each other through their face frames.
How long does it take to install kitchen cabinets?
A pro crew: 1–2 days for a typical kitchen. DIY: a full weekend for a small kitchen, 3–4 days for a large one, not counting RTA assembly time (add a day for flat-pack assembly).
Do I need to find studs to hang kitchen cabinets?
Yes — non-negotiable for wall cabinets. A loaded 36″ upper cabinet weighs 100+ pounds; drywall anchors alone won’t hold it safely long-term. If studs don’t line up, add blocking inside the wall or use heavy-duty toggle bolts rated for the load.
What screws should I use for kitchen cabinets?
#10 × 2.5″–3″ cabinet screws (or structural screws) into studs. Use 1.25″ screws to join face frames to each other. Never use drywall screws — they snap under shear load.
How much does it cost to have kitchen cabinets installed?
$100–$300 per linear foot professionally, or about $2,000–$6,000 for a typical kitchen. DIY costs roughly $50–$150 in screws, shims, and consumables plus any tools you need to buy.
Should I install cabinets before or after flooring?
In new construction, cabinets usually go in before the finished flooring. In remodels, many installers prefer flooring first so future layout changes don’t leave bare patches. Either works — just account for the flooring thickness in your 34.5″/36″ height math.
Cabinet installation rewards the patient and punishes the rushed. Measure twice, find every stud, use the ledger board, check level across the whole run — and take the win of saving thousands in labor. And if the walls are crooked, the cabinets are custom, or your gut says “this is over my head” — that’s not failure, that’s judgment. The pro you call will be glad you called before the holes were drilled.