
Here’s the question nobody asks out loud before they start: is building your own kitchen cabinets actually worth it, or is it one of those projects that sounds satisfying on YouTube and ends with half-finished plywood boxes in your garage for eight months?
I get why the idea is appealing. A 10×10 kitchen’s worth of stock cabinets runs $3,000 to $8,000. Semi-custom can hit $15,000+. And here you are, standing in the lumber aisle at Home Depot, thinking, “Plywood is $80 a sheet — how hard can a box be?”
The honest answer: building cabinet boxes is genuinely not that hard. Building doors that look like something you’d show a guest? That’s the hard part. This guide covers real costs, the tools you need, the measurements that matter, and the shortcuts that keep the finished kitchen from looking homemade in the bad way.
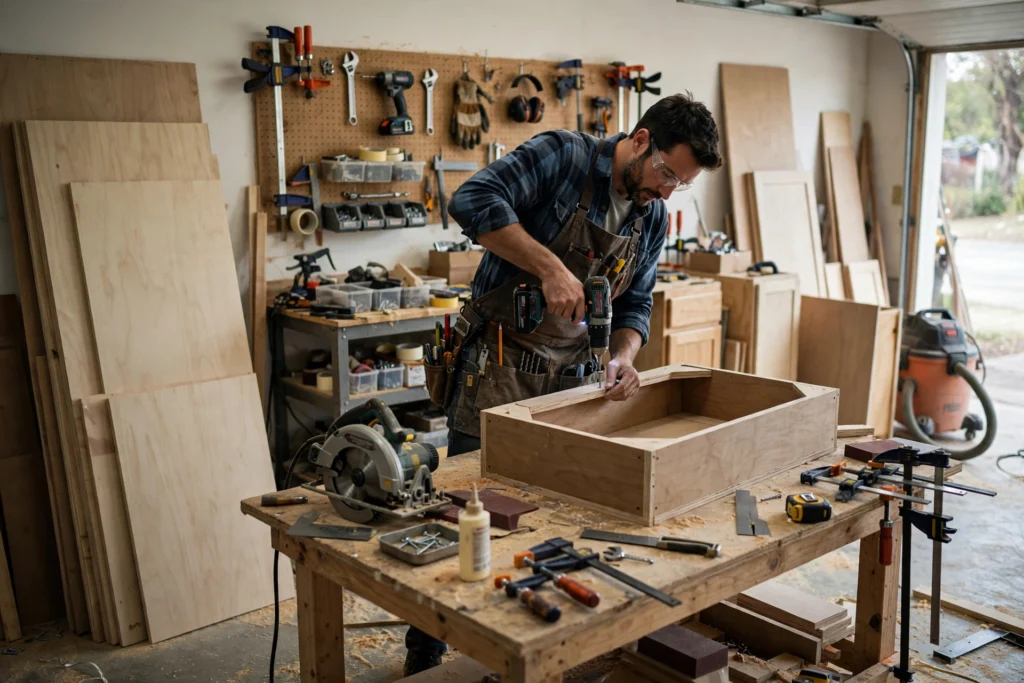
Should You Actually Build Your Own Kitchen Cabinets?
Let’s sort this out before you buy a single sheet of plywood.
Building kitchen cabinets yourself makes sense if:
- You already own or can borrow the core tools (a table saw is non-negotiable)
- Your kitchen layout is simple — straight runs, standard sizes, no crazy angles
- You genuinely enjoy woodworking and have weekends to burn
- You want odd sizes or depths that stock cabinets don’t come in
- Your budget is tight but your time is flexible
It’s a bad idea if:
- You’ve never cut a straight line on a table saw (start with a bookshelf, not a kitchen)
- You need the kitchen functional in under a month
- You’re hoping to save 80%. Realistic savings are 30–50% versus comparable stock cabinets, and that’s before you price your time
- The visible quality bar is high — you’re selling the house, or your partner has strong opinions about gaps
My honest take: most people who succeed at DIY kitchen cabinets don’t build everything. They build the boxes themselves — the parts nobody sees — and buy the doors and drawer fronts from a cabinet door company. Doors are where “homemade” shows. A professionally made Shaker door costs $20–40 each. For a typical kitchen with 25 doors and drawer fronts, that’s $500–1,000 to make the whole project look like it was done by a shop. Best money in the project.
What DIY Kitchen Cabinets Really Cost
Let’s price a real project: a standard 10×10 kitchen (about 20 linear feet of cabinets — roughly 10 base cabinets and 8 wall cabinets).
Materials for the boxes:
| Item | Quantity | Cost |
|---|---|---|
| 3/4″ plywood (maple or birch, cabinet grade) | 8–12 sheets | $520–1,140 |
| 1/2″ plywood for backs and drawer boxes | 3–4 sheets | $120–200 |
| Face frame lumber (poplar or maple) | 40–60 board feet | $160–300 |
| Soft-close hinges (Blum or equivalent) | 25–35 pairs | $75–175 |
| Drawer slides (soft-close, full extension) | 8–12 pairs | $120–240 |
| Screws, pocket-hole screws, glue, brads | — | $60–100 |
| Shelf pins, bumpers, misc hardware | — | $40–60 |
| Paint/primer or stain + finish | 2–3 gallons | $100–200 |
Total: roughly $1,200–2,100 for boxes and hardware in a 10×10 kitchen. Add $500–1,000 if you’re buying doors and drawer fronts, which puts the full DIY project around $1,700–3,100.
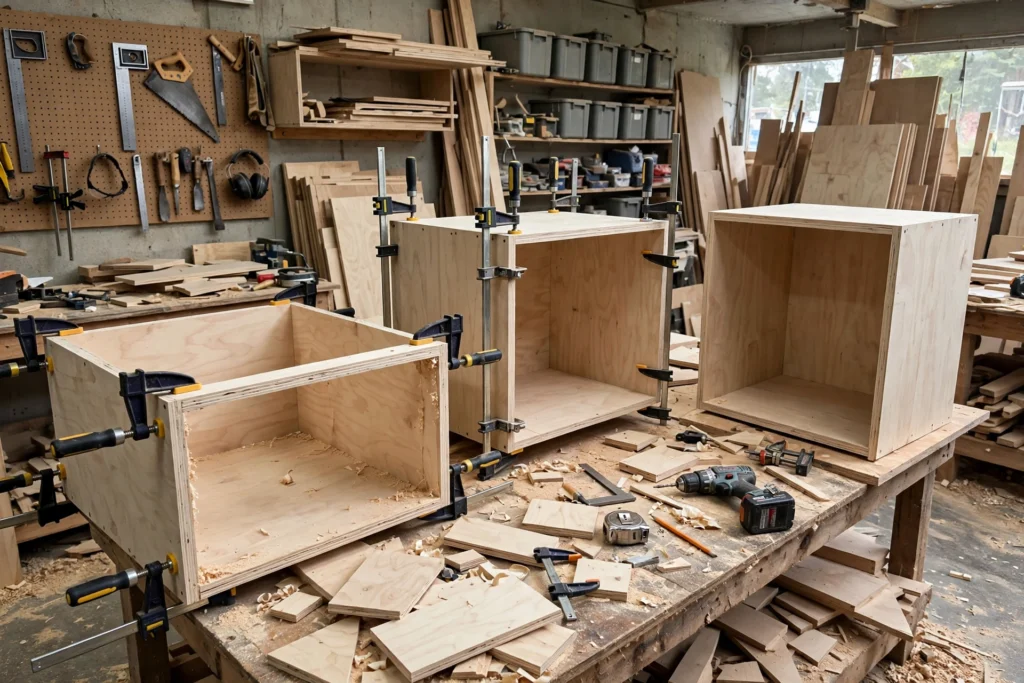
Compare that to $3,000–8,000 for stock cabinets of similar quality, and the savings are real — but so is the time. Expect 60–120 hours for a first-timer. At that point, the “savings” only count if you enjoy the work.
The hidden costs people forget
- Plywood prices swing. Cabinet-grade 3/4″ maple ply runs $65–110 a sheet depending on your market — price it locally before committing.
- Finish adds up. Primer plus two coats of cabinet-grade paint (Benjamin Moore Advance or Sherwin-Williams Emerald Urethane) runs $150–250. Cheap paint on cabinets looks cheap.
- Mistakes cost. Your first two cabinets will take three times as long and probably wobble. Normal. Buy 10% more plywood than your cut list says.
The Two Ways to Build: Full DIY vs. Boxes + Bought Doors
There are really two projects hiding under the name “DIY kitchen cabinets.”
Option A: Build everything — boxes, doors, drawer fronts from raw lumber and plywood. The difficulty curve goes vertical here: Shaker doors need a router table, precise cope-and-stick joinery, and flat assembly. Budget an extra 40–60 hours just for doors.
Option B: Build the boxes, buy the doors. You keep 80% of the satisfaction and 90% of the savings at half the difficulty. Door companies (Cabinet Doors ‘N’ More, Barker Door, The Door Stop) make doors to your measurements in any style — unfinished maple Shaker runs $25–35 each.
Unless you already own a router table and love making doors, Option B is the call. Nobody will know the difference once they’re hung and painted.
Tools You Actually Need for Kitchen Cabinet Woodworking
Let’s separate the essentials from the nice-to-haves, because the tool list is where DIY cabinet budgets quietly die.
Non-negotiable:
- Table saw with a sharp 60-tooth blade — ripping plywood straight is the entire job, and this tool determines your results.
- Pocket hole jig (Kreg K4 or K5) — the standard way DIYers join cabinet boxes. Fast, strong, forgiving.
- Clamps — more than you think. Pipe clamps or parallel clamps, at least 6–8. Cabinets are assembled square only if they’re clamped square.
- Brad nailer (18-gauge) — for backs, face frames, and trim. Hand-nailing works but will test your patience across 20 cabinets.
- Drill/driver — for pocket holes, hardware, installation.
- Random orbit sander — because everything gets sanded.
- Tape measure, square, and a good straightedge — measure twice is not a joke at this scale.
Strongly recommended:
- Circular saw with a straightedge guide — for breaking down 4×8 sheets. Wrestling a full sheet solo on a table saw is how accidents happen.
- Miter saw — for cutting face frame pieces square and fast.
- Router with a flush-trim bit — for cleaning up edges and cutting hinge cup holes (or buy a $20 hinge boring jig instead).
- Level (4-foot) — for installation day.
If you’re starting from zero tools, buying everything new runs $800–1,500, which eats most of your savings. Borrow, buy used, or — real talk — reconsider whether DIY is the right move. The tools only pay off if you’ll use them again.
Materials: What to Build Kitchen Cabinets From
Boxes: 3/4″ plywood. Not MDF, not particleboard. Baltic birch or maple, B/BB grade or better. Strong, holds screws, stays flat — 3/4″ throughout: sides, bottoms, tops.
Backs: 1/2″ plywood. Dramatically more rigid than 1/4″, and solid to screw through into studs at installation.
Drawer boxes: 1/2″–5/8″ plywood or solid maple, dovetailed or pocket-screwed and glued. Full-extension soft-close slides ($12–20/pair) are the single biggest quality upgrade you can make.
Face frames: poplar or soft maple. Poplar paints beautifully and costs less; match species if staining.
Doors (if building): Painted — poplar or MDF (MDF is genuinely excellent for painted doors: perfectly flat, zero expansion). Stained — maple, cherry, oak, or hickory.
Face frame vs. frameless (European style)
American kitchens are traditionally face frame — a hardwood frame around the front of the box that the doors attach to. It’s more forgiving for DIYers because the frame hides small imperfections in the box, and the joinery is simple butt joints and pocket screws.
Frameless (European/32mm) cabinets are just boxes with doors on the sides — simpler to build but less forgiving, since every cut must be dead square with no frame hiding edges. They also need edge banding, its own skill. For a first kitchen, build face frame. The frame is your margin of error.
Kitchen Cabinet Plans: The Measurements That Matter
Before you cut anything, you need a plan — actual drawings with dimensions for every cabinet. Free kitchen cabinet plans are all over the internet (Ana White’s site is the classic starting point), but here’s the thing: standard cabinet dimensions are standardized for a reason. Deviating from them means your doors, drawers, and appliances won’t fit right.
Get familiar with standard kitchen cabinet dimensions before you draw a single line. The critical numbers:
- Base cabinets: 34-1/2″ tall (without countertop), 24″ deep, widths in 3″ increments (12″, 15″, 18″, 21″, 24″, 30″, 36″…)
- Wall cabinets: 12″ deep, 30″–42″ tall, same 3″ width increments
- Toe kick: 3″ deep, 3-1/2″ to 4″ tall, recessed under base cabinets
- Countertop height: 36″ finished (cabinet + countertop)
Draw your kitchen to scale, number every cabinet, and make a full cut list before buying plywood. The boring part determines whether the fun part goes well.
Step-by-Step: Building a Base Cabinet Box
Here’s the actual process for one standard 24″ base cabinet with a face frame. Every other base cabinet is a variation on this.
1. Cut the carcass. From 3/4″ plywood: two sides (34-1/2″ x 23-1/4″ — depth minus the 3/4″ face frame), one bottom (22-1/2″ x 23-1/4″), and front/back top rails (3–4″ wide). Cut the toe-kick notch (3″ deep x 3-1/2″ tall) at the front bottom of each side.
2. Drill pocket holes. Pocket holes along the bottom edges of the side panels (to attach the bottom) and along the top rails. Set your Kreg jig for 3/4″ material.
3. Assemble. Glue and pocket-screw the bottom to the sides, checking square via diagonal measurements. Add top rails. Clamp and let the glue set — don’t rush this.
4. Add the back. Cut 1/2″ plywood to cover the full back of the cabinet. Glue and brad-nail it on, checking square again. The back is what keeps the box from racking.
5. Build and attach the face frame. Cut 1×2 poplar for stiles and rails to match the box front exactly (24″ x 34-1/2″ here). Pocket-screw the frame together, then glue and screw it flush to the front of the box.
6. Sand, fill, sand. Fill visible pocket holes, sand to 120–150 grit. Everyone rushes this; everyone regrets it.
7. Finish before installation. Prime and paint the boxes before they go on the wall — finishing installed cabinets is miserable. Two coats primer, two coats topcoat, light sanding between.
Step-by-Step: Wall Cabinets
Same process, simpler geometry: no toe kick, no top rails needed (just a top panel), 12″ deep instead of 24″. Standard heights are 30″, 36″, or 42″ depending on your ceiling. Build them exactly like base cabinets minus the toe kick notch, with a full top panel instead of rails — it gives you more to screw through when hanging them.
One tip: build wall cabinets in the same widths as the base cabinets below them. It looks intentional, and it makes the face frames line up.
Doors and Drawer Fronts: Where Kitchens Are Won or Lost
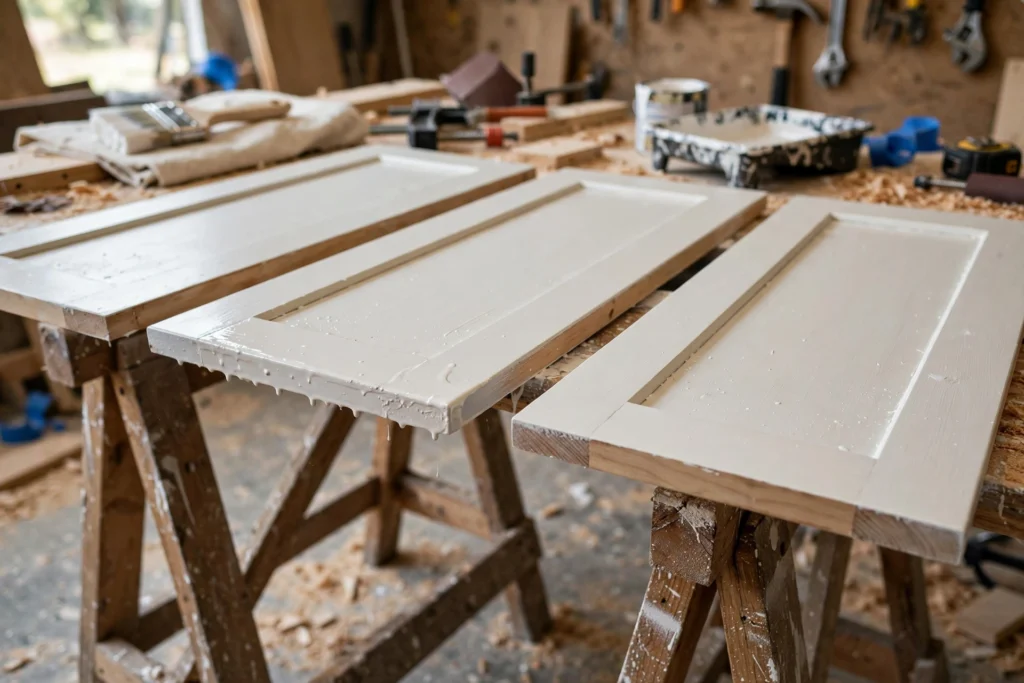
If you’re buying doors (recommended), the process is simple: finish building all your boxes, then measure every opening and order doors with the overlay you want. Standard is 1/2″ overlay — the door covers half the face frame on each side. Full overlay (covering nearly the whole frame) looks more modern but is less forgiving of small errors. Give the door company your exact opening sizes and tell them the overlay; they’ll calculate the door size.
Building Shaker doors yourself: 3/4″ stiles and rails (2-1/4″–2-1/2″ wide) joined with cope-and-stick router bits, a 1/4″ panel floating in the groove, cut slightly undersized so it can expand without cracking the frame. Satisfying work — but count your first three doors as practice.
Hinges: Blum soft-close concealed hinges are the industry standard for a reason. They run $3–6 per hinge, they’re adjustable in three directions (which saves you from imperfect doors), and the soft-close just feels expensive. A 35mm Forstner bit or a hinge boring jig drills the cup holes.
Installation: Hanging What You Built
Building the cabinets is half the project; installing kitchen cabinets level, plumb, and square is the other half. The short version: find your high spot on the floor, snap a level line at 34-1/2″ above it, start with the corner cabinet, screw boxes to each other through the face frames, and screw every cabinet into at least two studs. Shim where needed — no floor is level, and that’s what shims are for.
Common DIY Cabinet Mistakes (Learn From Other People’s Garages)
- Not building square. A box that’s 1/8″ out of square at assembly becomes a door that won’t close at installation. Check diagonals on every cabinet.
- Forgetting the toe kick. It’s embarrassing how often this happens. Cut the notch before assembly, not after.
- Painting after installation. Finish your boxes in the garage/shop. Always.
- Skipping the cut list. “I’ll figure it out as I go” with $90 plywood sheets is an expensive philosophy.
- Building odd sizes for no reason. Every non-standard width means custom doors at custom prices. Stick to 3″ increments unless you have a real reason not to.
- Underestimating finishing. Sanding, priming, painting, and curing take as long as building. Paint needs 2–3 weeks to cure hard — plan kitchen downtime accordingly.
Frequently Asked Questions
How much does it cost to build your own kitchen cabinets? For a standard 10×10 kitchen, expect $1,200–2,100 in materials for the boxes and hardware, plus $500–1,000 if you buy pre-made doors and drawer fronts. Total DIY cost typically lands between $1,700 and $3,100 — roughly 30–50% less than comparable stock cabinets.
Is it cheaper to build or buy kitchen cabinets? It’s cheaper to build if you already own the tools and value your time at zero. Once you factor in tool purchases and 60–120 hours of labor, buying stock or RTA cabinets is often the better deal for most people. Building wins when you want custom sizes, enjoy woodworking, or already have a shop.
How hard is it to build kitchen cabinets? The boxes are a beginner-to-intermediate project — straight cuts, pocket screws, and patience. The doors are intermediate-to-advanced. Most successful DIYers build boxes and buy doors, which keeps the difficulty firmly in the “ambitious weekend project” range rather than “fine woodworking.”
What kind of wood do you use to build kitchen cabinets? 3/4″ cabinet-grade plywood (maple or birch) for the boxes, 1/2″ plywood for backs, poplar or soft maple for face frames, and soft-close hardware from Blum or a comparable brand. For painted doors, poplar or MDF; for stained doors, maple, cherry, or oak.
Can I build kitchen cabinets with just a circular saw? Technically yes, practically no. You can break down sheets with a circular saw and a straightedge guide, but ripping the dozens of identical, perfectly straight parts a kitchen requires really demands a table saw. Borrow or rent one before you commit.
How long does it take to build kitchen cabinets for a full kitchen? A first-timer should budget 60–120 hours for boxes in a 10×10 kitchen, plus finishing time. Experienced woodworkers can do it in 40–60. Add 40–60 more hours if you’re building the doors too. Realistically, plan on 6–10 weekends.