
Here’s a trick the pros know: the difference between “nice cabinets” and “wow, who did your kitchen?” is often about $200 worth of trim. Crown molding on top of wall cabinets, a light rail underneath, some baseboard at the toe kick — these small additions make stock cabinets look built-in, finished, and frankly more expensive than they are.
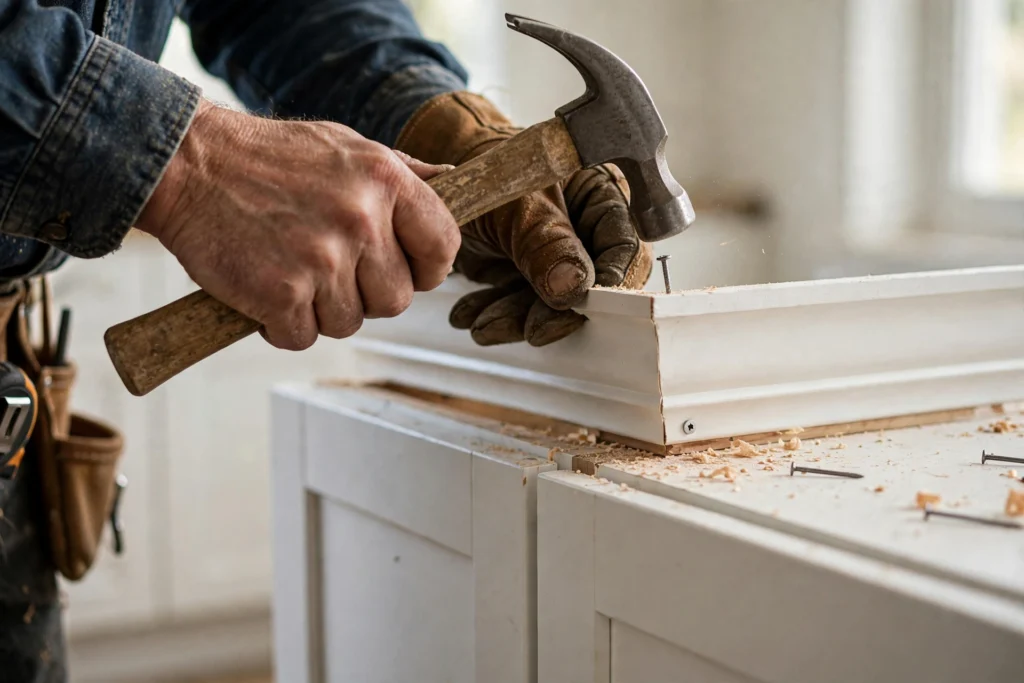
Trim is also one of the most DIY-friendly upgrades in the kitchen. No plumbing, no electrical (mostly), no structural work — just measuring, cutting angles, and nailing. This guide covers every type of kitchen cabinet trim, how to choose sizes, the full installation process, real costs, and the mistakes that make trim look amateur.
Why Trim Transforms Stock Cabinets
Cabinet boxes are rectangles. Rectangles with visible gaps at the ceiling, raw edges at the ends, and an unfinished line where the cabinet meets the wall read as “boxes screwed to a wall.” Trim does three things:
- Hides gaps. Ceilings aren’t level — there’s almost always a 1/2″ to 1″ gap between the top of wall cabinets and the ceiling. Crown molding bridges it elegantly.
- Adds shadow lines. The layered profiles of crown, rail, and baseboard create the depth and detail the eye reads as “craftsmanship.” Flat surfaces look cheap; layered surfaces look custom.
- Finishes edges. End panels, scribe molding, and toe-kick baseboard turn the raw sides and bottoms of cabinet runs into finished furniture.
It’s the same reason a $30 frame makes a $5 print look like art. The trim is the frame.
Every Type of Kitchen Cabinet Trim, Explained
Crown molding (top of wall cabinets)
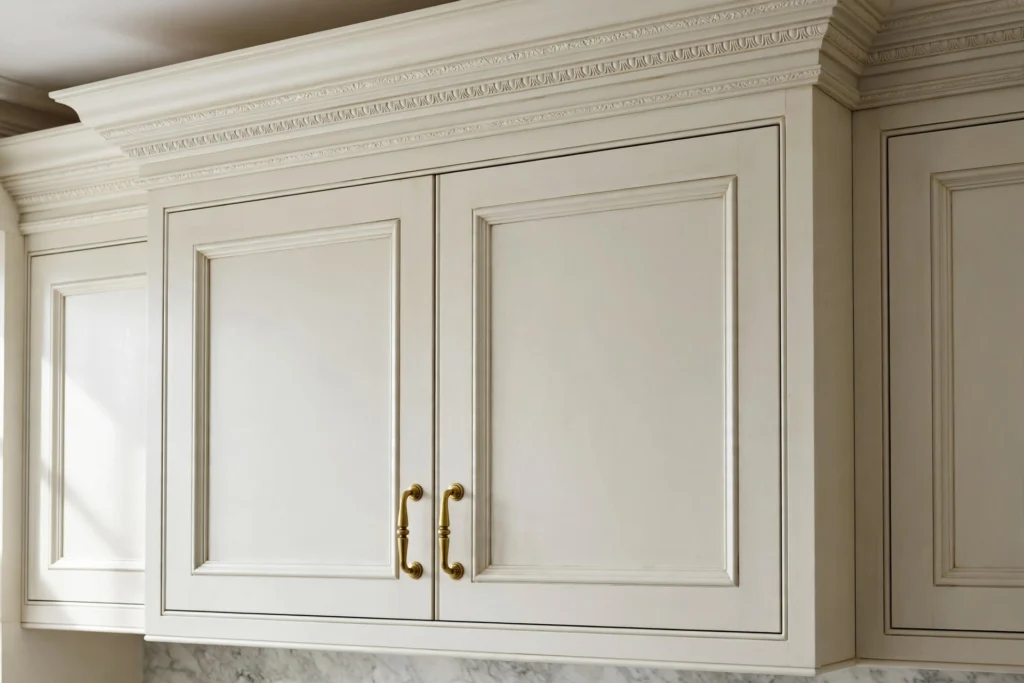
The star of the show. Crown molding sits at the top of wall cabinets, angled between the cabinet face and the ceiling (or a frieze board below the ceiling). It comes in profiles from simple 2-1/4″ cove to elaborate 5″+ built-up combinations.
Sizing rule: Match the crown to your ceiling height and cabinet height. For standard 8-foot ceilings with 30″–36″ wall cabinets, 3″–4″ crown is the sweet spot. With 9-foot ceilings and 42″ cabinets, go 4″–6″ — small crown under a tall ceiling looks stingy. With 8-foot ceilings, never run crown taller than about 4″ or it overwhelms the cabinets.
The frieze board trick: If the gap between cabinet tops and ceiling is large (common with 30″ cabinets on 8-foot ceilings — that leaves about 18″), install a flat frieze board (a 1×4 or 1×6) vertically from the cabinet top first, then run smaller crown at the top of the frieze. It fills the space gracefully and uses less expensive crown.
Light rail molding (under wall cabinets)
Light rail is the trim under the bottom of wall cabinets — a small molding (usually 3/4″–1-1/2″) that hides under-cabinet lighting and gives the bottom of the cabinet a finished edge instead of a raw plywood line. If you’re adding LED strip lights under your cabinets (and you should — it’s the cheapest luxury in the kitchen), light rail hides the strips and the wiring so you see glow, not hardware.
This is the trim most people skip and shouldn’t. It costs almost nothing and it’s visible every time you look at the counter.
Baseboard / toe-kick trim
The recessed toe kick at the bottom of base cabinets usually gets a simple baseboard or a matching toe-kick skin. Options: paint it the cabinet color for a seamless look, use a contrasting finish, or install actual baseboard molding for a furniture feel. On islands and exposed ends, upgrading the toe kick area with panel molding or beadboard takes the “box” look away completely.
Scribe molding
Thin, flexible molding (usually 1/4″ x 3/4″) that covers the gap where cabinets meet an uneven wall. Walls are never straight — scribe molding is how you hide that without caulk lines. It goes along the sides of cabinets where they meet walls and along the top where uppers meet the ceiling on the sides.
Filler strips and end panels
Not exactly trim, but part of the finished look: filler strips fill gaps between cabinets and walls (painted/stained to match), and decorative end panels skin the exposed sides of cabinet runs so you see a finished panel instead of a plywood box side. Order these with your cabinets — matching the finish later is a pain.
Inside corner and outside corner moldings
Small quarter-round or cove moldings for inside corners where cabinets meet, and corner guards for outside corners on islands and peninsulas. Minor pieces, but corners are where unfinished work shows first.
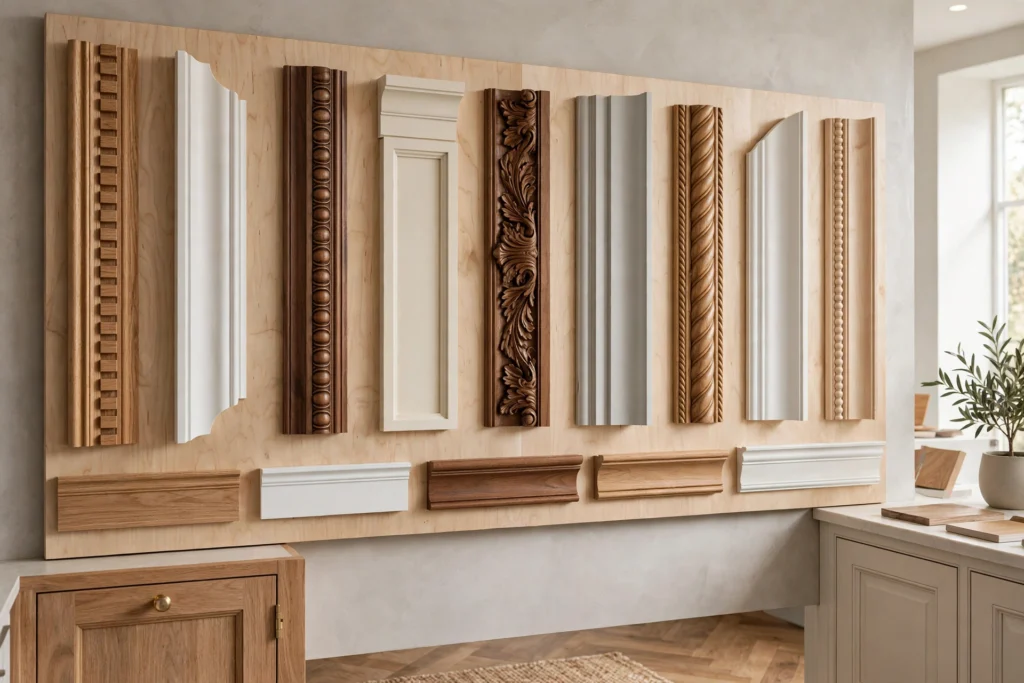
Choosing Trim: Material, Profile, and Finish
Material: For painted cabinets, use paint-grade poplar, MDF, or finger-joint pine — all take paint beautifully and cost $1–3 per linear foot. For stained cabinets, match the wood species (maple, cherry, oak) — $3–8 per linear foot. MDF crown is cheapest and perfectly stable (no warping), but it dents easily and can’t be stained.
Profile: Simple profiles (cove, ogee) suit modern and Shaker kitchens. Elaborate multi-step profiles suit traditional kitchens. The rule: the trim profile should be simpler than the door style, not fancier. Ornate crown on slab doors looks confused; simple crown on raised-panel doors looks underdressed.
Finish: Finish trim before installation — always. Prime and paint (or stain) every piece, including the backs (moisture protection), then touch up nail holes after. Trying to paint crown molding in place, overhead, against a ceiling, is how you get paint on the ceiling and drips on the cabinets.
How to Install Kitchen Cabinet Crown Molding: Step by Step
Tools: miter saw, brad nailer (18-gauge), tape measure, coping saw (for inside corners), caulk gun, wood filler, stud finder, level.
1. Measure and plan. Measure every run of wall cabinets. Plan your joints: crown comes in 8’–16′ lengths; joints should fall where they’re least visible, never in the middle of a prominent run if avoidable. For outside corners, you’ll miter; for inside corners, you’ll cope (coping looks better than mitering on inside corners because it handles the imperfect angles of real walls).
2. Install a nailer strip (if needed). Crown molding sits at an angle — it needs something to nail into at both the cabinet and the ceiling. Screw a 1×2 nailer strip to the top of the cabinets, set back so the crown’s bottom edge lands on the cabinet face frame. This gives your brad nails something to bite.
3. Cut the crown. This is the part that intimidates everyone, and it’s just geometry. Crown molding is cut upside-down and backwards on the miter saw (the saw fence represents the ceiling, the saw table represents the wall). For a standard 90° outside corner with 45° spring-angle crown: miter at 45°, bevel at 0 — or use the compound settings for your specific crown (most have the angles printed on the packaging or the manufacturer’s site). Cut pieces slightly long and sneak up on the fit. For inside corners: cut one piece square into the corner, cope the second piece to fit against it.
4. Test fit everything before nailing. Hold each piece in place, check the joints, mark adjustments. Dry-fitting the whole run takes 20 minutes and saves hours of rework.
5. Nail it up. Start at the most visible corner and work outward. Brad-nail into the nailer strip and the cabinet face frame — two nails every 12″–16″. Don’t nail into the ceiling (it moves independently; nailing crown to both cabinet and ceiling guarantees cracks).
6. Fill, caulk, touch up. Fill nail holes with wood filler, caulk the top edge where crown meets ceiling (this is what makes it look professional — that caulk line hides every imperfection), caulk inside corner joints, then touch up with paint. The caulk-and-touch-up step is literally half the visual quality of the job. Don’t skip it.
Installing light rail
Even simpler: measure, miter the corners (light rail is small enough that simple miters work fine), brad-nail to the bottom of the wall cabinets, fill and touch up. If you’re running LED strips, install the lights first, then the rail — the rail should sit proud of the cabinet bottom by enough to hide the strip from normal viewing angles (3/4″–1″ is typical).
What Cabinet Trim Costs
For a typical 10×10 kitchen with about 12 linear feet of wall cabinets:
| Trim | Material cost | Pro install |
|---|---|---|
| Crown molding (paint-grade) | $50–120 | $200–400 |
| Crown molding (stain-grade hardwood) | $120–250 | $300–500 |
| Light rail | $20–50 | $100–200 |
| Scribe + baseboard/toe kick | $30–60 | $100–200 |
| End panels (2–4) | $80–200 | included in install |
| Total trim package | $200–500 DIY | $600–1,200 pro |
If you’re already having cabinets installed, adding trim to the installer’s scope is the cheapest way to get it done — they’re already there with the tools and the finish materials. Ask for the trim quote before installation day, not after.
For the broader budget picture, our kitchen cabinets buying guide covers where trim fits in total project costs, and if you’re installing the cabinets themselves, our installation guide covers the box-hanging that comes before the trim.
Common Trim Mistakes
- Crown that’s too small. The #1 mistake. Timid 2″ crown on 42″ cabinets under 9-foot ceilings looks like an afterthought. When in doubt, go one size bigger.
- Skipping the caulk. Uncaulked crown shows every gap and looks DIY in the worst way. Caulk is the difference between “nice try” and “who did your kitchen.”
- Mitering inside corners. Inside corners should be coped, not mitered — walls are never exactly 90°, and coped joints stay tight when wood moves. Mitered inside corners open up within a year.
- Nailing crown to the ceiling. Cabinets and ceilings move differently with seasons and settling. Nail to the cabinet only; caulk the ceiling joint.
- Forgetting the backs. Unfinished trim backs absorb moisture and warp. Prime everything, even the parts nobody sees.
- Mismatched profiles. The crown, light rail, and baseboard should be from the same profile family. Grab-bag trim from three different manufacturers looks subtly wrong even when people can’t say why.
Frequently Asked Questions
What size crown molding for kitchen cabinets? For 8-foot ceilings with 30″–36″ wall cabinets, 3″–4″ crown. For 9-foot ceilings with 42″ cabinets, 4″–6″. The crown should be proportional to the cabinet height and ceiling — too small looks stingy, too large overwhelms. When the gap to the ceiling is large, add a frieze board below the crown rather than using oversized molding.
Can I add crown molding to existing cabinets? Yes — it’s one of the best retrofits in the kitchen. You need 1″–2″ of clearance between the cabinet tops and the ceiling for the crown to land. If cabinets run tight to the ceiling, a small cove molding can still work. Paint-grade crown, a brad nailer, and a weekend are all it takes.
How do you cut crown molding for cabinets? Cut it upside-down and backwards on the miter saw (fence = ceiling, table = wall). Outside corners get mitered; inside corners should be coped for a tight joint that survives wood movement. Cut long and sneak up on the fit — you can always trim more off, but you can’t add it back.
Should kitchen cabinet crown molding match the cabinets or the ceiling? Match the cabinets, almost always. Crown painted the cabinet color reads as part of the cabinetry — built-in and intentional. White crown on colored cabinets (or vice versa) draws a line that chops up the visual flow. The ceiling caulk line handles the transition to the ceiling color.
How much does it cost to add crown molding to kitchen cabinets? $200–500 DIY for materials in a typical kitchen, $600–1,200 professionally installed. It’s among the highest-ROI upgrades in the kitchen — a few hundred dollars of trim can make stock cabinets read as custom.
What is light rail molding on cabinets? The small trim under wall cabinets that finishes the bottom edge and hides under-cabinet lighting. It’s cheap ($20–50 in materials), takes an hour to install, and it’s visible every time you use the counter — one of the most overlooked details in kitchen trim.