
There’s a special satisfaction in transforming a room in a single afternoon for under a hundred dollars. That’s the promise of peel and stick floor tiles — and unlike most too-good-to-be-true home products, these actually deliver, within their limits. They’re the fastest, cheapest way to put a new floor down, and they’ve gotten dramatically better than the curling squares your landlord put in during the ’90s.
But “cheap and fast” comes with trade-offs. This guide covers how peel and stick tiles actually work, where they shine, where they fail, installation done right, and honest expectations about durability.
How Peel and Stick Tiles Work
The concept is beautifully simple: each tile has an adhesive backing covered by a paper liner. Peel the liner, press the tile onto a clean smooth subfloor, done. No mortar, no grout (usually), no special tools, no drying time. You can walk on the floor immediately.
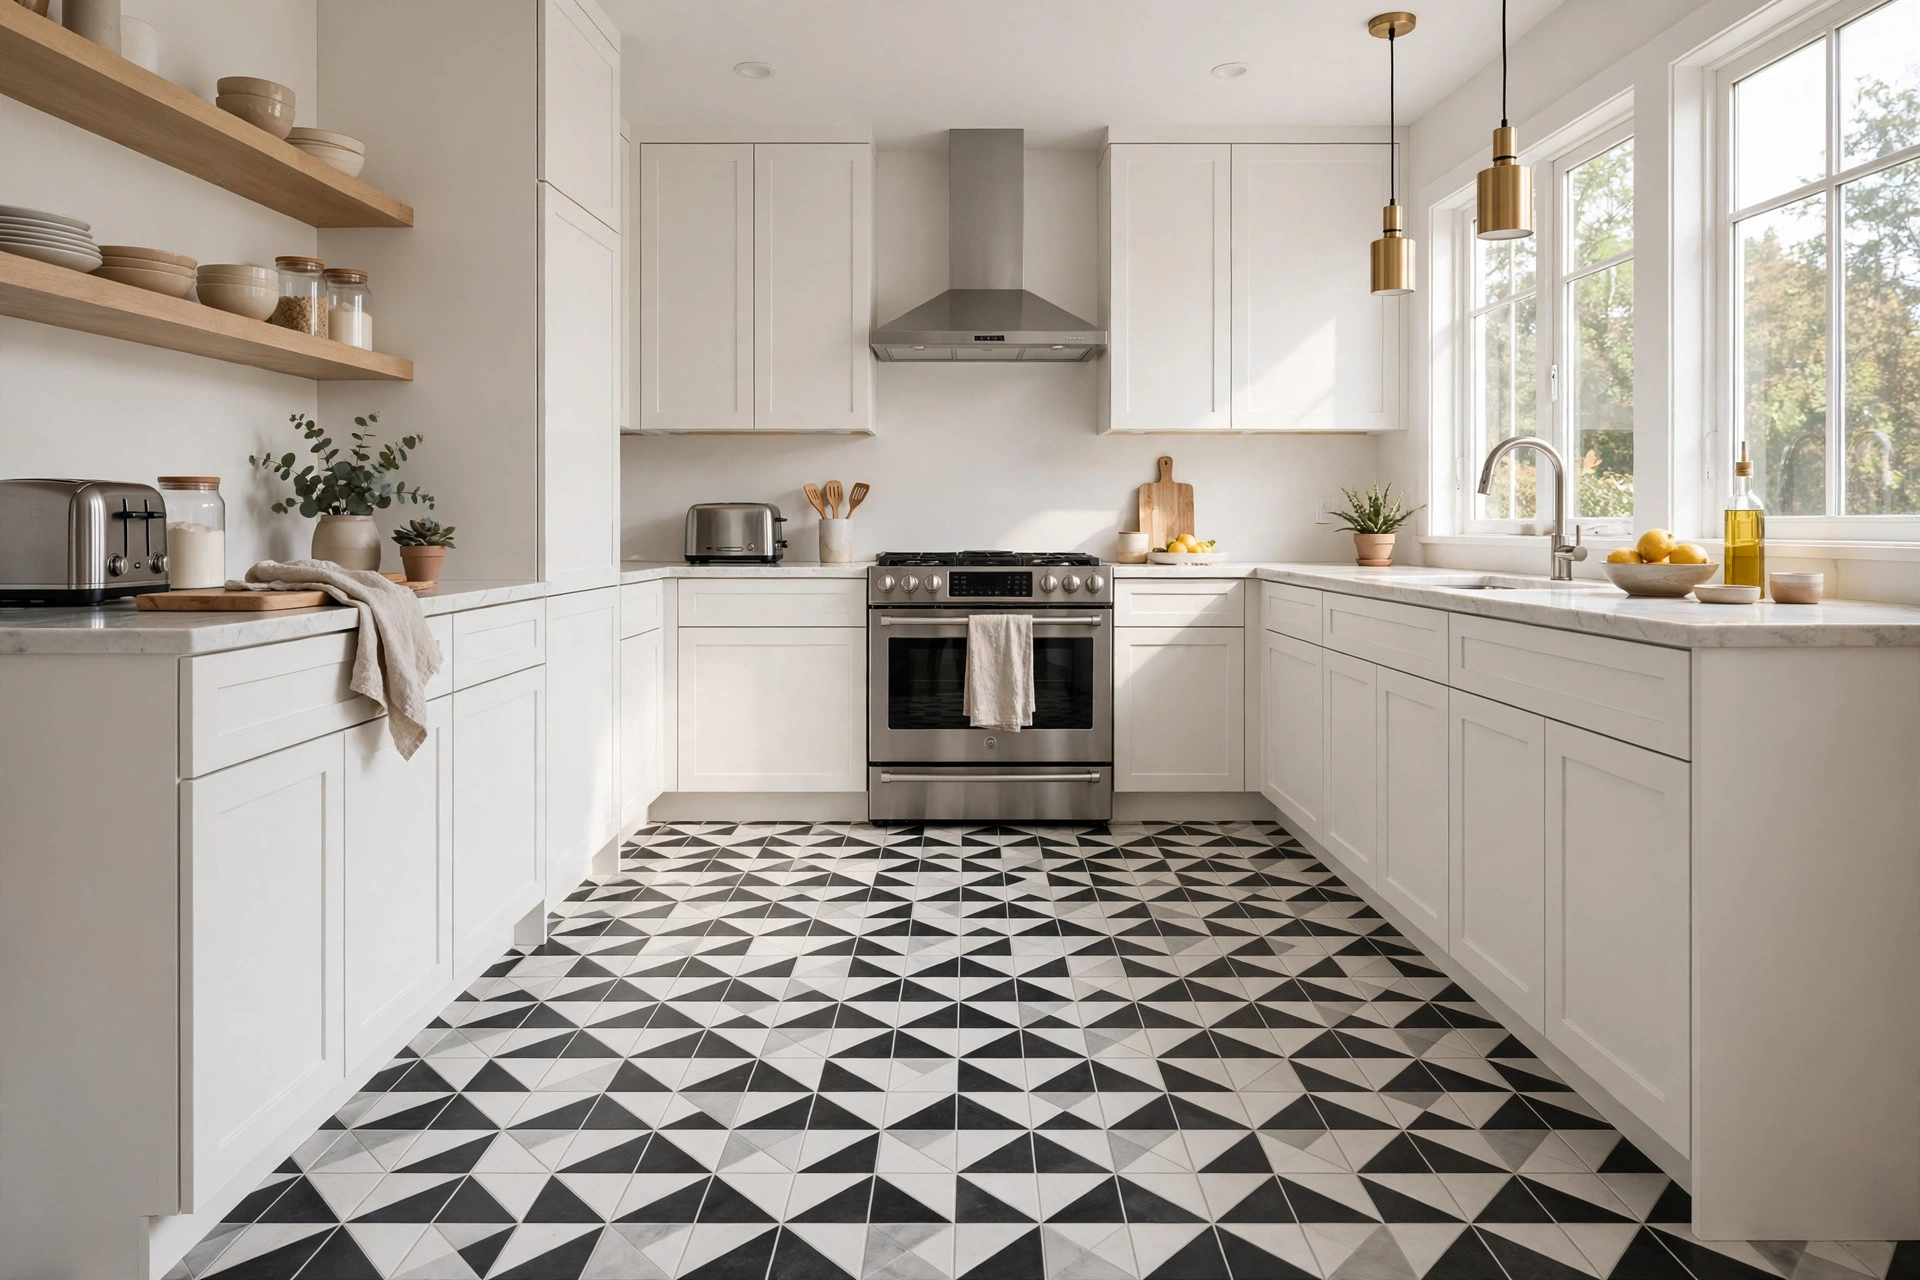
Modern peel and stick tiles are typically vinyl — thicker and more rigid than the old ones, with better adhesives and far more convincing designs. Stone looks, wood looks, geometric patterns, encaustic-style prints: the design range is genuinely impressive now.
There are also groutable peel and stick tiles — slightly thicker, designed to be installed with small gaps and then grouted like real tile. They look remarkably like ceramic at a glance, though they’re still vinyl underneath.
Where They Shine (Best Rooms)
Peel and stick tiles are ideal for:
Rentals. This is their natural habitat. Cheap, fast, removable (with some effort and heat), and they transform the worst rental floors. Many renters lay them over ugly existing floors and take the improvement as the cost of happiness.
Laundry rooms and mudrooms. Low-stakes spaces where you want something cleanable and decent-looking without spending real money.
Bathrooms (with caveats). They handle splashes fine, but they’re not the choice for a bathroom that gets soaked regularly. Water can work under the edges over time. For a powder room? Great. For the kids’ main bathroom? Think twice.
Quick flips and staging. Selling soon and the floors are embarrassing? Peel and stick buys you a presentable floor for almost nothing.
Closets and pantries. Nobody scrutinizes a closet floor. Cheap upgrade, big visual payoff.
Where They Don’t Belong
High-traffic main areas — entryways, main hallways, busy kitchens. The adhesive and thin wear layer aren’t built for years of heavy foot traffic. They’ll show wear, and edges can lift.
Uneven subfloors. Peel and stick conforms to whatever’s underneath. Bumps, dips, old adhesive residue — it all telegraphs through. The subfloor needs to be smooth, clean, and dry. This is the step most failed installations skip.
Wet-flood-prone areas. Basements with moisture issues, bathrooms without ventilation. Water undermines the adhesive.
Installation: Doing It Right
The good news: this is genuinely beginner DIY. The bad news: “easy” makes people skip prep, and prep is everything.
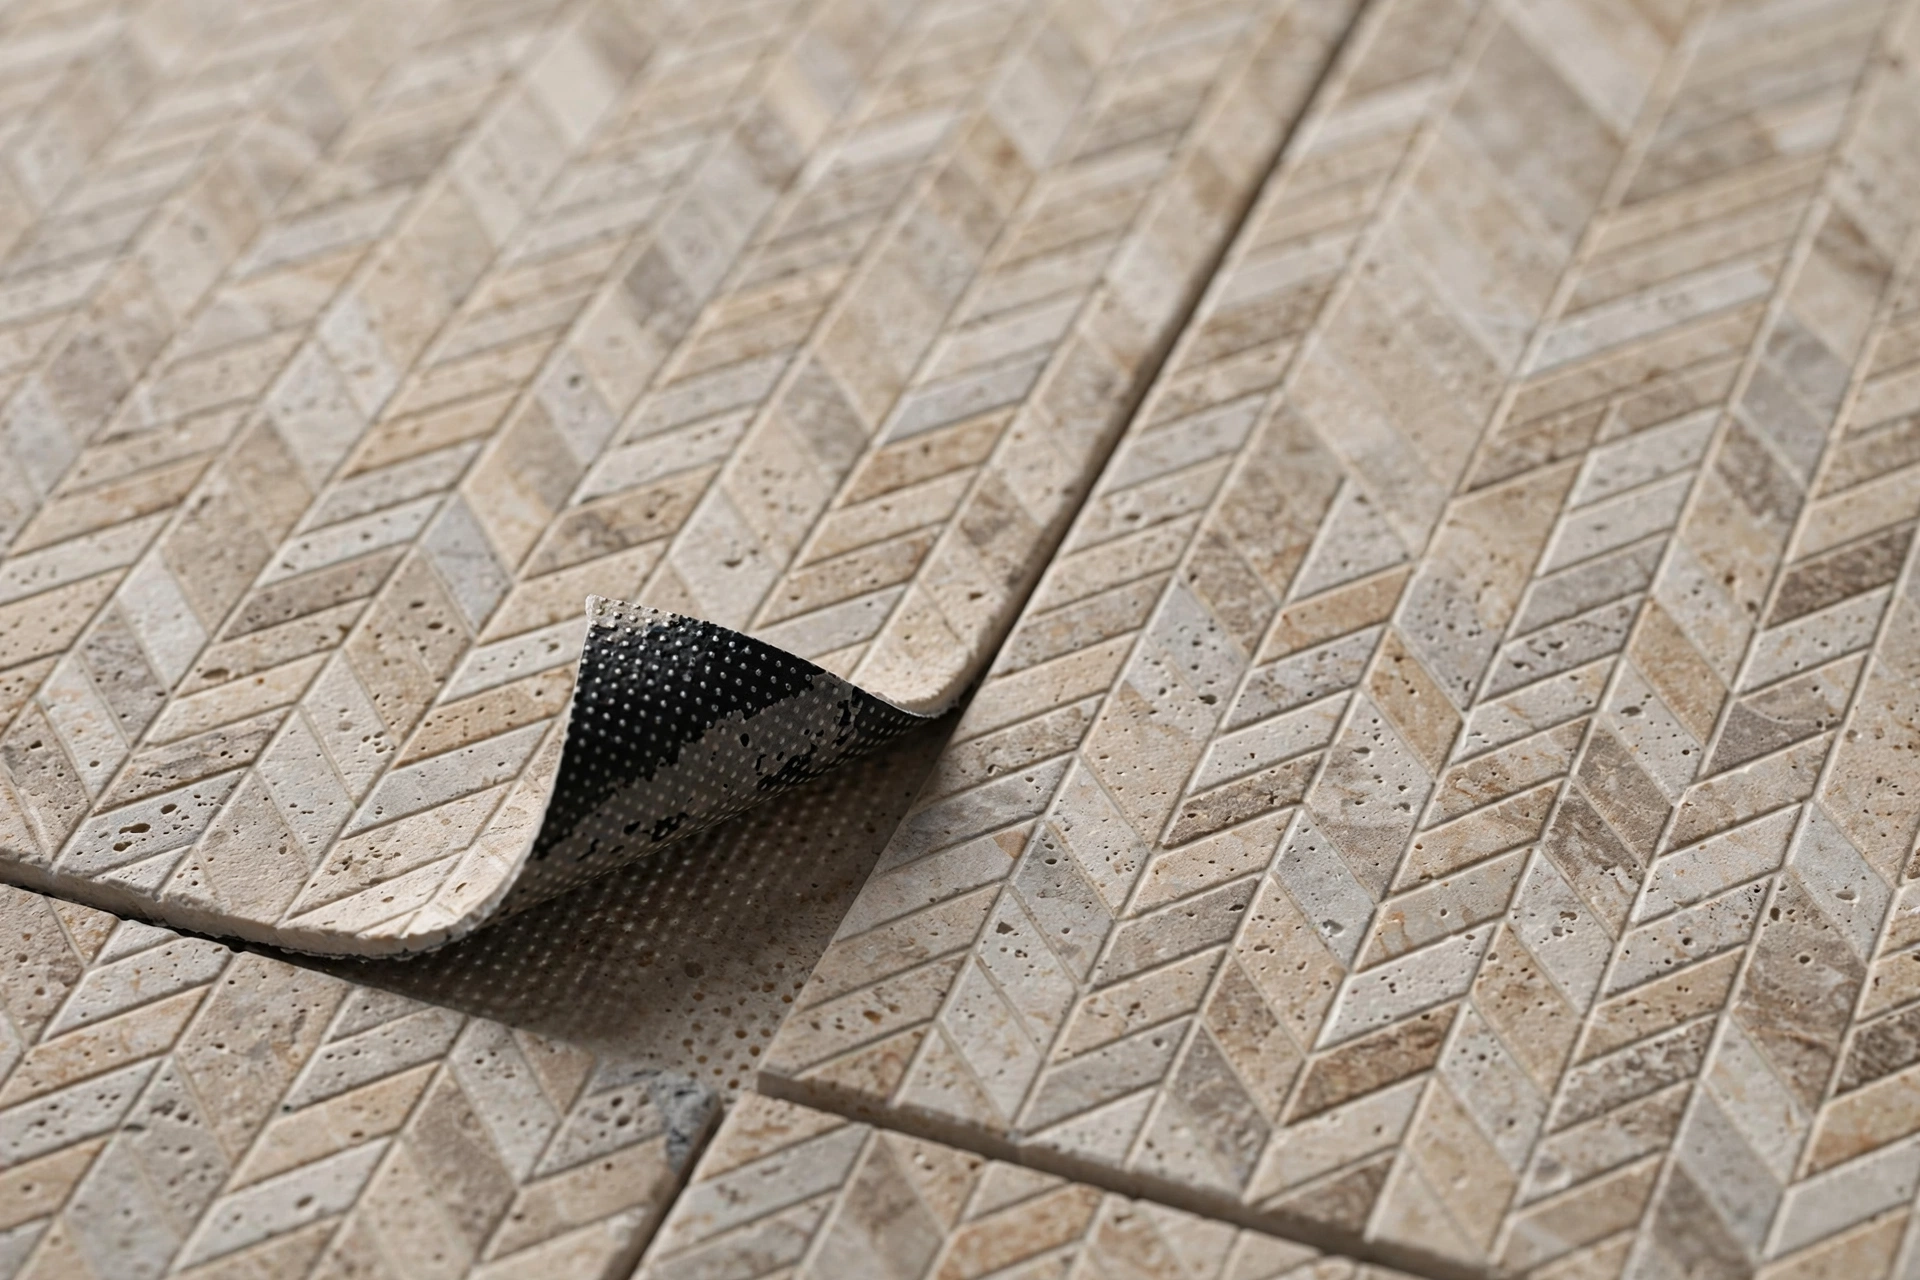
Step 1: Prep the subfloor. This is 80% of the job. Remove old adhesive, fill dips, sand bumps. The surface must be smooth, clean, dry, and dust-free. Vacuum, then damp-mop, then let dry completely.
Step 2: Plan the layout. Find the center of the room and dry-lay a row in each direction. You want cut tiles at the edges to be roughly equal — not a full tile on one side and a sliver on the other. Chalk lines are your friend.
Step 3: Start from the center. Peel, align carefully (you get one shot — the adhesive grabs fast), press down firmly from the center outward to avoid air bubbles. A hand roller or even a rolling pin helps bond.
Step 4: Cut edges. Measure, mark, cut with a utility knife and straightedge. For curves around toilets or pipes, make a paper template first.
Step 5: Roll the whole floor. A 75–100 lb floor roller (rentable) bonds everything properly. This step separates floors that last from floors that lift.
Pro tips:
- Warm the room to 65–85°F during and after installation. Cold adhesive doesn’t bond well.
- Don’t stretch tiles to fit — they’ll shrink back and gap.
- Buy 10% extra for mistakes and future replacements.
How Long Do They Last?
Honest answer: 3–7 years in normal residential use. Less in heavy traffic, more in a low-use room. They’re not a permanent floor — they’re a temporary-to-medium-term solution.
What kills them: heat (near ovens, in sunrooms — adhesive softens), standing water working under edges, heavy rolling loads (refrigerators, office chairs without mats), and poor subfloor prep from day one.
The flip side: when they wear out, replacement is cheap and easy. Some people treat them as a disposable floor — refresh every few years for the cost of a nice dinner out.
Honest Pros and Cons
Pros:
- Cheapest flooring option ($0.50–$2/sq ft materials)
- Fastest installation (a room in an afternoon)
- True DIY — no special tools or skills
- Huge design variety
- Removable (with heat and patience)
Cons:
- Not durable long-term (3–7 years typical)
- Thin — shows subfloor imperfections
- Edges can lift, especially with moisture or heat
- Won’t fool anyone up close
- Adds zero home value
My honest take: peel and stick tiles are a tactical tool, not a flooring strategy. For rentals, quick fixes, and low-stakes rooms, they’re brilliant — the best dollars-per-impact in all of flooring. As a “forever floor” for your main living areas? No. Know which job you’re hiring them for.
What Do They Cost?
Materials: $0.50–$2.00 per square foot. The good ones (thicker, better adhesive, nicer designs) run $1–$2.
Total for a 100 sq ft room: $50–$200 in materials, plus maybe a $20 roller rental. That’s it — no labor cost if you DIY, which you will.
Compare that to $300–$700 for LVP in the same room, and you see the appeal.
Peel and Stick vs The Alternatives
Vs LVP (luxury vinyl plank): LVP costs 3–4x more but lasts 3–4x longer, looks better, and handles water and traffic far better. If this is your own home and you’ll be there a while, LVP is the smarter money. Peel and stick is for when LVP’s price or effort doesn’t make sense.
Vs sheet vinyl: sheet vinyl is similarly cheap but more waterproof (fewer seams) and slightly more durable. Harder to DIY well, though — big rolls are unwieldy.
Vs paint: painted floors are the other ultra-budget option. Cheaper still, but less durable and more prep work. Peel and stick wins on ease.
Related: Vinyl Flooring Guide — when you’re ready to step up to LVP, here’s everything to know.
Choosing the Right Peel and Stick Tile
Not all peel and stick tiles are equal, and the price difference (from $0.50 to $2+/sq ft) reflects real quality gaps. Here’s what separates the good from the disposable:
Thickness matters most. Cheap tiles are under 1.2mm — flimsy, telegraph every imperfection, and lift easily. Good ones run 1.5–2.5mm+ with rigid cores. You can feel the difference in the store; the good ones feel substantial, not like stickers.
Adhesive quality. Look for tiles that specify their adhesive type. The better products use pressure-sensitive adhesives formulated for flooring (not repurposed craft adhesive). Reviews mentioning “still down after 2 years” are worth more than any marketing claim.
Wear layer. Even budget tiles have wear layers — thicker is better. For anything beyond a closet, don’t go below what’s marketed as “residential grade.”
Design honesty. The best-looking peel and stick tiles don’t try to fool anyone into thinking they’re marble — they embrace bold patterns, geometrics, and colors that look intentional. A confident pattern looks better than an unconvincing fake.
Buy extra. Peel and stick patterns get discontinued constantly. Buy 15% over (not the usual 10%) so future repairs match. Store the extras flat, in a climate-controlled space.
Frequently Asked Questions
Do peel and stick tiles really stay down?
Yes, if the subfloor is properly prepped and the room stays in normal temperature ranges. Most failures trace back to dusty/uneven subfloors or cold installation. The adhesive technology is far better than it was twenty years ago.
Can you put peel and stick tile over existing flooring?
Over smooth vinyl or sealed concrete: usually yes. Over tile with grout lines: the grout will telegraph through — skim-coat first or don’t bother. Over carpet: no. Over damaged or uneven floors: fix the floor first.
Are peel and stick floor tiles waterproof?
The vinyl tiles themselves are water-resistant, but water can seep between tiles to the subfloor. Fine for splashes; not for rooms that flood or stay wet.
How do you remove peel and stick tiles?
Heat gun or hair dryer to soften the adhesive, then pry up with a putty knife. Adhesive residue comes off with mineral spirits or a citrus-based remover. It’s work, but doable — budget an afternoon for a room.
Do they work on walls or backsplashes?
The thinner decorative ones, yes — peel and stick is popular for backsplashes and accent walls. Use tiles rated for vertical application; floor tiles are heavier and may not stay up.
The Bottom Line
Peel and stick floor tiles are the ultimate “good enough” flooring — astonishingly cheap, genuinely easy, and surprisingly good-looking for the money. They won’t last decades and they won’t impress a home inspector, but for rentals, quick refreshes, and low-stakes rooms, nothing touches their value. Prep the subfloor properly, keep expectations honest, and you’ll wonder why you waited so long.