
The flooring itself is only half the project. Installation — whether you DIY it or hire it out — determines how the floor looks, how long it lasts, and how much the whole thing actually costs. A great floor installed badly is a bad floor. And installation is where budgets quietly explode if you don’t plan for it.
This guide covers the real costs by flooring type, an honest DIY-vs-pro framework, the tools you’ll need, what the process looks like, and how to hire well if you go the pro route.
DIY vs Hiring a Pro: The Honest Framework
Forget the “anyone can do it” marketing and the “always hire a pro” snobbery. Here’s how to actually decide:
DIY when:
- The flooring is click-lock (LVP, laminate) — designed for DIY
- The room is simple (square, few obstacles, no stairs)
- You have a free weekend and basic tool skills
- The floor is inexpensive enough that mistakes aren’t catastrophic
- You genuinely enjoy this kind of work
Hire a pro when:
- The flooring is tile, hardwood nail-down, or glue-down anything
- The room has stairs, curves, or complex transitions
- The subfloor needs repair or leveling
- The floor is expensive (mistakes cost real money)
- Your time is worth more than the labor savings
The math that matters: pro installation typically runs $3–$8/sq ft depending on material and market. For a 500 sq ft project, that’s $1,500–$4,000 in labor. DIY saves that money but costs you 2–4 days and the risk of rookie mistakes. There’s no universally right answer — just the right answer for your skills, schedule, and risk tolerance.
My honest take: click-lock vinyl and laminate are genuinely DIY-friendly — the manufacturers designed them that way, and the locking systems are forgiving. Everything else, I’d hire out unless you have real experience. A bad tile or hardwood install is visible forever and expensive to fix.
Installation Costs by Flooring Type
All-in installed costs (materials + labor), typical US ranges:
- Peel and stick tile: $1–$3/sq ft (almost always DIY)
- Sheet vinyl: $2–$4/sq ft
- Laminate: $3–$6/sq ft
- LVP/SPC vinyl: $3–$7/sq ft
- Linoleum: $4–$8/sq ft
- Engineered hardwood: $6–$12/sq ft
- Solid hardwood: $8–$15/sq ft
- Ceramic/porcelain tile: $5–$15/sq ft (labor-heavy)
Labor-only ranges (you supply materials):
- Click-lock floating floors: $2–$4/sq ft
- Glue-down vinyl: $3–$5/sq ft
- Nail-down hardwood: $4–$8/sq ft
- Tile: $5–$10/sq ft
Labor varies enormously by market — big coastal cities run 30–50% higher than the Midwest. Always get local quotes.
DIY Difficulty by Flooring Type
Ranked from easiest to hardest:
- Peel and stick — beginner. If you can use a utility knife, you can do this.
- Click-lock LVP/laminate — beginner to intermediate. Straightforward, but cutting around doorways takes practice.
- Sheet vinyl (small rooms) — intermediate. The cutting and fitting is the skill.
- Click linoleum — intermediate. Similar to LVP with less forgiveness.
- Glue-down vinyl — intermediate to advanced. Adhesive timing matters.
- Nail-down hardwood — advanced. Straight lines over hundreds of square feet, tricky cuts, racking for color variation.
- Tile — advanced. Layout, thinset consistency, leveling, grouting — every step has a learning curve, and mistakes are permanent.
Tools You’ll Need for DIY
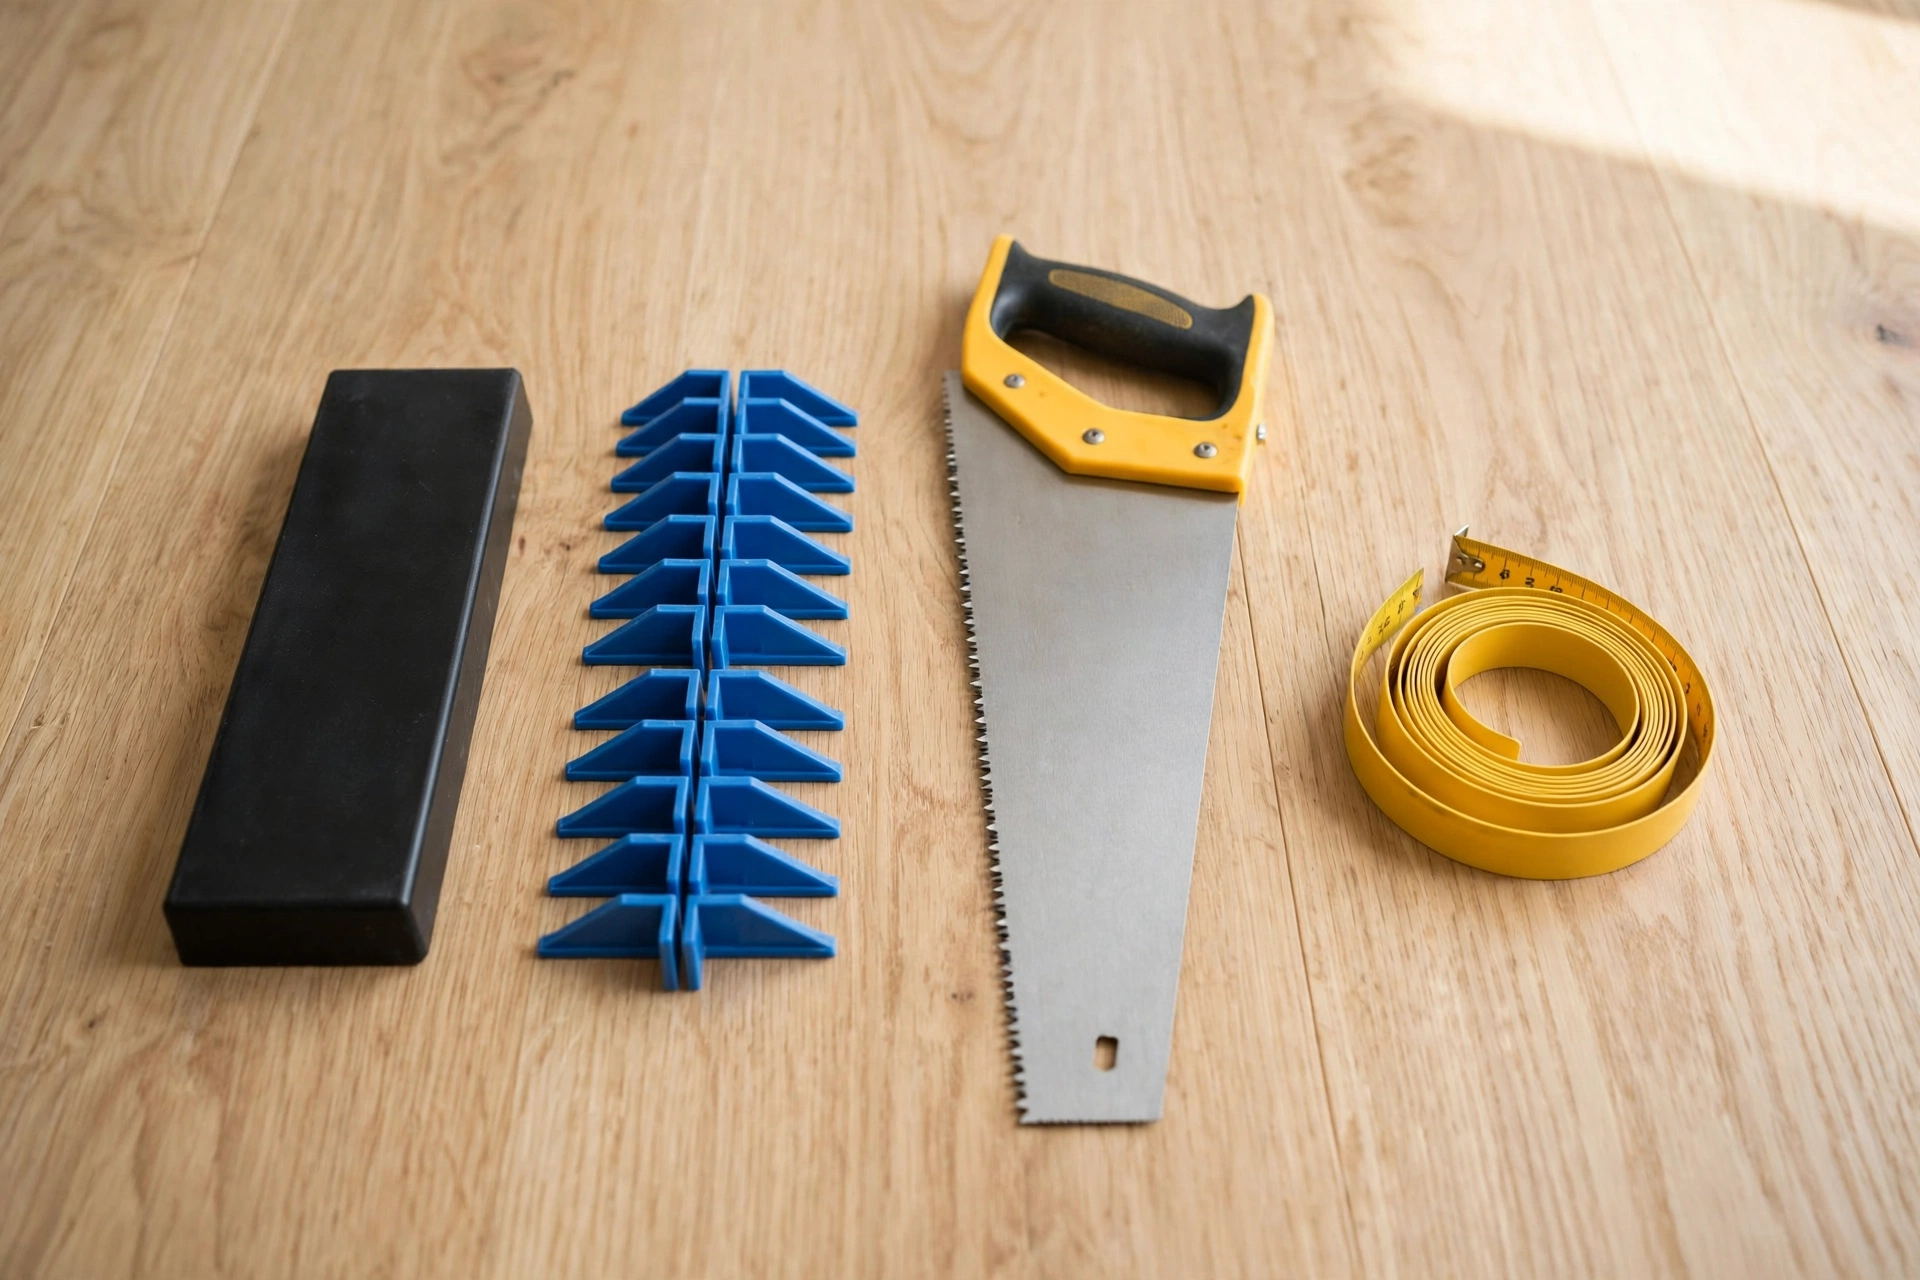
For click-lock floors (LVP/laminate):
- Tape measure, pencil, chalk line
- Utility knife and straightedge (vinyl) or circular/jigsaw (laminate)
- Tapping block and pull bar (often in an install kit)
- Spacers (1/4″ for expansion gaps)
- Rubber mallet
- Knee pads (non-negotiable — your knees will thank you)
Add for hardwood nail-down:
- Floor nailer/stapler (rent it — $40–$60/day)
- Air compressor
- Miter saw for clean cuts
Add for tile:
- Wet tile saw (rent it)
- Notched trowel, grout float, sponges, buckets
- Tile spacers and leveling system
- Knee pads (doubled — tile work is brutal on knees)
Total tool investment for a first click-lock project: $100–$200 if buying, less if borrowing. Tile and hardwood tool costs push higher, which is another argument for hiring those out.
The Installation Process: Step-by-Step Overview
Every flooring install follows the same skeleton:
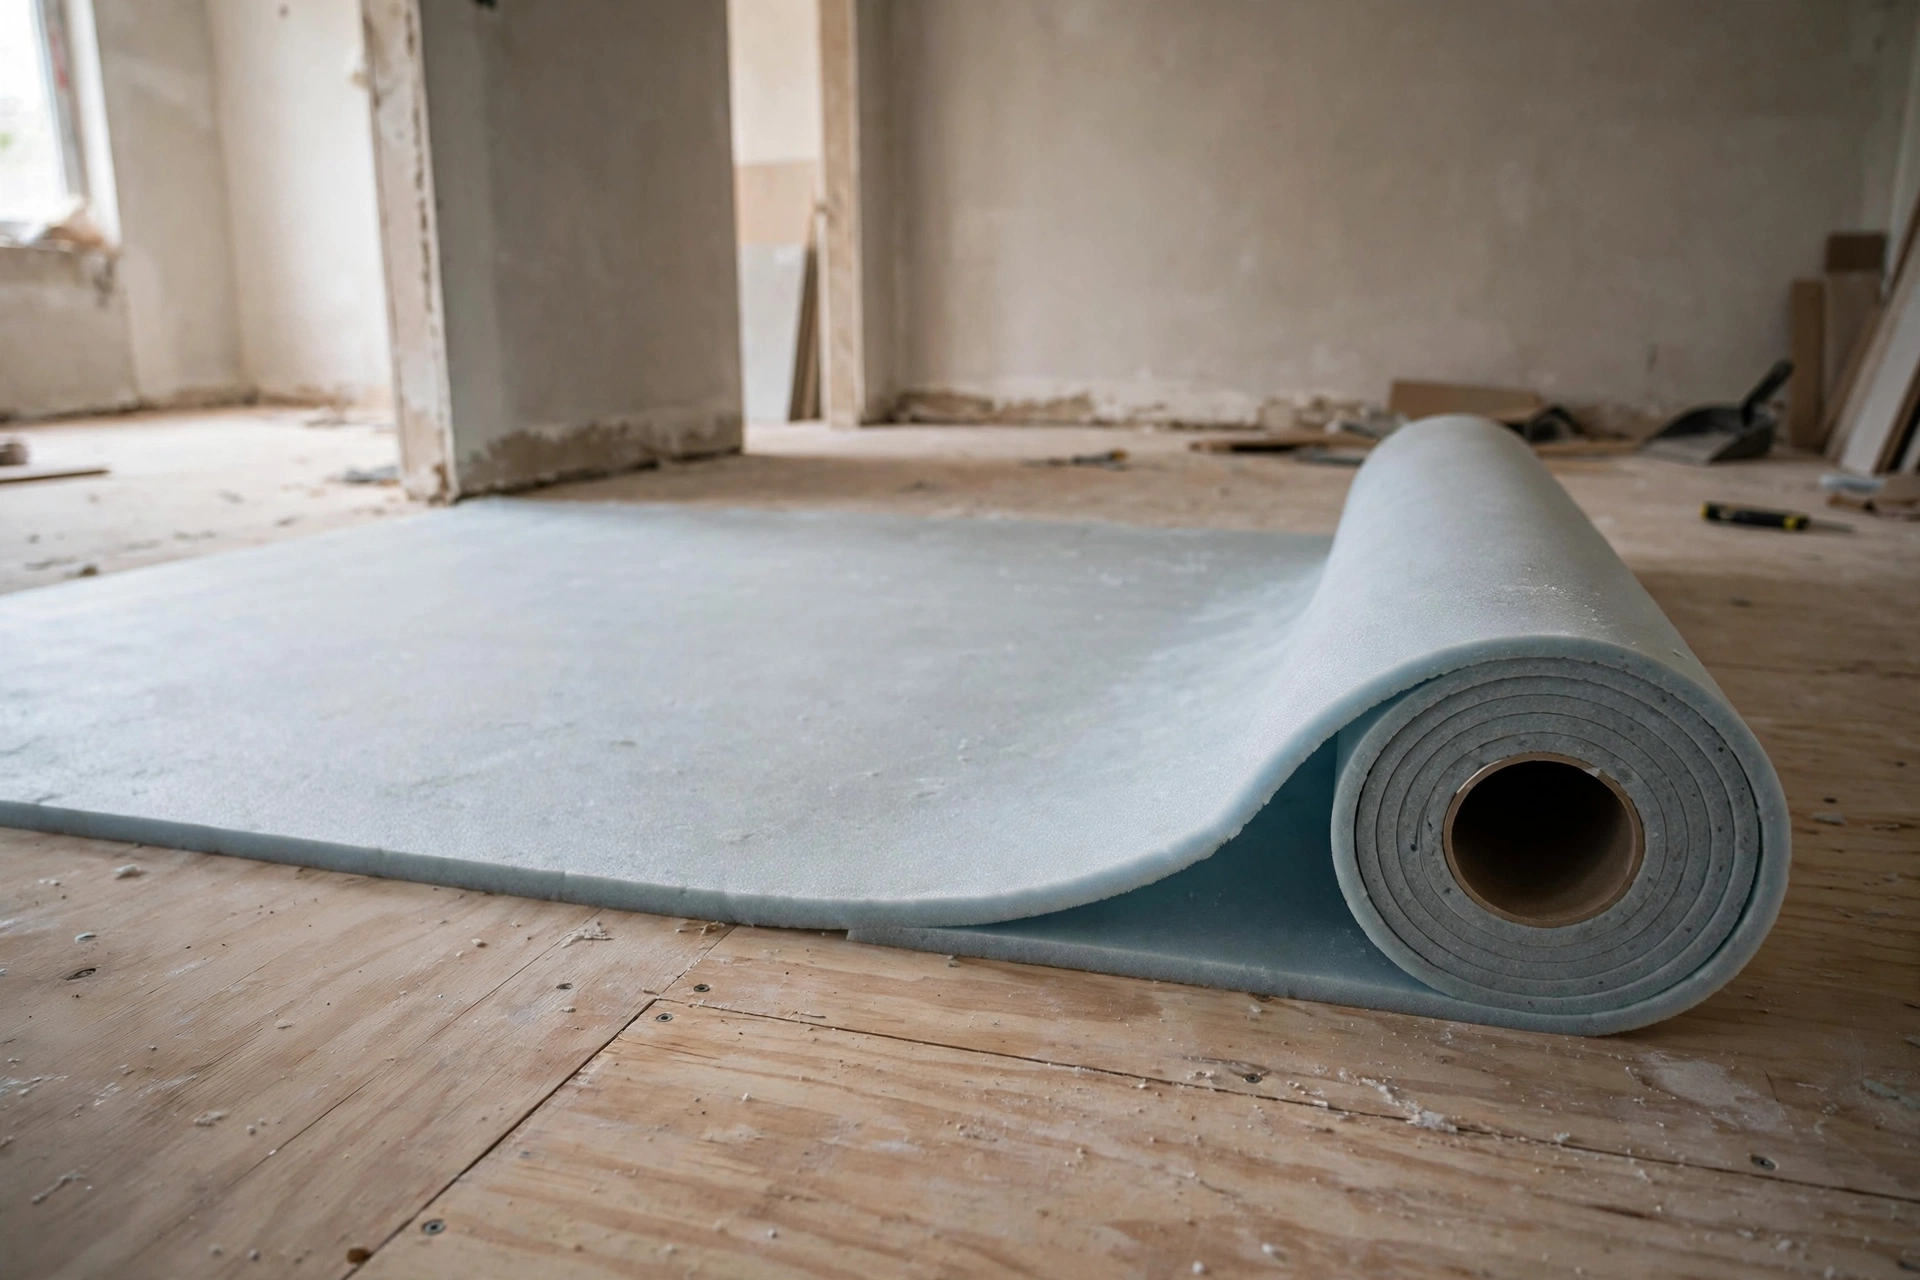
1. Prep the subfloor. Remove old flooring (or verify you can go over it). The subfloor must be clean, dry, level, and structurally sound. Fix squeaks, fill dips, sand high spots. This step determines everything — a bad subfloor ruins good flooring.
2. Acclimate the flooring. Let the material sit in the room 48–72 hours (longer for hardwood). Skipping this causes expansion/contraction problems later. Non-negotiable.
3. Plan the layout. Measure, find center lines, plan so edge cuts are balanced (not a full plank one side and a sliver the other). Dry-lay the first few rows.
4. Install. Work row by row from your starting line. Maintain expansion gaps at walls (usually 1/4″–3/8″). Stagger joints (no H-patterns, minimum 6″ stagger typically).
5. Cut around obstacles. Doorways, vents, toilets, pipes. Measure twice, cut once — and make paper templates for curves.
6. Finish. Install transitions at doorways, reinstall baseboards (or add quarter-round), caulk where needed, clean up.
7. Wait (if applicable). Glue-down floors need cure time before furniture. Site-finished hardwood needs days between coats. Don’t rush this.
Hiring a Pro: Getting It Right
Get 3 quotes minimum. Not just for price — for vibe. You’re letting this person into your home for days.
What a good quote includes:
- Itemized materials vs labor
- Subfloor prep scope (what’s included, what costs extra)
- Old floor removal and disposal
- Transitions, moldings, and thresholds
- Furniture moving (or not)
- Timeline with start and completion dates
- Warranty on workmanship (1–2 years is standard)
Red flags:
- Quote is dramatically lower than others (corners will be cut)
- No written contract
- Demands full payment upfront (deposits of 30–50% are normal; 100% upfront is not)
- Can’t provide references or photos of recent work
- Wants to skip subfloor prep (“it’ll be fine”)
- No insurance
The questions to ask:
- How do you handle subfloor issues if you find them?
- What’s your process if materials run short?
- Who’s actually doing the work — you or a crew?
- What happens if I’m not happy with something?
Hidden Costs Nobody Mentions
Budget 15–20% over the quote for these:
- Subfloor repair: rotted sections, leveling — $1–$3/sq ft extra when needed
- Old floor removal: $1–$3/sq ft, more for tile (it’s miserable to remove)
- Furniture moving: some installers include it, some charge, some won’t do it
- Transitions and moldings: $5–$15 per piece, adds up across doorways
- Waste factor: buy 10% extra material (15% for tile with patterns or diagonal layouts)
- Dumpster/dump fees: for large tear-outs
- Baseboard replacement: often damaged during removal; budget for new
Planning Your Project Timeline
Flooring projects disrupt your home. Planning the timeline honestly prevents the “we’ve been without a kitchen for three weeks” nightmare.
Realistic timelines (pro install, average home):
- Single room click-lock (bedroom): 1 day
- Whole-house click-lock (1,500 sq ft): 3–5 days
- Tile bathroom: 3–5 days (thinset and grout cure times)
- Nail-down hardwood (1,000 sq ft): 4–7 days
- Site-finished hardwood: add 3–5 days for sanding and finish coats
DIY timelines: multiply pro estimates by 2–3x. A weekend warrior does in three weekends what a crew does in three days. That’s fine — just plan for it instead of discovering it.
The ordering trap: materials can take 2–6 weeks to arrive, especially special orders. Order before you demo anything. Nothing is sadder than a torn-up floor and a backordered shipment.
Living through it: plan which rooms are unusable when. Do bedrooms first (so you can sleep), kitchens last if possible (or set up a temporary kitchen). If the whole house is being done, consider whether you need to move out for a few days — the cost of a short-term stay is often less than the misery.
Seasonal note: hardwood installs in very dry winter or humid summer need extra acclimation attention. Spring and fall are the sweet spots for wood flooring projects.
Frequently Asked Questions
How much does it cost to install 1,000 sq ft of flooring?
Rough all-in ranges: LVP $3,000–$7,000; laminate $3,000–$6,000; hardwood $8,000–$15,000; tile $5,000–$15,000. Get local quotes — labor markets vary hugely.
Can I install flooring myself to save money?
Yes for click-lock vinyl, laminate, and peel-and-stick — these are designed for DIY and the savings are real ($1,000–$3,000 on a typical project). For tile, hardwood, and glue-down, the skill gap usually justifies hiring out.
How long does flooring installation take?
A pro crew does 500–1,000 sq ft of click-lock in a day. DIY: a weekend for the same. Tile runs slower — 200–300 sq ft/day for pros. Hardwood nail-down: similar to tile. Add days for subfloor prep and finishing.
Should I remove old flooring first?
Usually yes. Going over old flooring is sometimes acceptable (LVP over smooth vinyl, for example) but it raises floor height (door clearance, transitions) and hides subfloor problems. When in doubt, tear out.
What’s the cheapest flooring to install?
Peel and stick (DIY, under $1/sq ft all-in) and sheet vinyl ($2–$4 installed). Among “real” floors, laminate and LVP are the value kings.
The Bottom Line
Installation is where flooring projects succeed or fail, and the decision framework is simple: DIY the click-lock stuff, hire out the skilled trades (tile, hardwood, glue-down), and never skip subfloor prep regardless of who does the work. Get itemized quotes, budget for the hidden costs, and remember that the cheapest bid is rarely the cheapest project. A floor installed right the first time is the only bargain in this business.
Related: Vinyl Flooring Guide · Hardwood Flooring Guide · Peel and Stick Floor Tiles Guide