
Wall cabinets — the uppers — are the face of your kitchen. They’re at eye level, so they’re what you actually see when you walk in. They hold the dishes, glasses, and spices you reach for daily. And they’re the cabinets most likely to make or break the look of the room, because a bad upper-cabinet decision stares you in the face every morning.
The good news: wall cabinets are simpler than base cabinets. No plumbing, no appliances, no toe kicks — just boxes on a wall. But “simple” doesn’t mean “thoughtless.” Height, depth, mounting position, and lighting all matter, and getting them wrong is expensive to fix. This guide covers standard sizes, how high to hang them, storage ideas, installation basics, and costs.
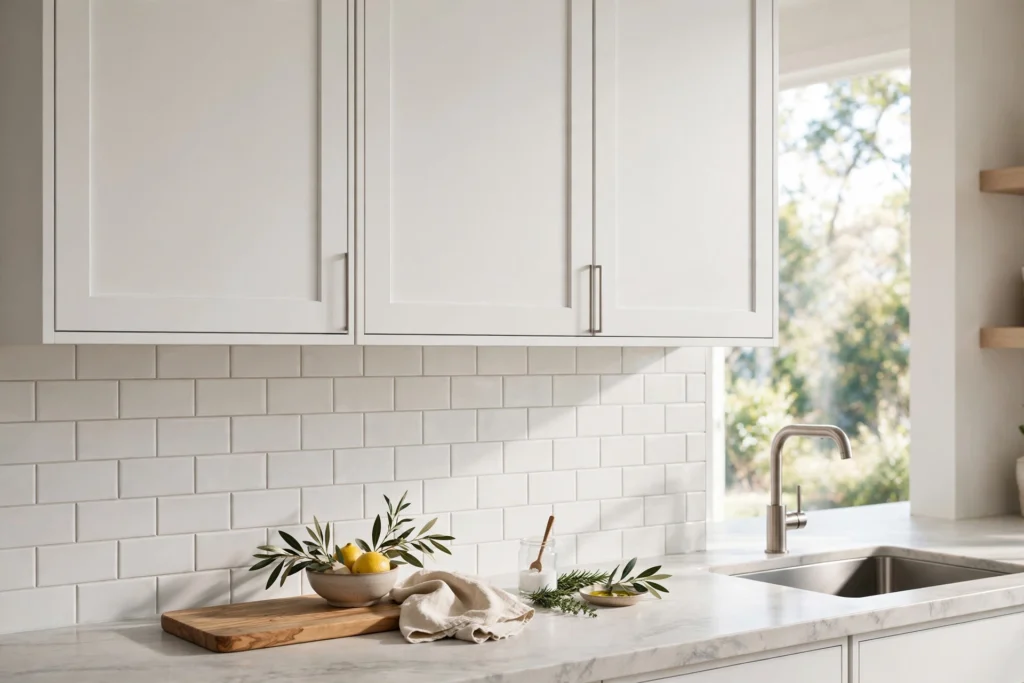
Standard Wall Cabinet Sizes
Wall cabinets have more size flexibility than base cabinets because nothing structural depends on them:
- Depth: 12 inches standard. Deeper 15″ and 18″ options exist and are getting more popular — a 15″-deep upper holds noticeably more (dinner plates fit with room to spare) without looking bulky. I’d hesitate to go past 15″ over a standard counter unless you’re tall; past that, the back of the shelf becomes unreachable dead space.
- Height: 12″ to 42″. The common lineup: 12″ (over fridges and microwaves), 15″, 18″ (over ranges), 24″, 30″, 36″, and 42″ (ceiling-height). For 8-foot ceilings, 36″–42″ uppers run to the ceiling or close to it.
- Widths: 12″ to 36″ in 3-inch increments. Single-door uppers top out around 24″ wide; wider than that and you want two doors, or the door gets heavy and warps over time.
For the complete size picture — bases, talls, clearances, appliance openings — my kitchen cabinet dimensions guide has the full chart.
How High to Hang Wall Cabinets
This is the question everyone asks, and the answer is blessedly simple:
The bottom of the wall cabinet goes 54 inches off the floor — 18 inches above the finished countertop.
That 18-inch gap is the ergonomic sweet spot: enough room to use small appliances (coffee maker, toaster, stand mixer) under the cabinets, low enough that the first shelf is reachable for most adults. It’s been the standard for decades because it works.
Exceptions worth knowing:
- Over the range: minimum 30 inches from the cooktop surface to the bottom of any combustible cabinet above it. Most kitchens skip the cabinet here entirely and use a range hood, or use a short 12″–15″ cabinet mounted higher.
- Over the refrigerator: a 12″–24″ tall cabinet mounted at whatever height clears the fridge (usually 72″+ off the floor). Deep storage for the stuff you use twice a year.
- Shorter cooks: if the primary cook is under about 5’3″, dropping uppers to 15–16 inches above the counter makes daily life noticeably easier. It’s your kitchen — the standard serves you, not the other way around.
- To-the-ceiling uppers: with 8-foot ceilings, 42″ tall cabinets mounted at the standard 54″ put the top at 96″ — flush with the ceiling. No dust-collecting gap, maximum storage. The top shelf needs a step stool, but that’s what it’s for (holiday dishes, not daily cereal).
Wall Cabinet Styles and Door Options
Uppers carry the kitchen’s style because they’re at eye level. A few approaches:
Match the base cabinets. The default, and usually the right call. Same door style, same finish, one cohesive kitchen.
Glass-front uppers. One or two glass-front cabinets mixed into solid uppers break up the monotony and give you a display spot. Frosted or reeded glass for real life; clear glass only if your dishes are genuinely display-worthy and you keep them that way.
Open shelving instead of uppers. The trendy move — replace some or all uppers with floating shelves. Looks fantastic in photos. In real life, everything on open shelves collects a film of cooking grease and dust, and you have to style them constantly. My honest take: one or two shelves as an accent, not a whole kitchen of them. Your future self, the one who cooks actual food, will thank you.
Different color uppers. White uppers with a colored island or dark base cabinets is a classic combination that keeps the kitchen feeling light at eye level while adding personality below. Light on top, dark on bottom — it works because it mimics how we perceive weight.
Storage Ideas: Making Uppers Work Harder
Wall cabinets are shallower than bases, so organization is about visibility and reach:
- Put daily items on the bottom shelf. Dishes, glasses, coffee mugs — everything you touch every day lives within easy reach of the 54″–66″ zone.
- Group by task. Coffee station cabinet (mugs, filters, beans), cooking cabinet (oils, spices, everyday pans), baking cabinet. You stop hunting and start grabbing.
- Use the door backs. Slim racks on the inside of upper doors hold spice jars, wraps, and lids — dead space turned useful.
- Shelf risers. A $15 wire riser doubles the usable space on a shelf for mugs and small bowls. Unsexy, extremely effective.
- Pull-down shelving. For the high shelves in tall uppers — a pull-down rack brings the top shelf to you. About $100–$250 per unit. Worth it if you’re short or planning to age in place.
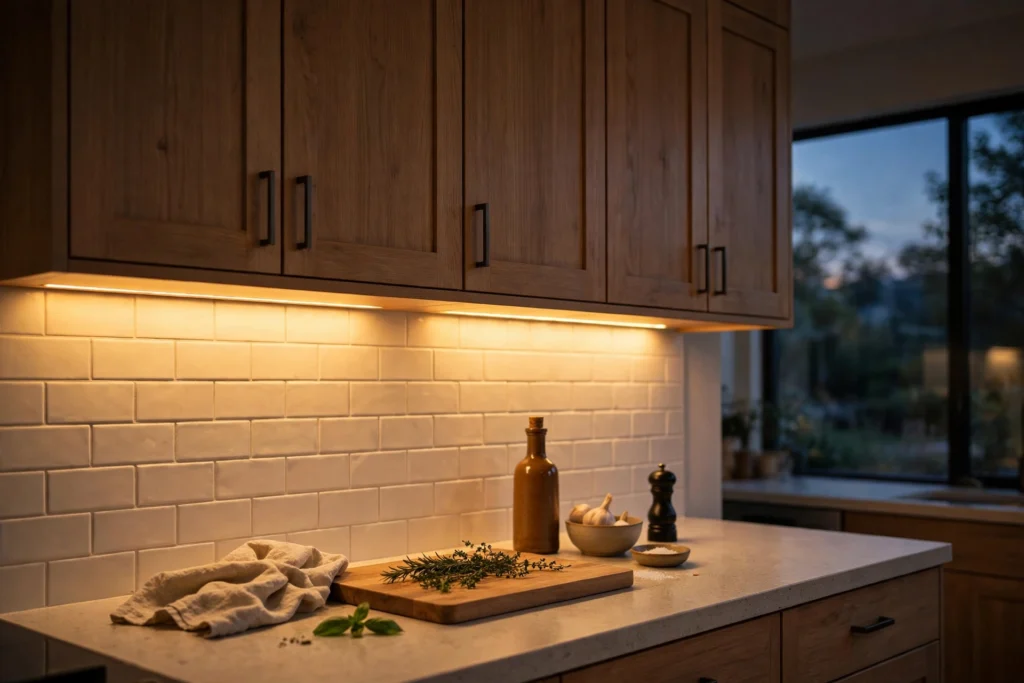
- Under-cabinet lighting. Not storage, but it transforms how the kitchen feels and functions. LED strips or pucks under every upper, warm white (2700–3000K). If your uppers don’t have this, it’s the single best retrofit you can do — about $20–$50 per cabinet in materials.
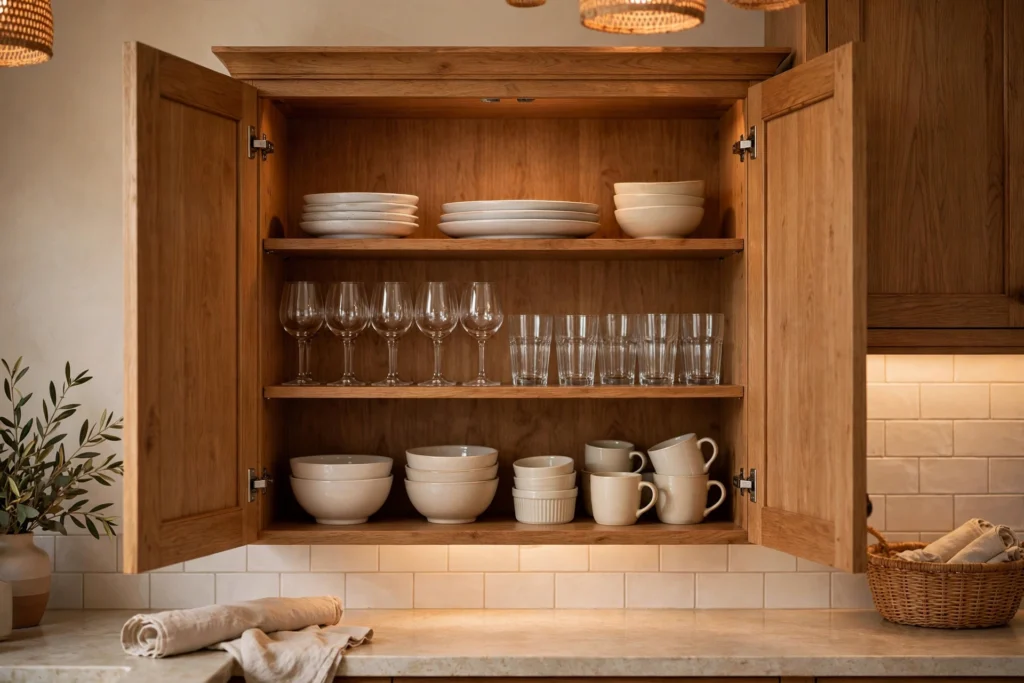
What Goes Where: The Upper Cabinet Map
A sensible default layout, working around the kitchen:
- Near the dishwasher: everyday dishes and bowls (unload straight up, minimal steps).
- Near the coffee maker: mugs, filters, coffee/tea.
- Near the range: cooking oils, spices, frequently used utensils.
- Near the prep area: mixing bowls, cutting boards (vertical dividers), food storage containers.
- Above the fridge / high shelves: holiday dishes, specialty appliances, bulk overflow — the twice-a-year stuff.
- Never above the range: anything meltable, flammable, or that you need while cooking with a hot pan in your hand.
Installation Basics
Hanging wall cabinets is a two-person job — the boxes are awkward and heavy, and they need to be level and solidly anchored. The short version:
- Find and mark every stud. Uppers must screw into studs, not just drywall. A 36″ cabinet full of dishes weighs 100+ pounds. Use a good stud finder and mark the centers.
- Draw a level line at 54 inches (cabinet bottom height) around the room. A laser level earns its keep here.
- Screw a temporary ledger board to the wall along that line. The cabinets rest on it while you work — this is what makes solo-adjacent installation possible and keeps everything level.
- Start in the corner and work outward. Hang the corner cabinet first, shim it level and plumb, then screw each subsequent cabinet to its neighbor (clamp the face frames together, drill pilot holes, drive screws) and into the studs.
- Use proper screws — #10 × 2.5″–3″ cabinet screws or structural screws into studs. Drywall screws are not cabinet screws; they snap under shear load.
- Remove the ledger, install doors and hardware last.
If any of that made you nervous, hire it out. A falling wall cabinet is not a learning experience you want. Professional installation runs $100–$300 per linear foot depending on your market.
What Wall Cabinets Cost
Per-cabinet pricing for a standard 30″–36″ wide upper, before installation:
- Stock: $100–$300 per cabinet
- Semi-custom: $200–$600 per cabinet
- Custom: $500–$1,200+ per cabinet
A typical kitchen has 6–10 wall cabinets, so budget roughly $1,000–$3,000 stock, $2,500–$6,000 semi-custom, $5,000–$12,000+ custom. Glass-front doors add $50–$150 per door over solid doors. Under-cabinet lighting adds $200–$500 for a full kitchen DIY.
The Space Above: Use It or Lose It
If your uppers stop short of the ceiling, you get a gap — usually 6 to 15 inches — that collects grease and dust and looks unfinished. Three options:
- Run cabinets to the ceiling. Cleanest look, most storage. The modern default.
- Add a soffit or bulkhead. A boxed-in section that closes the gap. Common in older homes; fine, just not as useful as actual cabinets.
- Decorate it. If the gap stays, style it intentionally — it’s the difference between “unfinished” and “designed.” I’ve got 20+ ideas for exactly this spot in my guide to decorating above kitchen cabinets.
Kitchen Wall Cabinets: FAQs
How high should kitchen wall cabinets be mounted?
54 inches off the floor to the bottom of the cabinet — 18 inches above the finished countertop. Over a range, the minimum is 30 inches from cooktop to cabinet bottom.
What is the standard depth of upper kitchen cabinets?
12 inches standard, with 15″ and 18″ deeper options. Deeper than 15″ gets hard to reach into for most people.
How wide can a wall cabinet be?
Up to 36 inches wide in standard lines, in 3-inch increments. Single-door uppers are usually 24″ wide or less; wider cabinets get two doors.
Should kitchen cabinets go to the ceiling?
If you can, yes. To-the-ceiling uppers (42″ tall on 8-foot ceilings) eliminate the dust-collecting gap and add a full shelf of storage. The top shelf needs a step stool, but it’s perfect for rarely used items.
Can I install wall cabinets by myself?
It’s a two-person job minimum — the cabinets are heavy and must be held level while being screwed to studs. A temporary ledger board helps enormously. If you’re not comfortable finding studs and driving structural screws, hire a pro.
Are open shelves better than wall cabinets?
They hold less, collect grease and dust, and need constant styling. They look great in photos. For most real kitchens, a mix works best: real cabinets for storage, one or two shelves as an accent.
How much weight can a wall cabinet hold?
A properly installed cabinet (screwed into studs) holds 100+ pounds easily. The weak points are the shelves (don’t overload a long shelf with cast iron) and the installation itself — which is why studs and proper screws are non-negotiable.
Wall cabinets are the face of the kitchen, so give them the attention they deserve: right height, right depth, good lighting underneath, and something intentional happening above them. They pair with base cabinets below and often sit beside a pantry cabinet at the end of the run — plan all three together and the kitchen designs itself.