
Here’s a secret the flooring industry doesn’t advertise: the difference between a $2/sq ft floor and a $6/sq ft floor is mostly invisible once it’s installed. What people notice is color, pattern, and installation quality — not what you paid per square foot. Some of the best-looking floors I’ve seen cost less than the mediocre ones, because the owners spent their money (and effort) in the right places.
This guide is about exactly that: budget flooring options that genuinely look good, where to save, where to spend, and the tricks that make inexpensive floors look expensive.
The Budget Flooring Ranking
Ranked by the holy trinity of cheap flooring: low cost, decent looks, reasonable durability.
1. Laminate — The Budget King
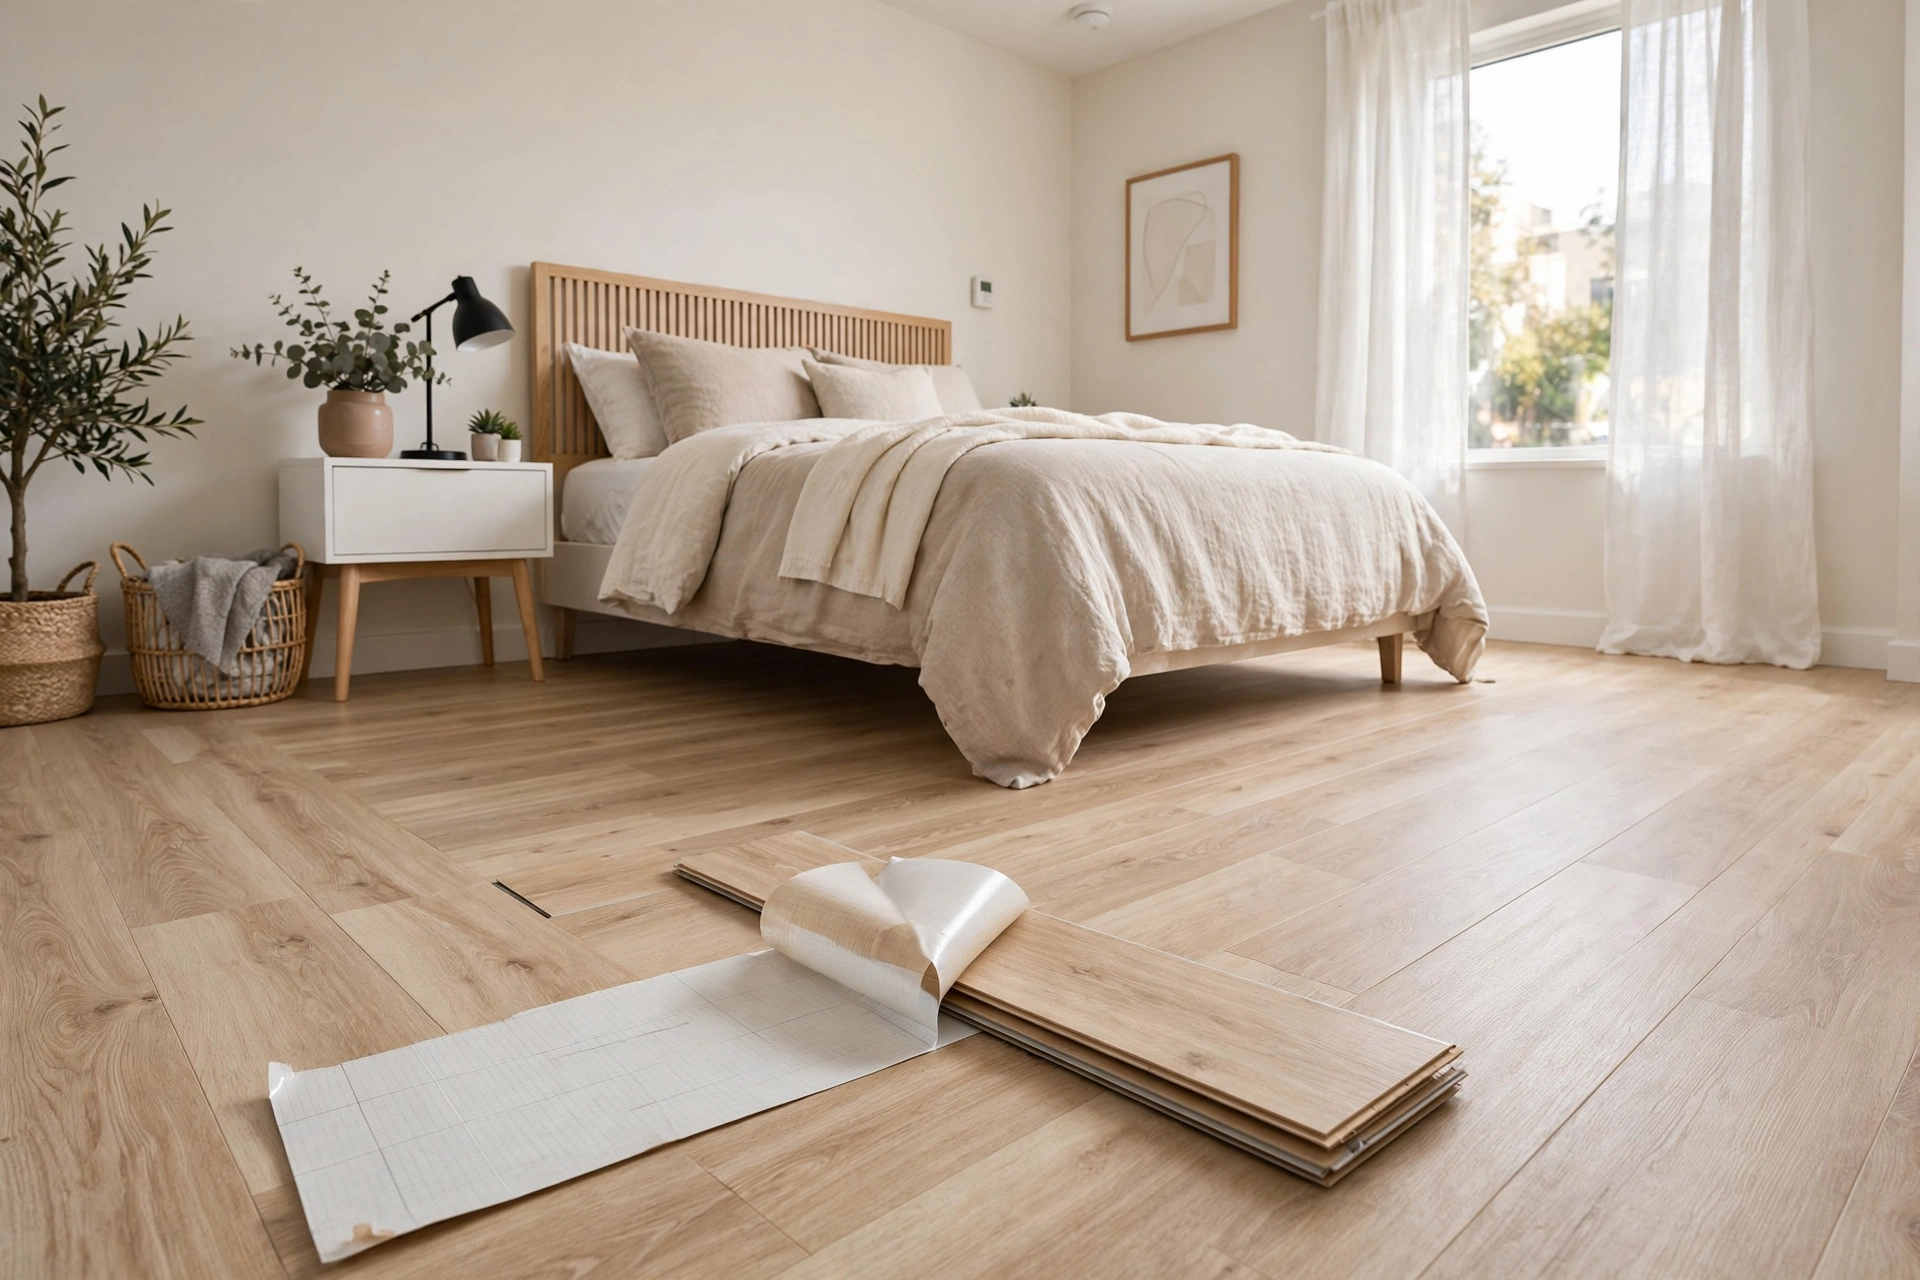
Modern laminate at $1–$3/sq ft (materials) looks remarkably like wood. The embossed textures have gotten good — run your hand across a mid-range laminate and you’ll feel grain. It clicks together for easy DIY, handles normal traffic fine, and comes in every wood tone imaginable.
Why it wins: the best looks-per-dollar in flooring. A $2 laminate in the right color, installed well, fools most visitors.
The catch: water. Keep it out of bathrooms and be careful in kitchens. One leak undoes all your savings.
2. Sheet Vinyl — The Practical Cheap Pick
$1–$3/sq ft materials, $2–$4 installed. Waterproof, comfortable, and the good designs look genuinely nice. For bathrooms, laundry rooms, and kitchens on a budget, it’s the smartest cheap choice.
3. Peel and Stick Tile — The Ultra-Budget Option
$0.50–$2/sq ft. Nothing is cheaper. For rentals, quick refreshes, and low-traffic rooms, the value is absurd — a whole room for the price of dinner.
The catch: 3–7 year lifespan and it won’t fool anyone up close. A tactical tool, not a permanent solution.
Related: Peel and Stick Floor Tiles Guide — how to install them right.
4. Budget LVP — The Stretch Pick
Entry-level LVP at $2–$3/sq ft materials. Slightly more than laminate, but waterproof and more durable. If you can stretch the budget a little, this is where the extra money goes furthest.
5. Painted Floors — The Creative Option
A gallon of porch paint costs $40 and covers a room. Painted wood floors, painted concrete, stenciled patterns — this is the cheapest “flooring” that exists, and in the right hands it looks intentional and charming rather than cheap.
The catch: durability is limited, prep work is significant, and it screams DIY (which is fine if that’s the aesthetic you’re going for).
6. Polished Concrete — The Free Floor
If you have a concrete slab, polishing it costs $2–$5/sq ft — or just clean and seal it for under $1. Industrial-chic is a legitimate aesthetic, and the floor is already there.
Where to Save vs Where to Spend
This is the real art of budget flooring. The rule: save on materials, spend on installation quality and preparation.
Save on:
- The material itself — mid-range products from reputable brands outperform premium products from no-name brands
- Fancy patterns and wide planks (standard sizes cost less and install faster)
- Trendy colors (classic tones look good longer, delaying replacement)
Spend on:
- Subfloor prep. A perfectly prepped subfloor makes cheap flooring look expensive. An unprepped subfloor makes expensive flooring look cheap. This is the highest-ROI money in any flooring project.
- Underlayment. Good underlayment ($0.30–$0.50/sq ft) improves feel, sound, and longevity of floating floors enormously.
- Transitions and trim. Cheap plastic transitions ruin the look. Decent wood or metal transitions cost little and finish the job properly.
- Installation quality. If hiring out, the installer matters more than the material tier. A great installer with mid-range laminate beats a bad installer with premium LVP.
Tricks That Make Cheap Floors Look Expensive
Choose the right color. Medium-tone woods (not too dark, not too pale) look the most expensive and hide dirt best. Very dark floors show every speck of dust; very light floors can look washed out in cheap materials.
Mind the pattern repeat. Cheap flooring’s tell is obvious pattern repetition. Higher-quality budget options have more pattern variation — check how many unique planks are in the box before buying.
Go bigger. Larger planks and tiles look more premium than small ones. A 7″ wide plank reads “upscale”; a 3″ strip reads “budget.”
Stagger properly. Random stagger patterns look professional. H-patterns (joints lining up) scream amateur — and it’s free to do it right.
Upgrade the baseboards. Tall, crisp baseboards ($1–$2/linear ft) frame any floor beautifully. It’s the cheapest visual upgrade in the room.
Lighting matters. Good lighting makes floors glow; bad lighting makes them look flat. You’d be amazed what a $30 floor lamp does for a $2 floor.
Keep it consistent. One flooring throughout connected spaces looks intentional and spacious. Chopping between cheap materials at every doorway looks… cheap.
False Economies: When Cheap Costs More
The cheapest laminate in a kitchen. Saves $200 upfront, destroyed by the first dishwasher leak. LVP costs slightly more and survives.
Skipping underlayment. Saves $150 on a room, costs you comfort, noise complaints, and shorter floor life.
DIY beyond your skill. A botched install wastes the materials entirely. Know your limits — click-lock is DIY-friendly, everything else deserves honest self-assessment.
Ignoring the waste factor. Buying exact square footage with no overage means a mid-project store run (where that dye lot is sold out) or visible patch jobs. The 10% overage is not optional.
Cheapest adhesive/transition strips. These fail first and look worst. The $30 upgrade here pays for itself in longevity.
Room-by-Room Budget Picks
Living room/bedrooms: laminate or budget LVP. Dry rooms, low risk, maximum looks-per-dollar.
Kitchen: budget LVP (waterproof) or sheet vinyl (cheapest). Never standard laminate near water sources.
Bathroom: sheet vinyl. Nothing cheaper that’s actually appropriate.
Basement: sheet vinyl or budget LVP. Moisture tolerance matters more than looks down there.
Rental property: peel and stick or sheet vinyl. Cheap, replaceable, good enough.
Laundry/mudroom: sheet vinyl. Water happens; spend almost nothing.
Real Budget Numbers
What rooms actually cost with budget materials (DIY install):
- 100 sq ft bedroom (laminate): $150–$300 materials
- 100 sq ft bathroom (sheet vinyl): $100–$200 materials
- 200 sq ft kitchen (budget LVP): $400–$600 materials
- 500 sq ft living area (laminate): $750–$1,500 materials
Add $2–$4/sq ft if hiring installation. Even pro-installed budget flooring stays remarkably affordable.
Where to Buy Cheap Flooring (And Where Not To)
Not all cheap flooring sources are equal. Where you buy affects selection, return policies, and whether that dye lot is still available when you run short.
Big box stores (Home Depot, Lowe’s): the best combination of price, selection, and return policy for budget flooring. You can take samples home, returns are painless, and stock is consistent. Their house brands are genuinely decent at the low end.
Flooring liquidators and discount outlets: lower prices, but buy everything at once — the same product may never be in stock again. Great for single-room projects where you can overbuy 15% and be done.
Online (Wayfair, Build.com, etc.): competitive prices and huge selection, but you can’t feel the product. Order samples first (most are free or cheap). Factor shipping costs and return hassles into the real price.
Habitat for Humanity ReStores: donated new and used flooring at deep discounts. Hit or miss, but the hits are spectacular — premium LVT at $1/sq ft happens. Check often; inventory turns over fast.
Where not to skimp: avoid no-name online sellers with no reviews, “too good to be true” deals on premium brands (often seconds or counterfeit), and anything without a published wear-layer spec. A floor with no warranty from a seller with no address is not a bargain — it’s a gamble.
Timing matters: flooring goes on sale predictably — holiday weekends (Memorial Day, Labor Day, Black Friday) bring 10–30% off at big box stores. If your project can wait a month, it should.
Frequently Asked Questions
What’s the cheapest flooring that looks good?
Laminate — $1–$3/sq ft materials, convincingly wood-like, DIY-friendly. For wet areas, sheet vinyl at similar prices.
How can I make cheap flooring look expensive?
Subfloor prep, quality underlayment, proper stagger patterns, upgraded baseboards and transitions, medium-tone colors, and good lighting. Installation quality matters more than material price.
Is cheap flooring worth it?
Yes, when matched to the room and installed well. A $2 laminate in a bedroom, properly installed, looks great for 15+ years. Cheap flooring fails when it’s the wrong product for the room (laminate in bathrooms) or badly installed.
What’s the cheapest way to redo floors?
Peel and stick tiles ($0.50–$2/sq ft, DIY in an afternoon) or painted floors (under $1/sq ft). Both are temporary-to-medium-term solutions, not forever floors.
Does cheap flooring hurt resale value?
Badly installed or inappropriate cheap flooring, yes. Well-chosen budget flooring (LVP, decent laminate) in good condition doesn’t hurt — and it’s far better than worn-out premium flooring.
The Bottom Line
Good-looking floors on a budget aren’t about finding a miracle product — they’re about spending wisely. Put your money into preparation and installation quality, choose proven budget materials (laminate, sheet vinyl, LVP) matched to each room’s demands, and use the visual tricks that cost nothing. The floor doesn’t know what you paid for it. Neither will your guests.