
Walk into any home improvement store, ask for a “shower faucet,” and you’ll be led to a wall of handles, trim plates, and boxes marked “valve included” or “valve sold separately.” Suddenly you have questions nobody prepared you for. What’s actually in the box? Why do two handles cost less than one? And why does the thing you touch have a different name than the thing that does the work?
Here’s the short version: the shower faucet is everything you see and touch — the handle, the trim plate, the spout. Behind it, inside the wall, lives the valve that actually mixes your water. Stores sell them together, separately, and in every confusing combination in between.
This guide clears up the faucet-vs-valve confusion, walks through the types of shower faucets and faucet sets, compares finishes honestly, covers how shower faucet replacement works (and when it means opening the wall), and lays out real cost ranges.
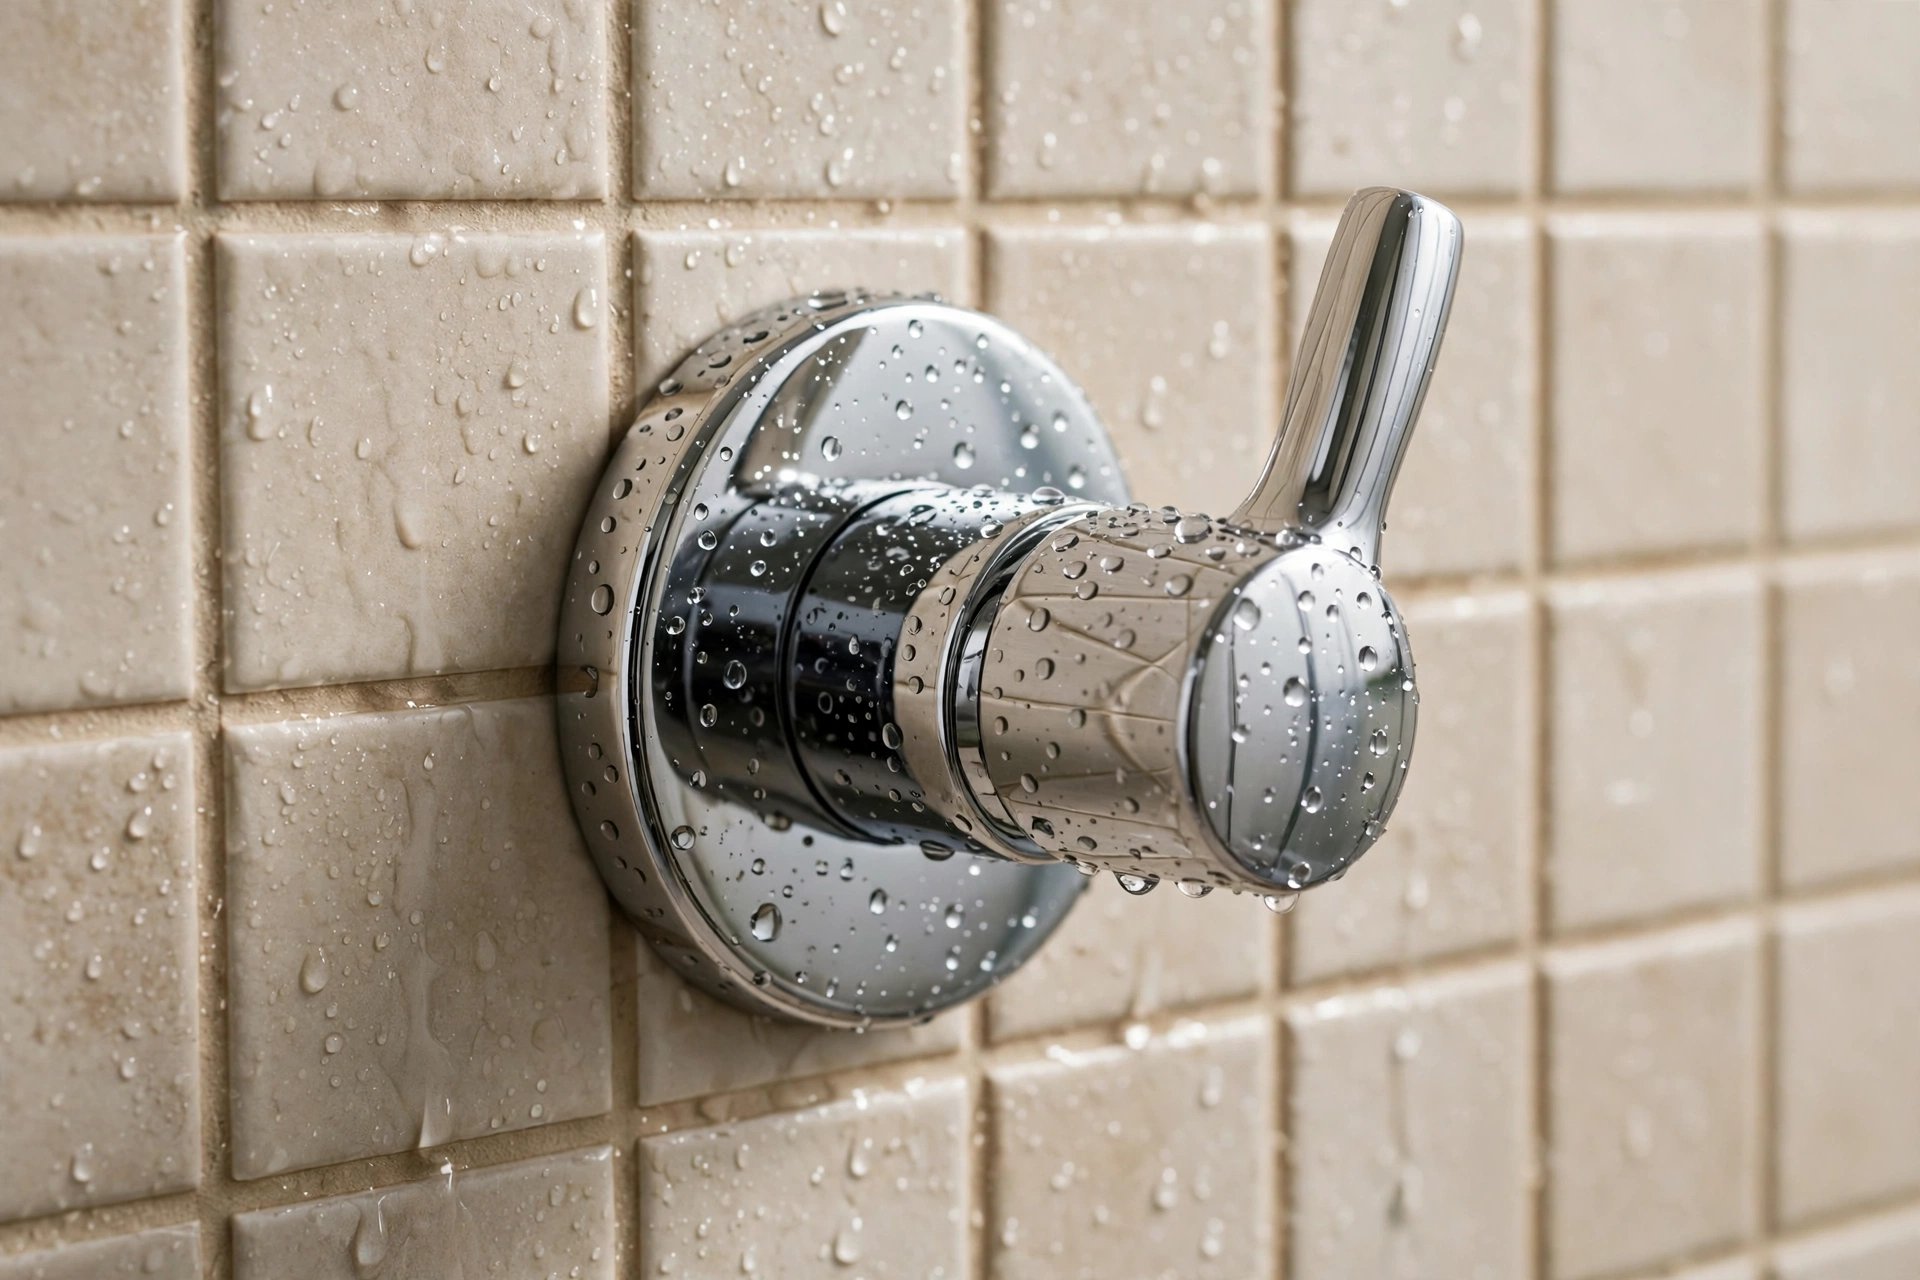
Shower Faucet vs Shower Valve: Clearing Up the Confusion
Let’s settle this once, because even product listings get it wrong.
The valve is the brass body hidden inside the wall. It connects to your hot and cold supply lines and does the actual mixing. You will never see it unless something goes wrong.
The faucet is the visible hardware: the handle or handles you turn, the escutcheon (trim plate) against the wall, the tub spout if you have one. When you say “I love that matte black shower faucet,” you’re talking about this part.
Why does it matter? Because they’re sold separately more often than you’d expect. That beautiful handle set in the box might need a specific valve body behind the wall — same brand, same product line — or it won’t fit. Buy the trim without checking valve compatibility and you’ll own a very pretty paperweight.
Related: Shower Valves Explained — what’s actually happening behind the wall when you turn that handle, and when the valve (not the faucet) is your problem.
Types of Shower Faucets
Single Handle Shower Faucets
One lever controls everything — lift or turn for flow, rotate left-right for temperature. This is the modern standard and what you’ll find in most bathrooms built or remodeled in the last 20 years.
Why they dominate: simple to use (including with soapy hands or elbows), easy to find your usual temperature by feel, and clean-looking — one handle, one trim plate, done. They’re also the easiest for kids and older folks to operate safely.
The tradeoff: fine temperature control takes a little practice — the difference between “perfect” and “too hot” can be a few degrees of rotation. Quality matters here; a cheap single-handle cartridge feels vague and jumpy, a good one feels precise.
Two-Handle Faucets
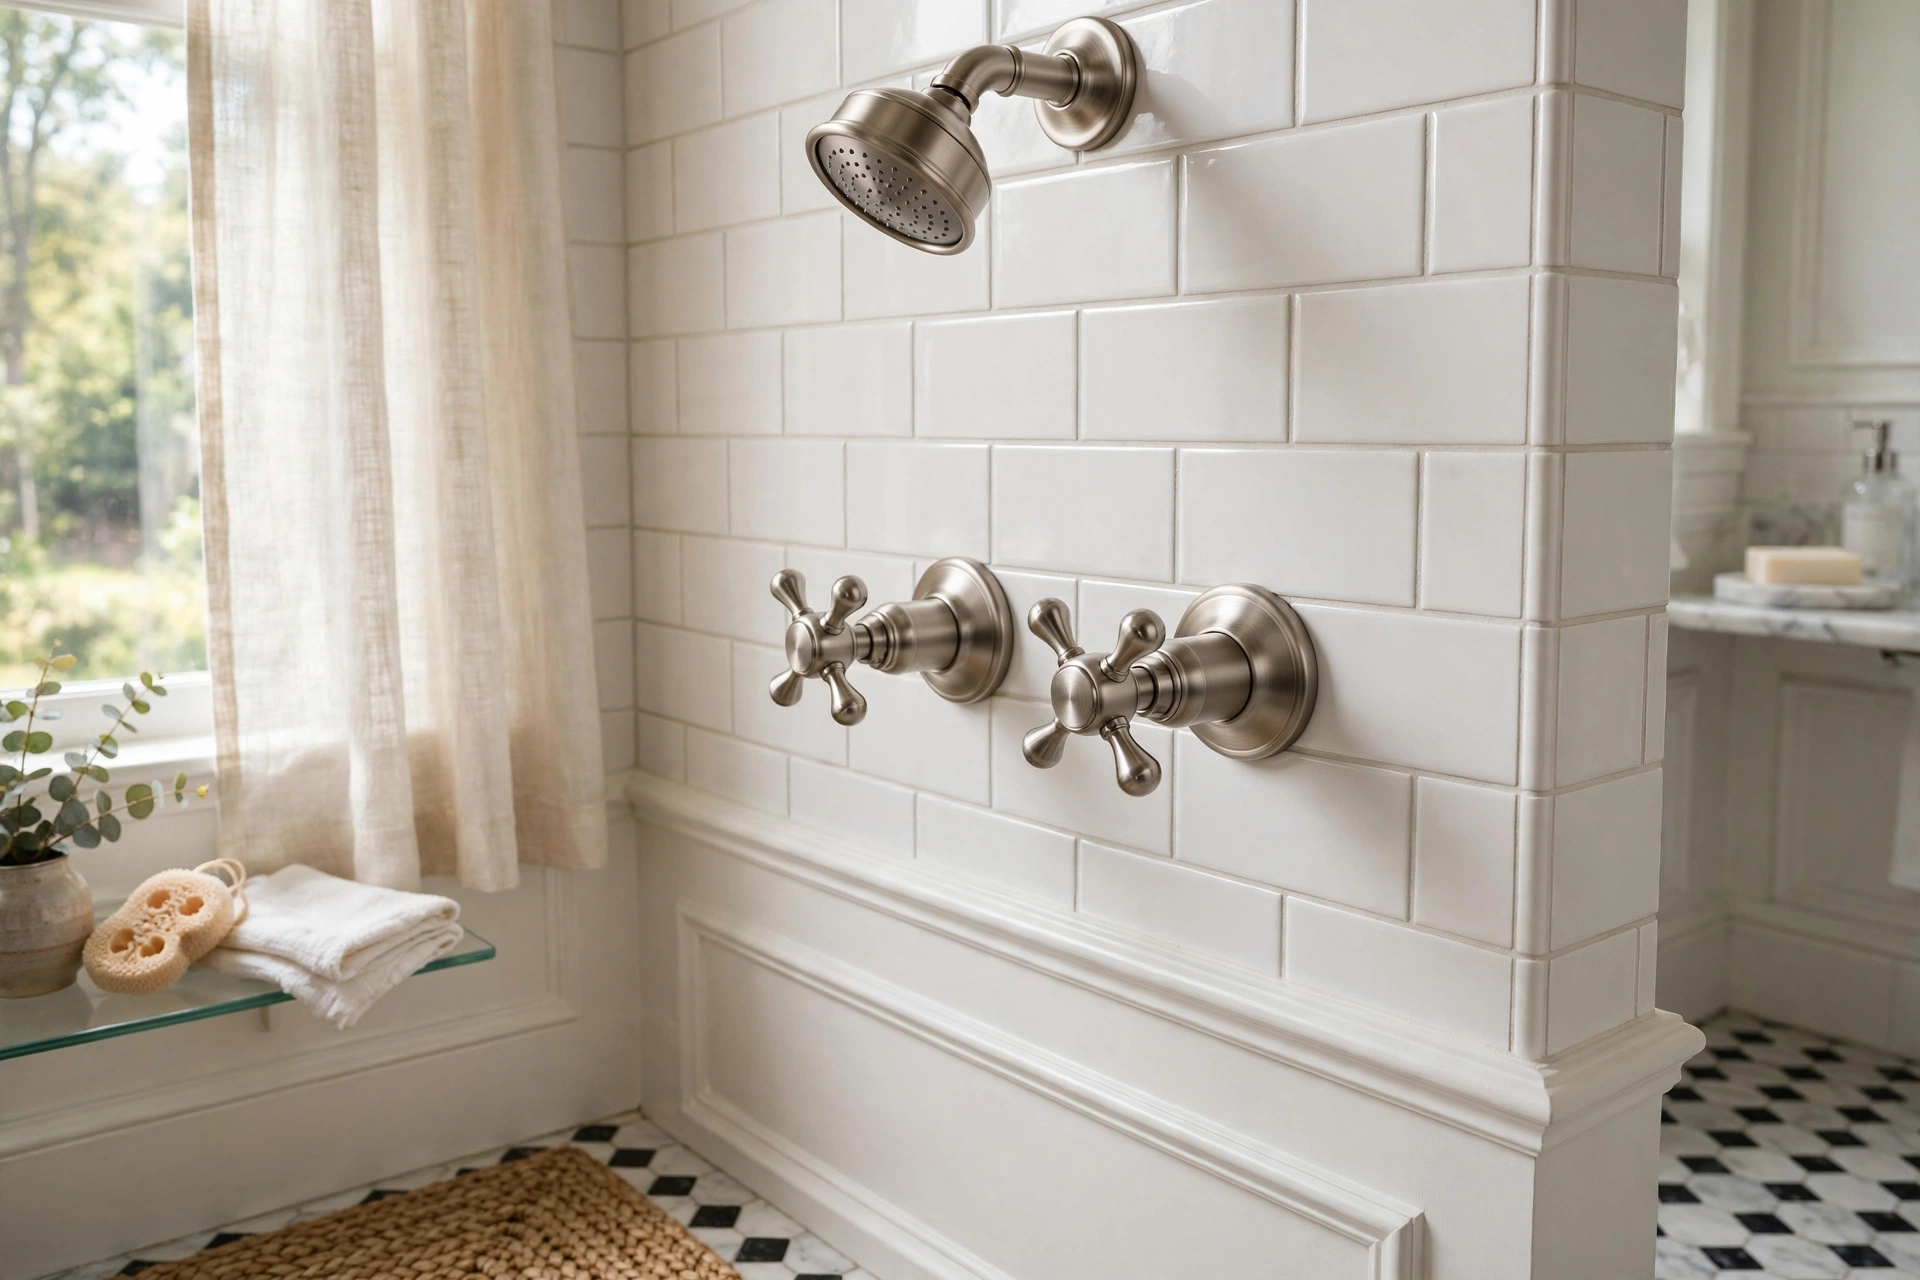
Separate hot and cold handles, old-school style. Still common in older homes and in traditional or vintage-style bathroom designs.
Why people keep them: precise control and classic looks that suit period bathrooms, with simple internals that are cheap to repair.
The reality check: they waste more water while you fiddle for the right mix, and they’re slower to adjust mid-shower. In a remodel, choosing two handles is an aesthetic call, not a functional one.
Shower Faucet Sets (Trim Kits)
A “shower faucet set” or “trim kit” is the bundle: handle(s), trim plate, and usually a shower head and arm, all in one matching finish. Some sets include the valve body (“valve included”); many don’t (“valve sold separately” — read the box).
Why sets are smart: everything matches, everything’s designed to work together, and it’s usually cheaper than buying pieces separately. For a remodel, a set removes about ten decisions.
Watch out for: the included shower head in budget sets is usually basic — many people buy the set for the faucet and trim, then upgrade the head separately. And verify whether the valve is included before you leave the store; discovering it’s sold separately at installation time is a special kind of frustration.
Finishes: An Honest Comparison
The finish is the most visible decision you’ll make. Here’s how the big three actually live day to day:
Chrome — the default. Cheapest, brightest, easiest to find matching accessories for. Shows water spots and fingerprints more than anything else, but cleans up in seconds with a wipe. If you want safe and affordable, chrome wins.
Brushed nickel — the warm middle ground. Hides water spots and fingerprints far better than chrome, works with both warm and cool bathroom palettes. Costs a bit more. The finish to pick if you hate wiping fixtures daily.
Matte black — the statement. Looks fantastic in modern bathrooms, especially against white tile. But here’s what most guides won’t tell you: matte black shows soap scum, hard-water deposits, and dust like nothing else. In a hard-water area, it’s a weekly wipe-down commitment. Gorgeous, high-maintenance — know what you’re signing up for.
My honest take: brushed nickel is the best finish for most people — it looks good, hides real life, and doesn’t demand attention. Chrome if budget rules. Matte black if you love the look enough to maintain it. There are no wrong answers, only uninformed ones.
Replacing a Shower Faucet: The Process
Good news first: if you’re only replacing the visible faucet parts — handle, trim plate, spout — and staying with the same brand and valve series, it’s a genuinely easy job.
Trim-only swap (easy): shut off the water, unscrew the handle, remove the trim plate screws, pull off the old trim, reverse with the new. Thirty to forty-five minutes, a screwdriver and maybe an Allen wrench. This is how most “shower faucet replacement” projects actually go — new look, same valve, no plumbing.
Full faucet + valve replacement (moderate to hard): switching brands, going from two-handle to single-handle, or a failing valve means the valve body in the wall has to come out too — via an access panel on the opposite side, if you’re lucky.
The steps for a full replacement: shut off water → remove handle and trim → open access panel or cut wall → disconnect old valve → install new valve → close up wall → install trim → test for leaks before you celebrate.
Difficulty lands in “confident DIYer with plumbing experience” territory. If you’ve never sweated a copper joint, learn on YouTube first or hire it out.
When Replacement Means Opening the Wall
Sometimes there’s no way around it. You’ll be opening the wall when:
You’re changing valve brands or types. Different manufacturers use different rough-in dimensions. A Moen valve body won’t accept a Delta trim, and a thermostatic valve needs different wall depth than a pressure-balancing one.
There’s no access panel. Many older homes don’t have one. Then it’s either cut the shower-side tile (expensive to repair) or cut the drywall on the opposite side (cheap to repair — always choose the drywall side if you can).
The pipes are old or corroded. Galvanized steel supply lines past their prime, green corrosion on copper, any sign of previous leaks — a plumber should see this before you commit to a plan.
You’re adding outlets. Going from a single shower head to a rain head plus handheld means new valve work and possibly a diverter — wall’s coming open regardless.
Cost reality check: a plumber charges roughly $300–$600 in labor for a valve replacement, plus $100–$300 for the faucet set and valve. Wall repair adds $100–$300; tile repair, if the shower side had to be opened, can add several hundred more. Check for an access panel before budgeting — they’re worth their weight in gold.
Related: Tub and Shower Combos — planning a full combo setup, where the faucet, valve, spout, and head all have to work as one system.
Matching Bathroom Tub and Shower Faucets
In a tub-shower combo, the faucet hardware should match — same brand, same collection, same finish. This isn’t just aesthetics (though mismatched handles look wrong immediately). It’s practical: the tub spout, shower trim, and valve are designed as a system, and mixing collections can mean the spout diverter doesn’t play nicely with the valve.
Buying tip: manufacturers sell tub-and-shower faucet sets as a single SKU — valve trim, tub spout with built-in diverter, shower head and arm, all matched. It’s almost always cheaper than assembling the pieces, and it eliminates compatibility guesswork.
Remodeling one side only? If the tub faucet is fine and you just want new shower trim, stay in the same collection. A “close enough” finish from another brand looks close enough only under store lighting. In your bathroom at 7am, you’ll see the difference.
What Do Shower Faucets Cost?
Real-world ranges for the faucet set/trim (valve body often extra, $30–$150):
- Budget single-handle set: $60–$120 (valve often included at this tier)
- Mid-range name-brand set: $150–$300
- Premium/designer set: $300–$600+
- Two-handle traditional set: $80–$250
- Tub-and-shower combo set: $120–$350
And the full installed picture: a trim-only refresh runs $100–$300 in parts and an afternoon of your time. A full valve-plus-faucet replacement by a plumber lands around $500–$1,000 all-in, more if tile work is involved.
Where not to cheap out: the valve body and cartridge. The trim is cosmetic and replaceable; the valve lives in your wall for decades. A $60 set with a solid brass valve beats a $200 set with a plastic valve body every time. Ask what’s inside before you fall for the finish.
Frequently Asked Questions
Can I replace a shower faucet without replacing the valve?
Yes — if you stay with the same brand and product line, new trim fits the existing valve. This is the easiest upgrade: new look, no plumbing, under an hour.
Are shower faucet sets universal?
No. Trim kits are brand- and series-specific — a Delta trim won’t fit a Moen valve. The 1/2″ threading on arms and heads is universal, but the faucet-to-valve connection is not. Match the brand.
How long do shower faucets last?
The visible trim lasts 15–20+ years (finishes wear eventually, especially matte black in hard water). Cartridges inside need replacing every 5–10 years. The valve body itself can go 20–30 years.
Single handle or double handle — which is better?
For most people, single-handle: simpler, faster, safer to operate. Two-handle wins on precise control and traditional looks. There’s no performance reason to pick two handles in a new install — it’s style preference.
Why is my new shower faucet leaking behind the trim plate?
Usually the cartridge isn’t seated fully, or the trim’s sealing gasket is pinched. Pull the handle, reseat the cartridge, check the gasket. If it leaks from inside the wall, shut the water off and call a plumber.
The Bottom Line
A shower faucet is the handshake between you and your plumbing — it’s what you touch every day, and it deserves more thought than a grab off the shelf. Match the trim to your valve brand, spend the real money on the valve body rather than the finish, and remember that most “replacements” are trim swaps you can do yourself in under an hour. Get those three things right and you’ll have a faucet that looks good, works smoothly, and stays out of your walls for the next twenty years.
Pingback: Tub and Shower Combos: The Complete Guide