
The shower valve is the hardest-working part of your bathroom that you’ll never actually see. It lives behind the wall, buried under tile and plumbing, quietly mixing hot and cold water every single morning. You only think about it when something goes wrong — and when it goes wrong, it goes wrong in the most annoying ways possible.
Scorching blast when someone flushes the toilet. A handle that barely turns. A drip that keeps going no matter how hard you crank the knob shut. Every one of these is your shower valve telling you it’s had enough.
This guide covers what a shower valve does, the main types of shower valves (pressure-balancing, thermostatic, and diverter), what’s inside a shower valve kit, the signs yours is failing, and how to decide between a DIY fix and calling a plumber.
What Does a Shower Valve Actually Do?
Simple version: it’s the control center. The valve body sits inside the wall, hooked to your hot and cold supply lines. Turn the handle, and the valve blends the two streams to your chosen temperature, then sends the water out to the shower head — or the tub spout, or the body sprays, depending on your setup.
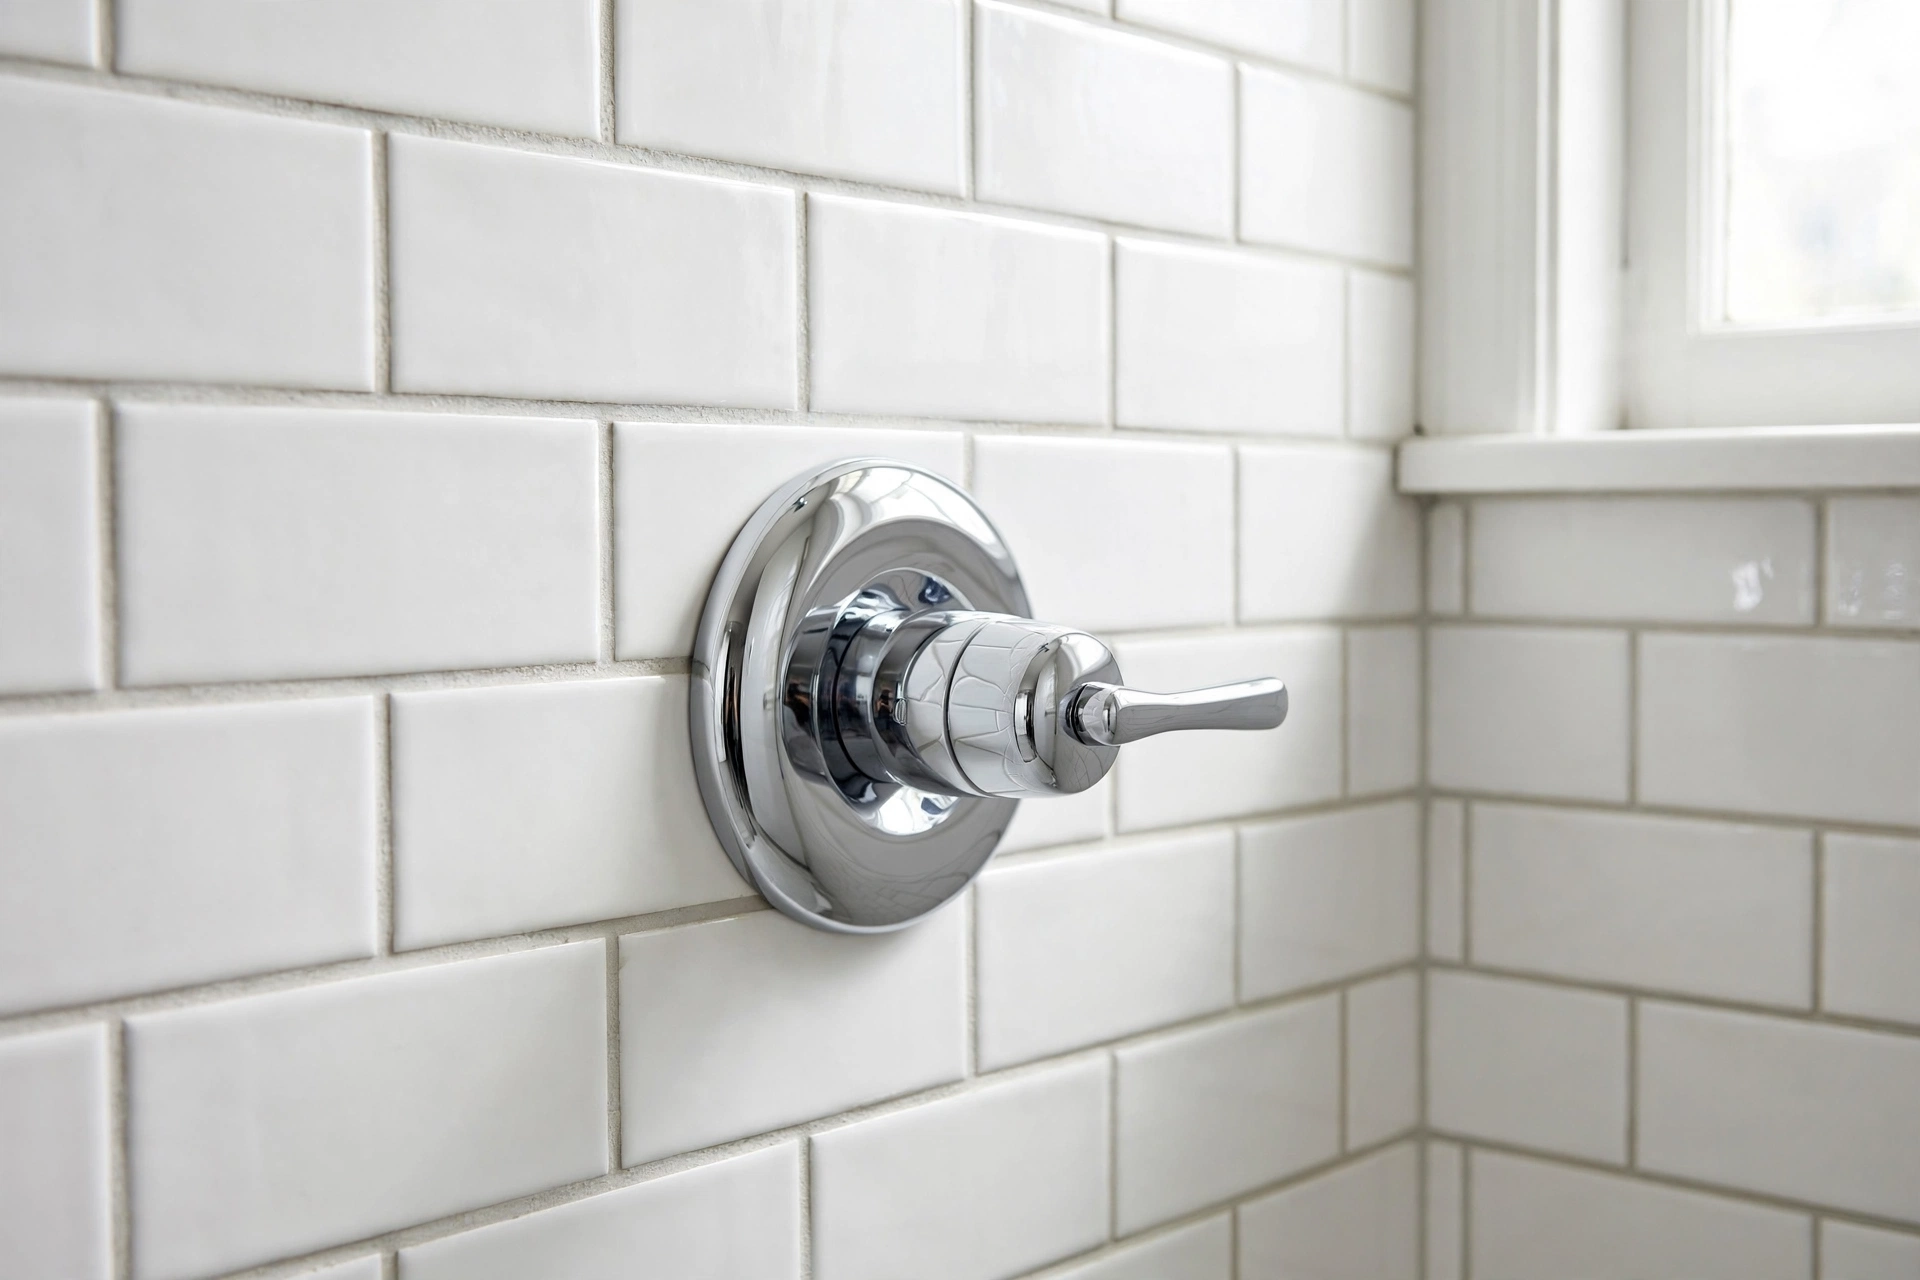
The parts you touch — the handle, the trim plate, the little sleeve around the pipe — are just the pretty face. The real work happens in the valve body and its cartridge, a replaceable cylinder inside that regulates flow and temperature. And here’s the good news most homeowners never hear: when a valve “fails,” it’s usually just the cartridge wearing out. Cartridges swap out without tearing open the wall.
Types of Shower Valves
Not all shower valves work the same way. The type you have (or buy) decides how your shower handles temperature swings, pressure changes, and multiple outlets.
Pressure-Balancing Valves (The Standard)
This is what’s in most homes. A pressure-balancing shower valve senses changes in water pressure and compensates on the fly. Toilet flushes, cold-side pressure drops, the valve trims the hot flow to match — so you don’t get scalded mid-shampoo.
Why it’s everywhere: it’s affordable, reliable, and required by code in most places for exactly that anti-scald reason. One job, done well.
The limitation: it balances pressure, not temperature. If your water heater runs cooler over a long shower, or the incoming hot supply temperature shifts, the valve can’t correct for that. Ever notice the shower drifting cooler ten minutes in? That’s pressure-balancing doing its imperfect best.
Thermostatic Valves (The Precise One)
A thermostatic shower mixing valve reacts to actual water temperature, not just pressure. A temperature-sensing element inside (usually a wax capsule) expands and contracts to hold your set temp steady. Dial in 102°F and it stays 102°F — toilet flushes, dishwasher kicks on, washing machine starts, doesn’t matter.
Why people upgrade: rock-solid temperature. It’s the pick for households with kids or older family members, and for anyone tired of the hot-cold dance. Separate controls for temperature and volume come standard on these.
The catch: price. A thermostatic valve body runs $150–$400+, versus $30–$80 for pressure-balancing. Installation can be fussier too — the rough-in dimensions differ, so it’s rarely a drop-in swap.
Diverter Valves (The Traffic Cop)
A diverter doesn’t mix water — it directs it. Got a tub-shower combo with a spout and a shower head? The diverter decides which outlet gets the water. Multi-head setups (rain head plus handheld plus body sprays) use diverter or transfer valves to switch between outlets.
Worth knowing: some diverters are built into the main valve trim; others need a separate valve body in the wall. If you’re planning a multi-outlet shower, settle this before the tile goes up. Adding a diverter later means opening the wall, and nobody wants that surprise mid-renovation.
What’s Inside a Shower Valve Kit?
A shower valve kit is the bundle you grab off the store shelf — and knowing what’s in the box saves you from buying things twice.
The rough-in valve — the brass body that goes inside the wall. Your plumber installs this during rough plumbing, before any tile exists.
The trim kit — handle, escutcheon plate, sleeve. The visible part, installed after tiling. Trim is often sold separately so you can pick your finish (chrome, brushed nickel, matte black) without changing the valve behind the wall.
The cartridge — usually included with the valve. Keep the model number somewhere safe. When it wears out in 5–10 years, you’ll buy a matching cartridge for $20–$60 instead of replacing the whole valve.
My honest take on kits: buy the valve and the trim from the same brand and product line. Mixing brands is where people get burned — a Delta trim won’t fit a Moen valve body, and “universal” is a word that makes plumbers sigh. One brand per valve, no exceptions, and you’ll sleep fine.
Related: Shower Faucets Guide — the handles and trim you see are the faucet side of the equation; here’s how they pair with the valve behind the wall.
Signs Your Shower Valve Is Failing
Valves rarely die overnight. They send warnings first — learn to read them:
Temperature swings. The classic symptom. Water goes hot-cold-hot for no reason. On a pressure-balancing valve, this usually means the balancing spool is gummed up or worn out.
A drip that won’t stop. You crank the shower handle shut and it keeps dripping. That’s the cartridge’s seals giving up. Left alone, a dripping shower wastes hundreds of gallons a year — and it’s a preview of a bigger failure coming.
A stiff or wobbly handle. A shower knob that fights you, or one that’s suddenly loose, means worn internals. In hard-water areas, mineral buildup is the usual culprit.
Weak flow from the shower only. If the sink runs fine but the shower trickles, the valve cartridge may be clogged with sediment. (If the whole house is weak, that’s a different problem entirely.)
No hot water in the shower, but everywhere else is fine. Before you blame the water heater — if other taps are hot, the valve’s hot side is likely blocked or the cartridge is shot.
Honestly? Most of these are a $30 cartridge swap, not a $300 valve replacement. Check the cartridge first, every time.
Replacing a Shower Valve: DIY or Call a Plumber?
Here’s the straight breakdown.
Replacing just the cartridge: genuinely DIY-friendly. Shut off the water, pop off the handle, pull the old cartridge, slide in the new one. Thirty minutes, basic tools, and there’s a walkthrough video for every major brand. This fixes the majority of valve problems.
Replacing the whole valve body: moderate to hard. The valve body is soldered or threaded into your supply lines inside the wall. Reaching it means using an access panel on the other side of the wall (check the closet or hallway — many homes have one) or cutting through tile. Access panel plus basic plumbing skills? An afternoon project. No panel and you have to cut tile? The job just got a lot bigger.
Call a plumber when: there’s no access panel and you don’t want to open the wall yourself; the pipes are old galvanized steel or you see corrosion; you’re switching valve types (pressure-balancing to thermostatic usually needs different rough-in dimensions); or anything about it makes you nervous. A valve replacement gone wrong means water inside your walls — the most expensive kind of wrong.
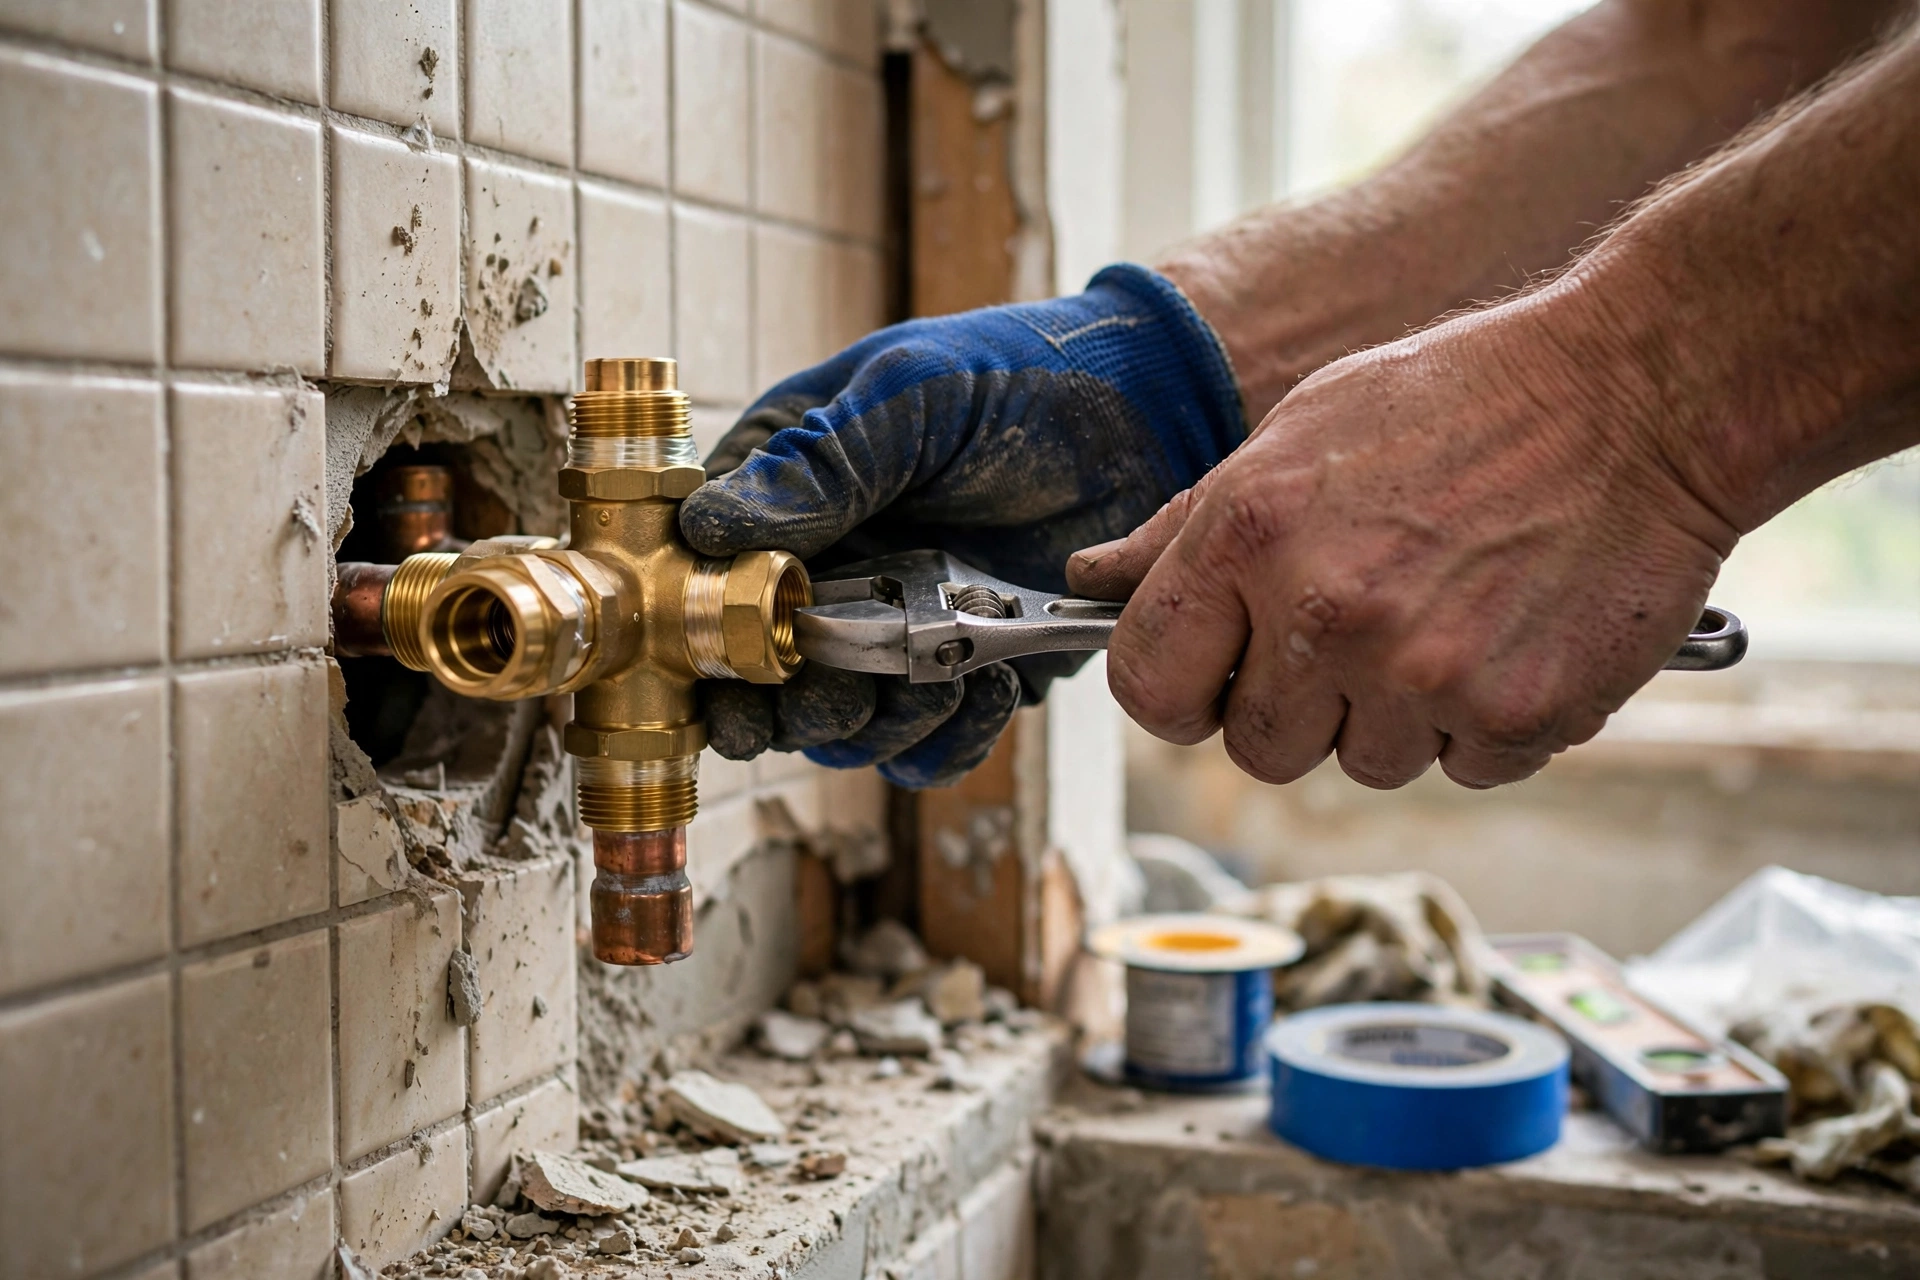
Typical plumber cost for a full valve replacement: $300–$600 in labor plus parts, more if the wall has to be opened and patched.
What You’ll Pay for a Valve
Rough numbers for the valve body alone (trim runs $50–$200 extra depending on finish):
- Pressure-balancing valve: $30–$80
- Shower valve kit (valve + trim bundled): $80–$200
- Thermostatic valve: $150–$400+
- Diverter/transfer valve: $50–$150
- Replacement cartridge: $20–$60
One more thing: brands matter here. A $35 off-brand valve and a $70 name-brand valve look similar on the shelf. Ten years from now, when you need a cartridge, the name brand still stocks the part and the off-brand is a distant memory. Buy the brand you’ll still be able to find parts for.
Frequently Asked Questions
How long does a shower valve last?
The brass valve body itself can last 20–30 years or more. The cartridge wears out every 5–10 years depending on water quality — hard water shortens that. Budget for a cartridge swap, not a valve replacement.
Can I replace a shower valve without removing tile?
If there’s an access panel on the opposite side of the wall, yes — that’s exactly what the panel is for. Without one, you’re cutting either tile or drywall. Check the back side of that wall before you panic.
Do I need new trim when I replace the valve?
Not necessarily. Stay with the same brand and valve series and the old trim often fits the new body. Switch brands and you’ll usually need new trim too.
What’s the difference between a shower valve and a shower faucet?
The valve is the hidden body in the wall that mixes the water. The “faucet” is what you see and touch — the handle, the trim plate, the spout. People use the words interchangeably; plumbers don’t.
Why does my shower go cold when someone flushes the toilet?
Your pressure-balancing valve is worn — most likely the balancing spool. When it’s healthy, you should feel barely any change. A new cartridge usually fixes it completely.
The Bottom Line
The shower valve is the one bathroom part you install once and ignore for a decade — which is exactly why the brand and type you pick matter more than most people realize. Buy a name-brand valve, keep the cartridge model number where you’ll find it, and remember that most “valve failures” are really $30 cartridge swaps. Your future self, standing under perfect water temperature, will never know how close you came to a plumbing disaster.
Pingback: Shower Faucets: Types, Sets & Replacement Guide