
A curb is a tiny little wall. Four or five inches high. And yet that little wall has ruined more showers — and more mornings — than almost anything else in the bathroom.
Ask anyone who stepped over a high tub edge with a bad knee, or tried to mop a cramped corner stall with a lip you keep tripping on. The walk-in shower exists because someone finally asked: what if we just… didn’t build the barrier?
This guide covers everything about the walk-in shower: what actually counts as one, design ideas worth stealing, whether to buy a kit or build custom, what a walk-in shower costs, and the drainage and waterproofing details that make or break it.
What Counts as a Walk-In Shower?
Here’s where the terminology gets sloppy. “Walk-in shower” gets used for everything from a genuinely curbless wet-room floor to a regular shower with a glass door. Let’s set the record straight.
A true walk-in shower has no curb — or at most a very low one (1–2 inches). You walk straight in. No step, no lip, no climbing. The floor of the bathroom flows into the shower floor with either no threshold at all (curbless) or a minimal one.
Curbless means exactly that: the shower floor is flush with the bathroom floor. Water stays in the shower thanks to a gently sloped floor and a good drain — not thanks to a wall. This is the look you see in design magazines: one continuous tile floor, water disappearing into a slim drain slot.
Low-curb means a small threshold, usually 1–2 inches. Some people call these walk-in showers too, and honestly, the distinction matters less than the experience: you step over almost nothing. Low-curb is more forgiving to build (the curb helps contain splashes) and costs less than true curbless.
My honest take: don’t get hung up on the label. What matters is whether you can enter without lifting your foot over a real obstacle. If you can, it’s a walk-in in every way that counts.
Why Walk-In Showers Took Over
Walk-in showers didn’t become the most requested shower style by accident. Three reasons did it.
Accessibility. This is the big one, and it’s not just about aging. A curbless entry means no tripping hazard — for kids, for anyone with mobility issues, for you at 6 AM before coffee. Bathrooms are where most home falls happen, and removing the curb removes a real risk.
The look. A curbless walk-in shower makes a small bathroom feel bigger. There’s no visual barrier chopping the room in half — your eye travels straight across, and the whole space reads as one. Real estate agents notice this too: a modern walk-in shower photographs beautifully and reads “updated” instantly.
Easy cleaning. Fewer corners, no curb to scrub around, no door tracks collecting gunk. A squeegee pass after each shower and you’re mostly done. Anyone who’s battled mildew in a shower door track knows exactly what I’m talking about.
Related: Shower Enclosures Guide — how walk-in openings compare to framed, frameless, and sliding door setups.
Walk-In Shower Ideas Worth Stealing
Enough theory. Here are the design ideas that actually work in real bathrooms, not just in showroom photos.
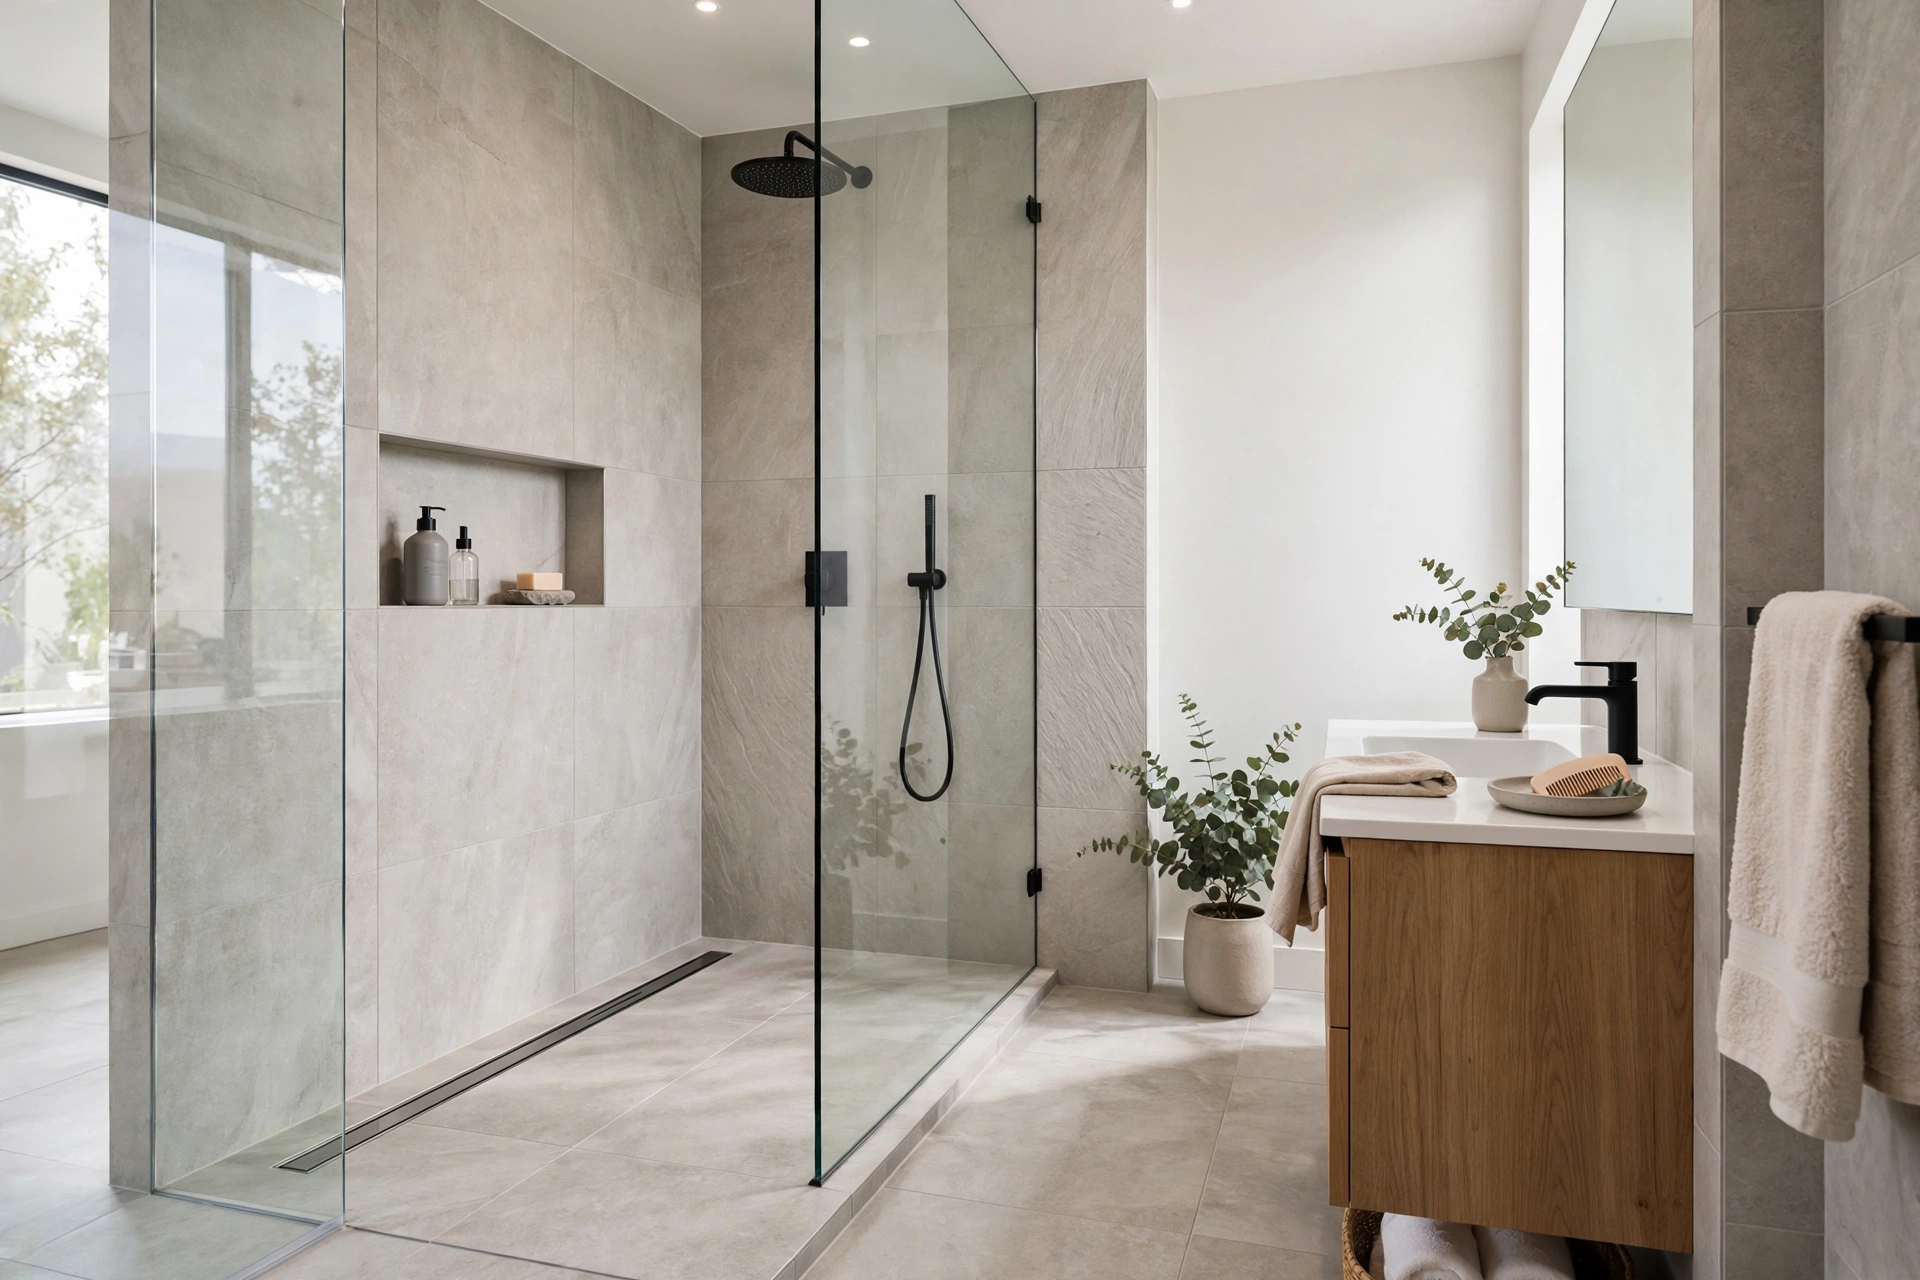
Glass Panels (Not Full Doors)
The classic walk-in move: one fixed glass panel that blocks splash while leaving the entry open. No door to open, close, or clean tracks for. For a 48-inch-wide shower, a 30–36 inch fixed panel on the splash side usually does the job.
Worth knowing: go frameless if the budget allows. Framed panels in a walk-in defeat the whole airy look. Half-height panels (ending around chest height) are a budget trick that keeps the open feel while cutting glass costs significantly.
Built-In Benches
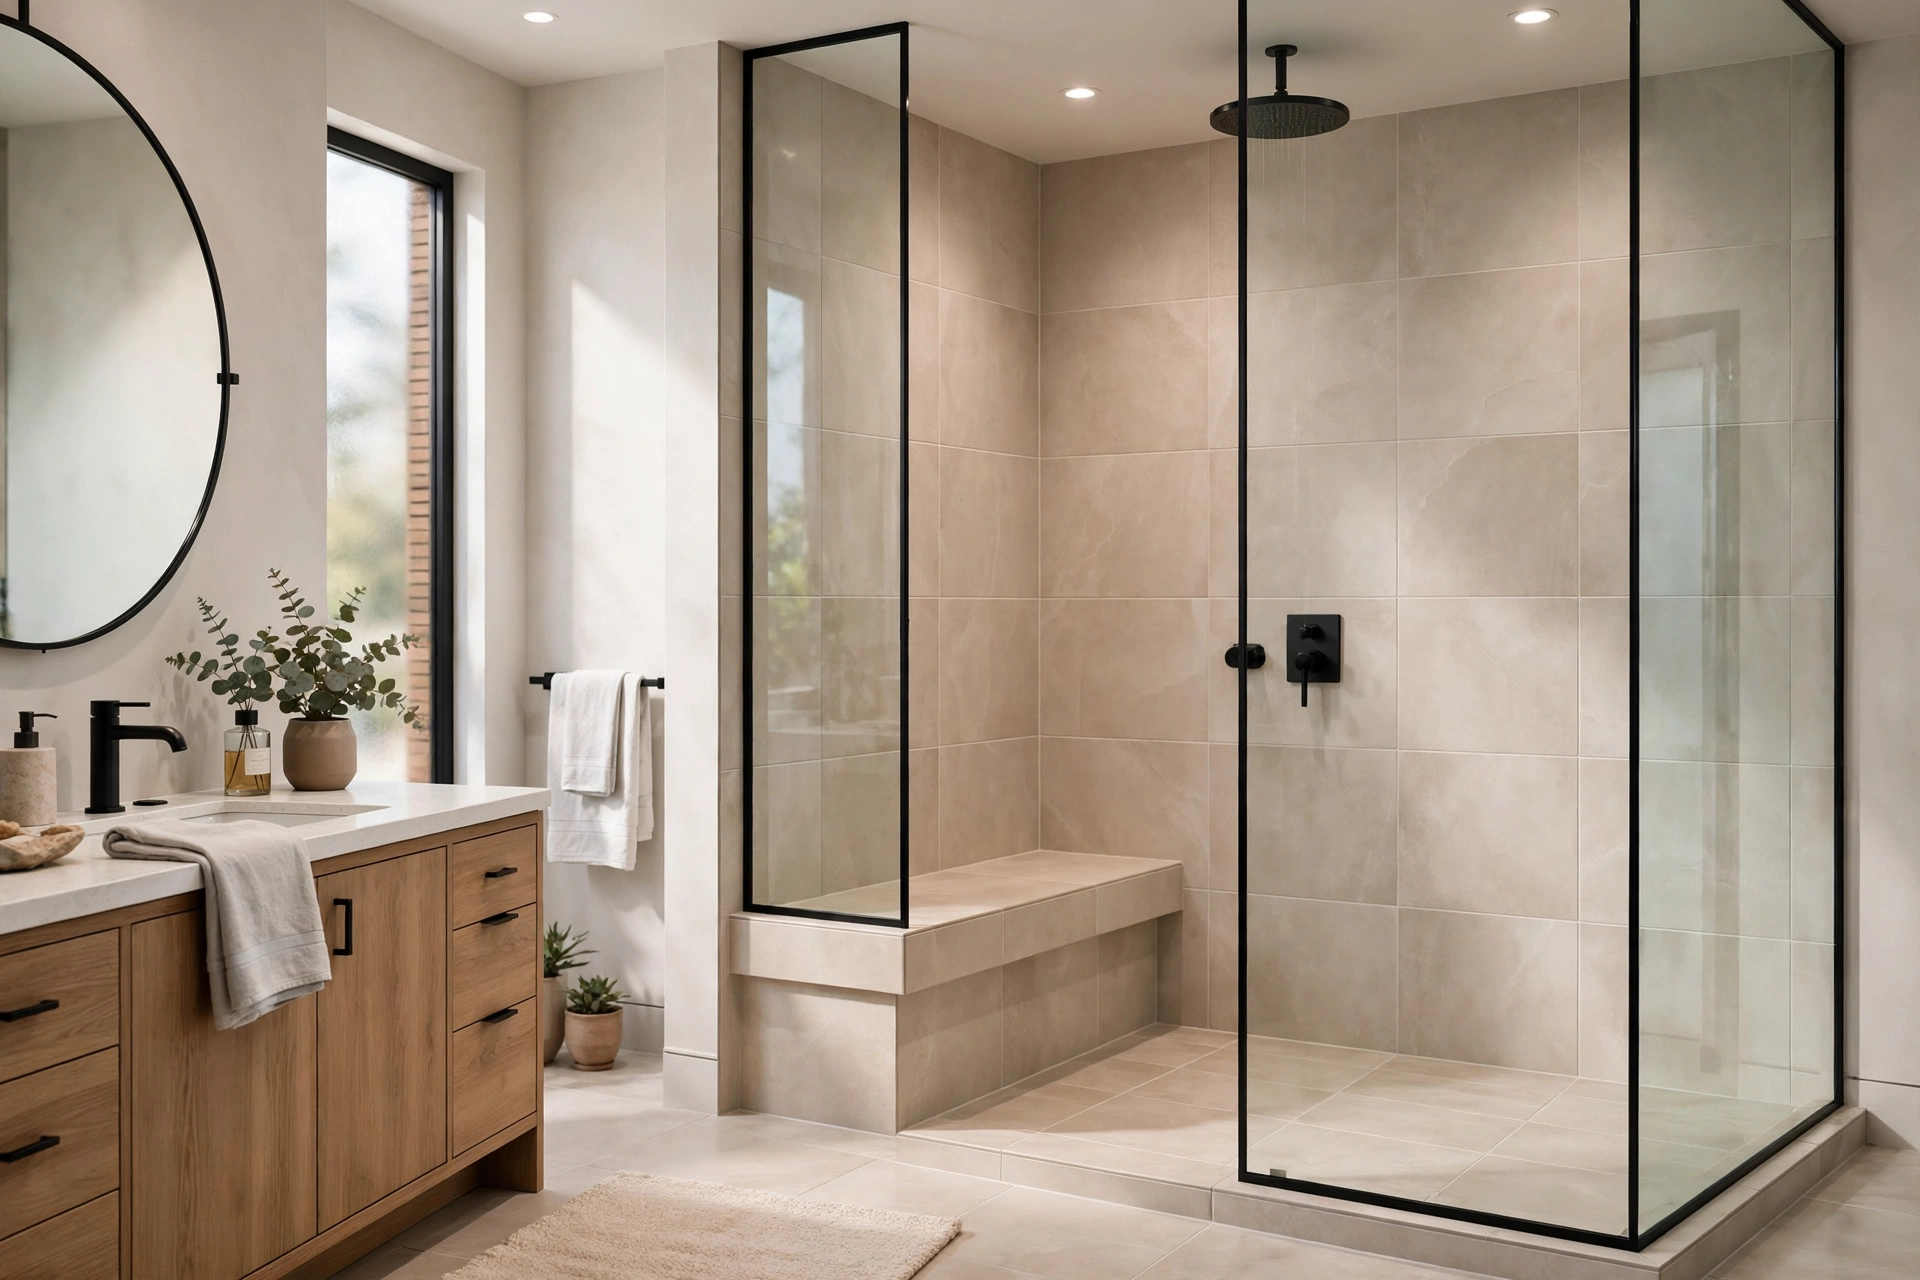
A bench turns a shower from functional to luxurious — and it’s genuinely useful for shaving legs, sitting under the water, or aging in place. Floating benches (cantilevered, no legs) are easier to clean around than tiled corner seats. If you’re building custom, a teak fold-down bench costs around $150–$300 and is a crowd-pleaser.
Recessed Niches
Shower niches — those tiled cubbies in the wall — are the detail that separates a planned shower from an afterthought. Plan them during the build, not after: a niche needs to sit between studs, and the waterproofing has to wrap it properly. One 12×24 inch niche holds everything; two smaller ones (shampoo zone, soap zone) look even better.
Rainfall Shower Heads
Rainfall heads and walk-in showers were made for each other. But here’s what most guides won’t tell you: a rainfall head in a curbless shower needs more floor space than you think, because the wide spray pattern travels. In a compact walk-in, a standard wall-mounted head often performs better. Save the 12-inch rain disc for showers 48 inches and up.
Tile Choices That Matter
Large-format tile (12×24 or bigger) is the walk-in shower’s best friend — fewer grout lines, calmer look, and the floor reads as one surface. On the shower floor itself, though, there’s a tradeoff: big tiles need a linear drain (single-slope floor) to work without a million cuts. Small mosaic on the floor with a point drain is the classic combo and still looks great.
Walk-In Shower Kits vs. Custom Builds
This is the fork in the road for every walk-in project. Both paths lead to a good shower; they just get there differently.
Walk-in shower kits bundle the essentials — shower pan (base), wall panels or surround, drain, and sometimes the glass — engineered to fit together. The big names sell curbless and low-curb walk-in shower kits in standard sizes (36×36, 36×48, 48×48, 60×36 and up). You pick a size, and the drainage slope, waterproofing integration, and drain placement are already solved.
Why kits win: speed and certainty. A kit installs in a day or two, the waterproofing is largely handled by the pan design, and there’s no guessing about whether the slope is right. For DIYers, a walk-in shower kit is genuinely the safer bet — the engineering does the thinking for you.
The tradeoff: you’re locked into the kit’s sizes, drain location, and look. If your bathroom is an odd dimension or you want a specific tile, kits feel limiting.
Custom builds mean a tiled shower built from scratch: mortar bed or foam pan, your choice of waterproofing membrane, any tile you want, any size that fits. This is where you get the magazine look — the perfectly matched floor tile flowing from bathroom into shower, the custom niche, the linear drain exactly where you want it.
Why custom wins: total freedom, and in skilled hands, a better-looking result. The catch: it costs more, takes longer, and the quality depends entirely on your installer. A custom curbless shower built by someone who doesn’t truly understand waterproofing is how you get a very expensive leak.
Related: Shower Kits Guide — full breakdown of kit types, what’s included, and how to pick one.
Walk-In Shower Cost: What You’ll Actually Pay
Let’s talk numbers, because this is where most articles get vague.
Walk-in shower kits: $1,500–$4,000 for the kit itself, depending on size and brand. Installation adds $1,000–$3,000 if you’re hiring out (plumbing, setting the pan, glass). A straightforward kit swap in an existing bathroom footprint can land around $3,000–$5,000 all-in.
Custom walk-in showers: $4,000–$12,000+ installed, and the range is wide because the variables are wide. A simple 36×48 tiled walk-in with a point drain sits at the low end. A large curbless shower with a linear drain, bench, niche, frameless glass, and premium tile pushes past $10,000 without breaking a sweat.
What drives the price up: curbless (more labor, recessed floor work), linear drains (the drain plus fussier install), glass (frameless panels run $800–$2,000+), and tile (labor is the killer — intricate tile doubles install time). Plumbing relocation is the silent budget-killer: moving a drain line can add $500–$1,500 before you even pick tile.
Honestly? The biggest cost mistake I see is people budgeting for the pretty parts and forgetting the invisible ones. Waterproofing, drain relocation, and floor recessing for curbless — that’s where the money goes, and it’s the part you never see in the finished photos.
The Drainage Piece: What Makes Curbless Work
This is the part most walk-in shower articles gloss over, and it’s the most important part. A curbless shower has no curb holding water back. So what keeps your bathroom floor dry?
A single-slope floor and a linear drain. That’s the answer. In a curbless walk-in, the entire shower floor slopes gently in one direction — typically about a quarter inch per foot — toward a linear drain set at the shower entrance or along one wall. Water flows downhill, into the slot, gone. No standing water, no escape.
This is why linear drains and walk-in showers are practically a package deal. A point drain needs a four-way slope (water converging from all sides), which is harder to execute on a flush floor and plays badly with large-format tile. The linear drain’s one-direction slope is simpler, cleaner, and far more forgiving.
Sizing it right: the linear drain should span most of the wall it’s set against — a 28-inch drain for a 32-inch-wide shower is the standard rule. And the drain you choose has to handle your shower head’s flow rate. A rainfall head dumping 2.5 gallons per minute into an undersized drain is how you flood a bathroom.
Related: Shower Drains Guide — linear vs point drains, sizing, and installation details.
Waterproofing: The Non-Negotiables
A walk-in shower — especially curbless — lives or dies on waterproofing. There’s no curb as a backup, no second chance. Get this wrong and water goes where water wants to go: into your subfloor, your joists, and eventually your ceiling downstairs.
The membrane is everything. Whether it’s a sheet membrane (like Schluter Kerdi), a liquid-applied membrane (like RedGard), or a foam pan system with integrated waterproofing — the shower floor and walls must be fully waterproofed before a single tile goes down. This is not the place for “the tile and grout will keep water out.” They won’t. Grout is not waterproof.
Extend it past the shower. For curbless walk-ins, waterproof the bathroom floor outside the shower too — at least a few feet beyond the wet zone. Splashes happen. Overspray happens. The floor beyond the drain should be treated as a splash zone, not a dry zone.
Flood-test before tiling. Fill the pan, mark the water line, wait 24 hours. If the level drops, find the leak now — not after $3,000 of tile is on top of it. Any decent installer does this; if yours doesn’t, that’s a red flag worth acting on.
My honest take: waterproofing is the one part of a walk-in shower where I’d never DIY to save money unless I genuinely knew what I was doing. The materials are a few hundred dollars. A failed shower is five figures. The math is not close.
How Much Space Do You Need?
The honest minimum for a walk-in shower is about 36×36 inches — and at that size, it’s tight. You can turn around, but there’s no room for a bench and splashing becomes a real concern with an open entry.
Comfortable starts at 48×36. That extra foot makes a dramatic difference: room for a bench or a niche wall, space to step back from the spray, and enough distance that an open entry doesn’t soak the bathroom.
The sweet spot is 60×36 or larger. This is where walk-in showers shine — genuine spa territory, room for a rainfall head plus a handheld, a proper bench, and glass that contains splash without a door.
For curbless specifically, bigger is easier, not just nicer. A larger floor gives the slope more run to work with, which means gentler grading and better drainage. Trying to squeeze a curbless shower into 32 inches is possible but fussy — and fussy is where mistakes happen.
Related: Corner Shower Ideas — if your bathroom is tight, corner layouts squeeze a walk-in feel into small footprints.
The Aging-in-Place Angle
Here’s something worth saying plainly: a curbless walk-in shower is one of the best aging-in-place upgrades you can make, and it doesn’t look like one. No grab bars screaming “medical,” no institutional vibes — just a beautiful shower that happens to have zero step-over.
If you’re remodeling with the next 20 years in mind: go curbless, add blocking in the walls for future grab bars (cheap to add during construction, expensive later), include a bench or a fold-down seat, and put the controls where they can be reached from outside the spray. A handheld shower on a slide bar costs little and makes the shower usable seated or standing.
This isn’t just for older homeowners either. Anyone planning to stay in their house long-term is future-proofing with a walk-in. And if you ever sell, “curbless walk-in shower” is a listing phrase that earns its keep.
Related: Shower Pan Guide — low-profile and curbless pan options, sizes, and materials.
Frequently Asked Questions
How much does a walk-in shower cost?
A walk-in shower kit runs $1,500–$4,000 for materials, or roughly $3,000–$5,000 installed. A custom tiled walk-in shower costs $4,000–$12,000+ installed depending on size, tile, glass, and whether the drain needs relocating.
What’s the difference between a walk-in shower and a curbless shower?
A walk-in shower is the broad category: a shower you enter without stepping over a significant barrier. Curbless is the purest version — the shower floor is flush with the bathroom floor. A low-curb shower (1–2 inch threshold) is also commonly called a walk-in.
Do walk-in showers need a door?
No — that’s rather the point. Most walk-in showers use a fixed glass panel to block splash while keeping the entry open. In a large enough shower (60+ inches), you may not even need glass. Doors add cleaning hassle and cost; skip them unless splashing is a real problem.
Will water get all over my bathroom floor?
Not if it’s built right. Proper slope (quarter inch per foot toward the drain), a correctly sized linear drain, and sensible glass placement keep water where it belongs. Water escaping a walk-in shower is a construction problem, not a design flaw.
Are walk-in shower kits worth it?
For most people, yes. A walk-in shower kit solves the hardest engineering problems (slope, drainage, waterproofing integration) in a box, installs in a day or two, and costs less than custom. Go custom when you need odd sizes, specific tile, or a truly bespoke look.
The Bottom Line
A walk-in shower is one of those rare upgrades that’s genuinely better in every way that matters: safer to enter, easier to clean, better looking, and kinder to small bathrooms. Spend your planning energy on the invisible stuff — drainage, slope, waterproofing — and the visible stuff mostly takes care of itself. Get the floor right, and the rest is decoration.