
The shower pan is the one part of your shower you never really look at — and the one part you can’t change your mind about later. You can swap a shower head in ten minutes. You can regrout tile on a weekend. But the pan? It’s set into the floor, connected to your drain line, and sealed under everything else. Once it’s in, it’s in.
Most people order their shower pan as an afterthought — whatever’s in stock at the home center, roughly the right size. Then the doors don’t fit. Or the drain lands two inches from the pipe. Or the pan flexes underfoot because nobody put mortar under it. All of that is avoidable.
This guide covers what a shower pan is (and why it’s also called a shower base), standard shower pan sizes, the five main types, drain placement and thresholds, costs, and how to pick the right one. Let’s get the foundation right — literally.
What Is a Shower Pan? (Pan vs Base — Same Thing)
A shower pan is the waterproof floor of your shower — a manufactured tray that catches water and funnels it to the drain. It sits between your subfloor and everything visible: the walls, the doors, the tile.
Here’s the naming confusion, cleared up in one sentence: “shower pan” and “shower base” mean the same thing. Plumbers and contractors tend to say “pan.” Manufacturers and big-box stores tend to say “base.” Some brands call them “receptors.” If you’re shopping and see any of those words, you’re looking at the same product category.
What it is NOT: a shower liner. A liner is a waterproof membrane (usually PVC or CPE sheet) used under a hand-built mortar bed in a fully custom tiled shower. A pan is a finished, factory-made unit — you set it, connect the drain, and build around it. Custom mortar-bed showers are great, but they’re a different project with a different skill level.
Related: Shower Wall Panels Guide — pairs with most pan installs and skips the tile entirely.
Standard Shower Pan Sizes
Shower pans come in standard sizes because everything around them — doors, enclosures, wall panels — is also built to standard sizes. Match the pan to a standard size and your life gets much easier.
The most common shower pan sizes:
- 32 x 32 inches — the smallest standard. Works in a tight corner, but snug for anyone tall.
- 36 x 36 inches — the workhorse and most common residential size. The comfort-vs-space sweet spot.
- 42 x 34 / 42 x 36 inches — the step up when you want elbow room without going big.
- 48 x 32 or 48 x 36 inches — rectangular alcove pans; the 48-inch length suits taller users.
- 60 x 30 or 60 x 32 inches — full tub-replacement size. Swapping a tub for a shower? This is your pan.
How to Measure for a Shower Pan
This is where the #1 mistake happens, so slow down. Measure the finished dimensions — wall to wall, where the pan will actually sit — not the rough stud-to-stud opening. Tile, backer board, and wall panels eat 1–2 inches per side.
Measure width and depth in three places each (both ends and the middle) and use the smallest number. Walls are never as straight as you think, and a pan that’s a quarter inch too big doesn’t squeeze in — it doesn’t go in at all.
One more: check your door swing before falling in love with a bigger pan. A 48-inch shower base is lovely until the bathroom door hits it.
Types of Shower Pans
Five materials dominate the market. They differ in price, feel underfoot, looks, and how forgiving they are to install.
Acrylic Shower Pans
The most popular choice, and usually the right default — lightweight, warm to the touch (no cold shock on winter mornings), and available in the widest range of sizes and drain positions.
Why people choose them: the best balance of price, durability, and looks. Non-porous, easy to clean, resists staining well.
Watch out for: acrylic needs a mortar bed underneath — skipping it is the classic DIY error, and an unsupported pan flexes until it cracks. Abrasive cleaners dull the finish over time.
Fiberglass Shower Pans
The budget option, usually sold as part of a one-piece or multi-piece tub/shower unit. Light, cheap, and everywhere in new construction and rentals.
Best for: tight budgets, rentals, fast flips. Honest caveat: it flexes more than acrylic, the gelcoat can yellow with age, and it feels thinner underfoot. If the house came with one, no emergency. Buying new? Stretch to acrylic if you can.
Tile-Ready Shower Pans
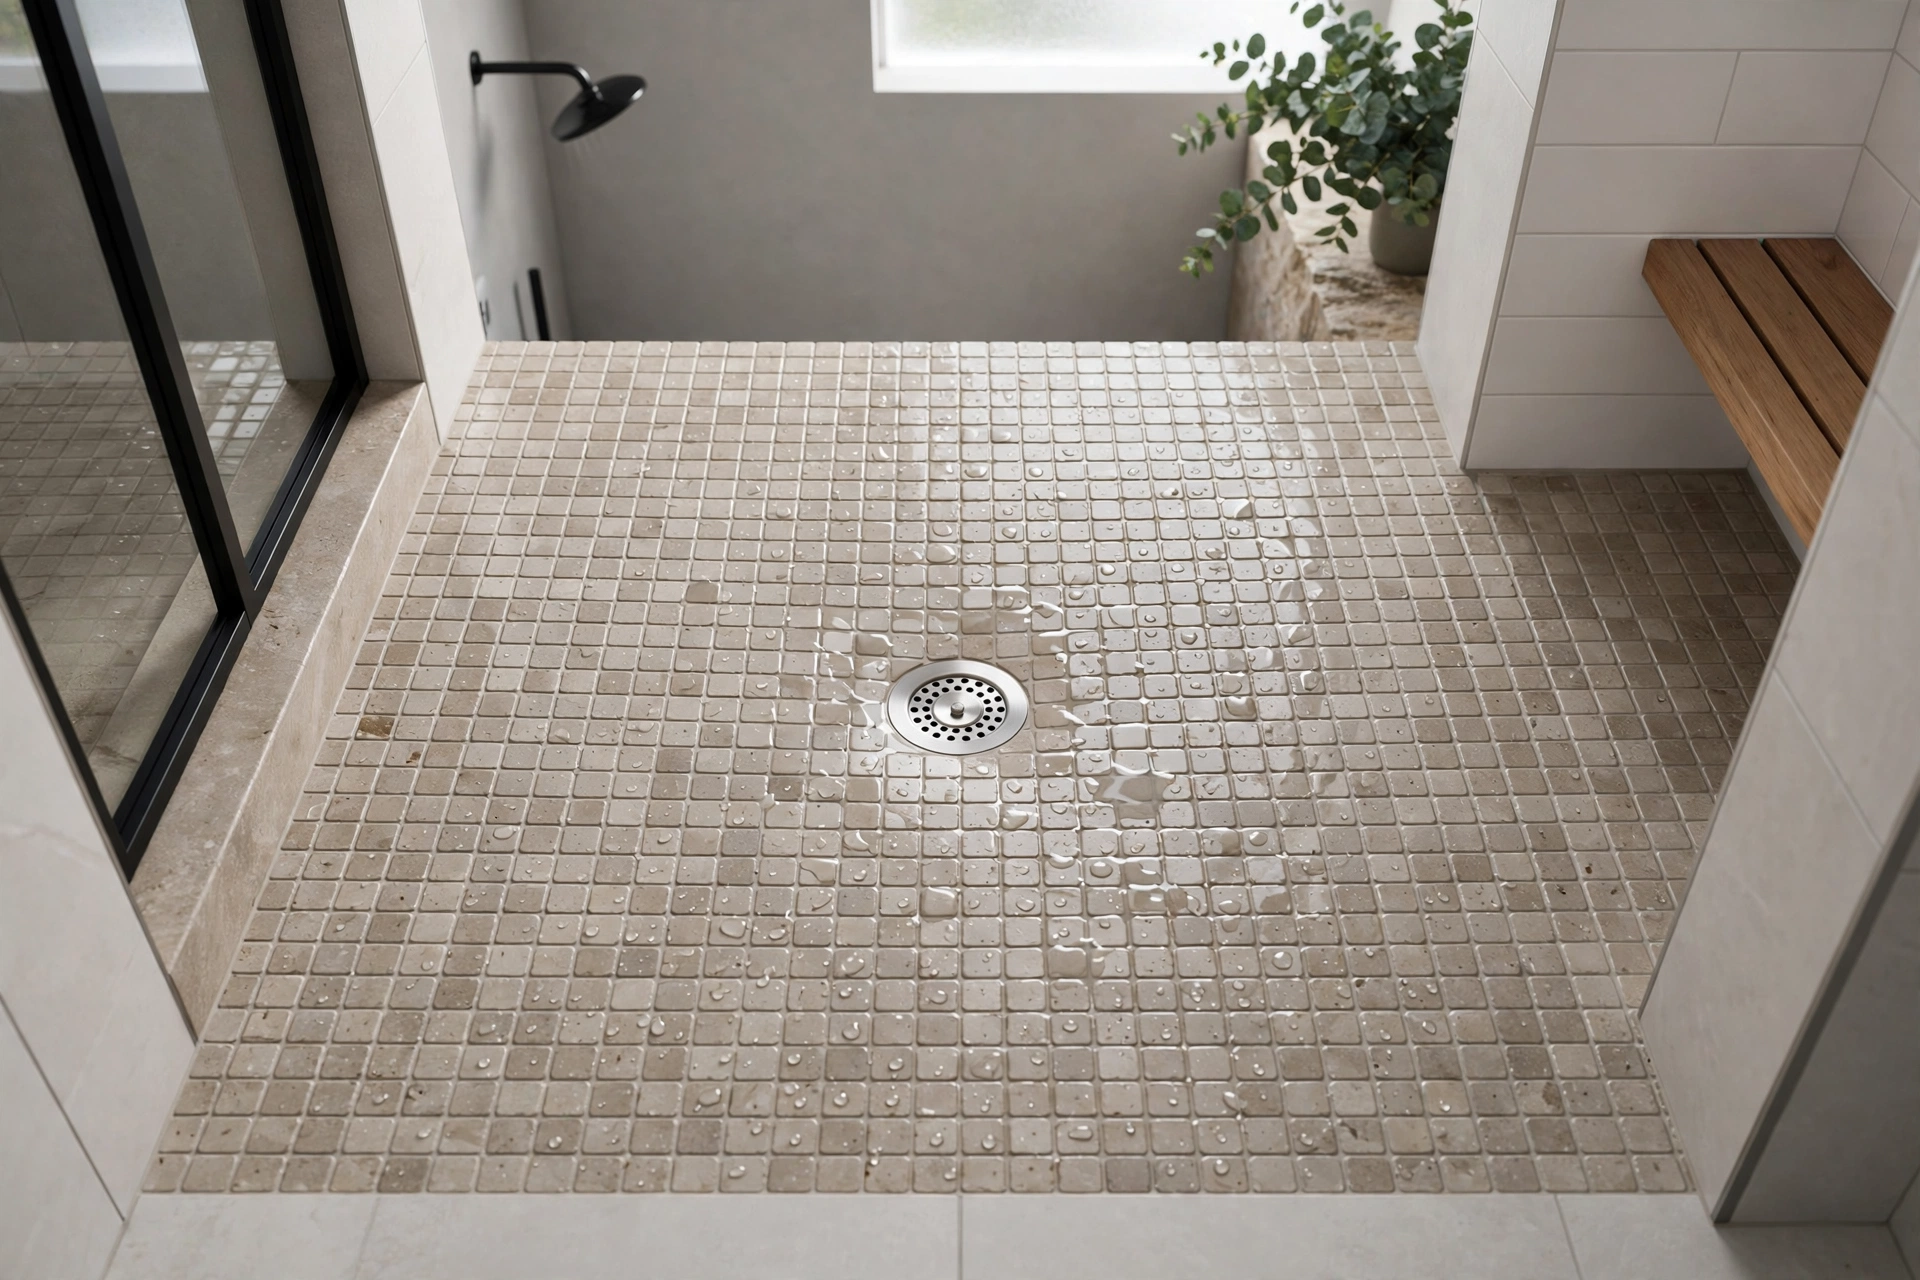
A tile ready shower pan (also called a foam pan) is a lightweight waterproof base — usually high-density foam with a waterproof coating — that you tile directly over. Custom tiled-shower looks without building a mortar bed from scratch.
Why they’re growing fast: light enough to carry one-handed, easy to cut for odd sizes, and many are shaped for curbless installs with a precise built-in slope. No trowel guesswork.
Watch out for: the pan costs more than acrylic, and you still need tile plus real tiling skill. The pan is only as good as the tile job on top of it.
Related: Walk-In Shower Guide — tile-ready pans are the easiest path to a true curbless entry.
Cultured Marble Shower Pans
Crushed stone mixed with resin, cast into a solid piece — heavy, glossy, convincingly stone-like, often matched with cultured marble wall panels.
Best for: a high-end look at a mid-range price. Watch out for: heavy (two-person carry), chips if you drop something sharp, and harsh chemicals dull the gelcoat. It can be professionally refinished, though — a real plus.
Solid Surface Shower Pans
The premium tier — Corian-style material as a shower floor. Seamless, repairable (scratches sand and buff out), genuinely beautiful.
Best for: master baths where budget isn’t the driver. The catch: several times the cost of acrylic, and heavy to handle. Overkill for a guest bath, lovely for the one you use daily.
Single vs Double Threshold: Which Do You Need?
The “threshold” is the curb — the raised edge you step over. The number tells you how many sides are open:
- Single threshold: three finished walls, one open side. The standard alcove install, with a door or curtain on the open side.
- Double threshold: two finished walls, two open sides. For corner installs, usually with a neo-angle or corner-entry door.
- Triple threshold (open on three sides) suits large master baths where the shower is a freestanding feature.
Buy the threshold that matches your layout, not the one that looks cooler in the catalog. A double-threshold pan in a three-wall alcove leaves an unfinished edge showing.
Related: Shower Enclosures Guide — match your door style to your threshold type before you buy either one.
Left Drain, Right Drain, or Center?
Drain placement causes more returns than anything else, so let’s nail it. The cheapest drain location is wherever your drain pipe already is. Moving a drain means opening the floor — cutting slab or reframing subfloor — turning a $300 pan swap into a $2,000 plumbing project. Buy the pan to fit the plumbing, not the other way around.
To determine left vs. right: stand facing the shower as if you’re about to step in — drain on your left means a left-hand drain. Confirm with the manufacturer’s diagram; a few brands define it from inside the shower.
Common configurations:
- Center drain — standard on square pans (32×32, 36×36). Simple, symmetrical, works with everything.
- End/corner drain — common on rectangular shower bases (48×32, 60×30). More uninterrupted standing space.
- Linear-ready — some tile-ready pans take a linear drain along one edge. Sleek, modern, pricier.
Here’s what most guides won’t tell you: if you’re replacing an old pan, take a photo of the old drain location and keep the measurements in your phone. “I think it was on the left” has caused more wrong orders than any other sentence in bathroom remodeling.
When you’re comparing drain styles themselves — point vs. linear, flow rates, grate options — here’s the deep dive:
Related: Shower Drains Guide — everything about drain types, sizing, and installation.
How to Choose the Right Shower Pan: 5 Questions
Forget the spec sheets for a minute. Answer these five and the right pan picks itself:
1. What’s your finished opening size?
Measure wall-to-wall, finished surfaces, smallest measurement wins. Then buy a standard pan size that fits — custom sizes exist but cost more and limit your door options.
2. Where’s the drain pipe?
Match the pan’s drain location to the existing pipe. Moving plumbing is the fastest way to double your project cost.
3. Curb or curbless?
Standard curbed pan (acrylic) for a straightforward swap. Curbless ambitions point to a tile-ready pan with a low-profile or ramped edge.
4. What’s going on the walls?
Tiling the walls? A tile-ready pan completes the fully tiled look. Using panels or a surround kit? A matching acrylic shower pan keeps it simple.
5. Who’s installing it, and what’s the budget?
DIY: acrylic drop-in pans are straightforward and well-documented. Hiring out: everything’s on the table — but get the pan on site before the plumber roughs in the drain.
My honest take: for most standard bathroom remodels, a mid-range acrylic pan in 36×36 or 48×32, matched to the existing drain, is the right answer. It’s not exciting. It’s correct. Save the excitement for the tile and fixtures.
Shower Pan Installation: What to Expect
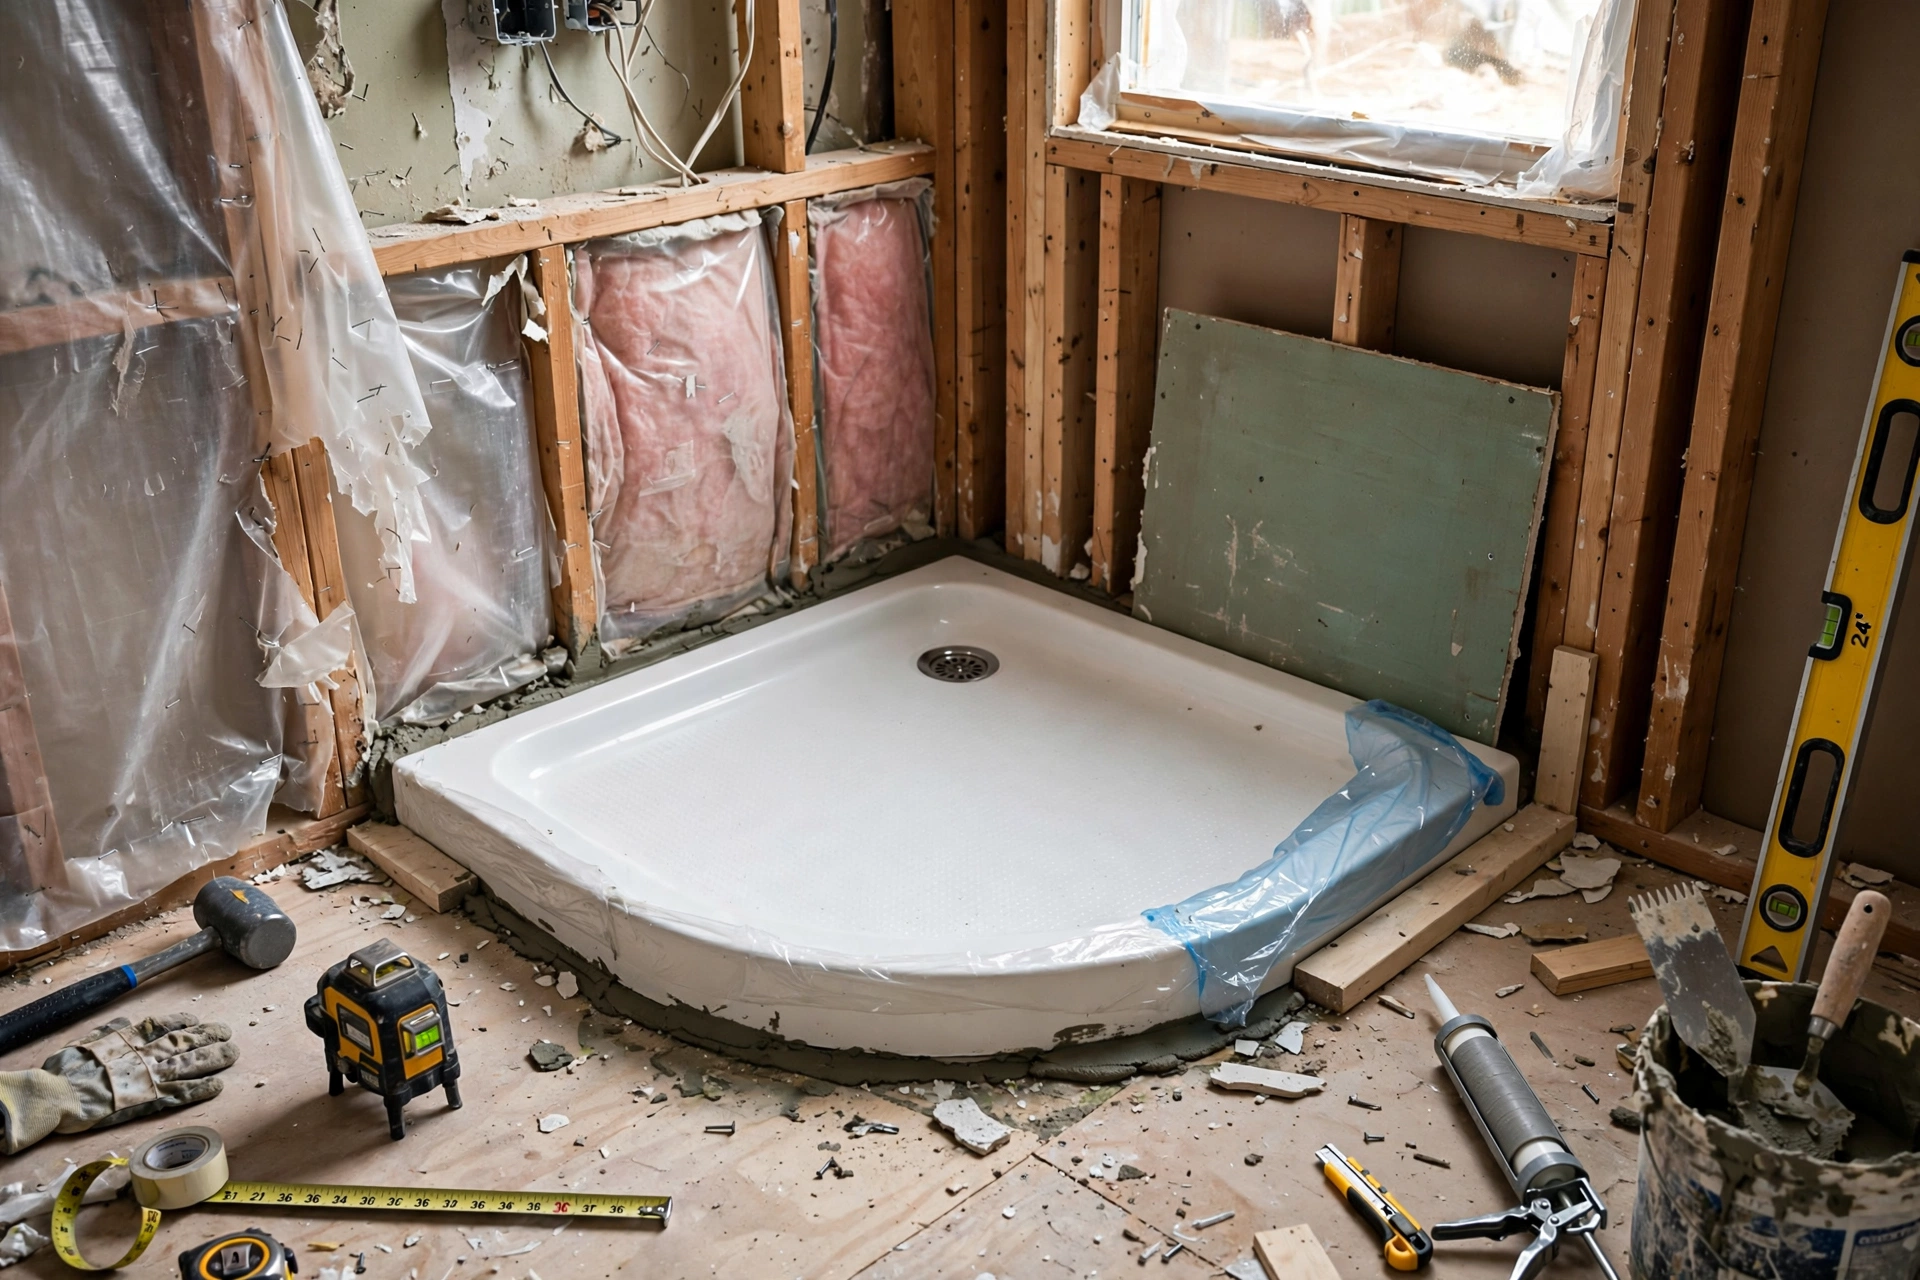
The basic sequence: prep the subfloor → dry-fit the pan → set it in a mortar bed (for acrylic/fiberglass) → connect the drain → check level → waterproof the walls → build everything else around it.
Three things that matter more than people realize:
The subfloor must be level. Not “close enough” — level. A rocking pan means cracked seals and a drain that doesn’t sit right. Shim or self-level first.
The mortar bed is not optional for acrylic and most fiberglass pans. It eliminates flex — the #1 cause of premature pan failure — and warranties depend on it. Skipping it to save an hour is the most expensive hour you’ll ever save.
Test before you close the walls. Set the pan, connect the drain, pour in a few gallons, and watch it drain. Check underneath for leaks if you have access. A bad connection takes five minutes to fix now, five days after tile.
DIY or pro? A straightforward acrylic pan swap on an existing drain is a solid intermediate DIY weekend. Moving the drain, cutting slab, or a curbless install: hire a plumber or experienced tile setter. Waterproofing is the part you can’t afford to learn by failing.
What Does a Shower Pan Cost?
Material prices (US, typical retail) for the pan alone:
- Fiberglass: $150–$400
- Acrylic: $250–$800 (the sweet spot for most remodels)
- Tile-ready (foam): $300–$700, plus tile and setting materials on top
- Cultured marble: $400–$1,000
- Solid surface: $800–$2,000+
Labor for a straightforward swap on an existing drain: roughly $500–$1,500 — more if the drain moves, the subfloor needs work, or it’s curbless. The pan itself is rarely the expensive part. Ordering the wrong one twice is.
Common Mistakes (Read Before You Order)
1. Ordering the wrong size. The #1 mistake, by a mile: rough opening vs. finished dimensions, measuring once, trusting nominal sizes. Measure finished, measure twice, confirm the spec sheet.
2. Ignoring the drain location. A beautiful pan with the drain on the wrong side is a paperweight. Match the plumbing.
3. Skipping the mortar bed. Covered above. It bears repeating because it keeps happening.
4. Buying the pan after the plumber’s rough-in. Correct order: choose the pan → hand the spec sheet to the plumber → plumber roughs in to match. Reverse it and the drain lands two inches off.
5. Forgetting the door. Pan, walls, and door are a system. A 32-inch pan with a 36-inch door rough-in is a problem you discover at the worst moment. Plan all three together.
Frequently Asked Questions
Can I replace a shower pan without redoing the walls?
Technically possible, realistically painful — the pan sits under the bottom course of wall material, so the lower walls usually get disturbed. If the walls are due for replacement anyway, do it all at once.
How long does a shower pan last?
Acrylic: 15–30 years. Solid surface and cultured marble: 20+ with decent care. Tile-ready foam: as long as the tile job — decades. Fiberglass: 10–15 before the finish shows its age. The drain connection and mortar bed matter as much as the material.
Acrylic vs fiberglass shower pan — which is better?
Acrylic, for most people — more rigid, holds its finish longer, resists staining, doesn’t yellow. Fiberglass wins on price alone. If the budget allows the step up, take it.
Can you tile over a regular acrylic shower pan?
No — tile needs a tile-ready pan or a traditional mortar bed; it won’t bond to acrylic. Want a tiled shower floor? Buy the pan designed for it.
What’s the difference between a shower pan and a shower liner?
A pan is a finished, manufactured tray you install and build around. A liner is a waterproof sheet under a hand-troweled mortar bed in a fully custom shower — tile on mortar, mortar on liner. Liners are for custom builds; pans are for everything else.
The Bottom Line
The shower pan is a measure-twice-order-once purchase: match a standard size to your finished opening, match the drain to your existing plumbing, put mortar under it, and test before the walls go up. Do those four things and your pan will quietly do its job for decades — which is exactly what you want from the part of the shower you never look at.
Pingback: Shower Enclosures & Stalls: The Complete Guide
Pingback: Shower Kits: Complete All-in-One Buying Guide
Pingback: Tub and Shower Combos: The Complete Guide
Pingback: Corner Showers: Big Ideas for Small Bathrooms - Seen Scale