
There’s a special kind of disappointment in unwrapping a gorgeous new rain shower head, threading it onto your existing arm, turning on the water — and realizing the head now sits at forehead height, angled weirdly, dripping at the joint. The shower head gets the blame. But the head was never the problem. The arm was.
Shower arms, hoses, and extensions are the unglamorous connectors of your shower. Nobody browses them for fun. But they’re the difference between a shower that feels designed and one that feels like an afterthought. And here’s the best part: they’re among the easiest, cheapest upgrades in the entire bathroom.
This guide covers what each part does, the types of shower arms and hoses, when you actually need an extension, the one threading standard that makes everything simple, and how to swap them yourself in minutes.
What Each Part Actually Does
Three parts, three jobs. Mix them up and you’ll buy the wrong thing, so let’s get this straight:
The shower arm is the rigid pipe that comes out of your wall and holds the shower head. That little bent piece of metal? That’s the arm. It sets the height and angle of your shower head, and it carries water from the pipe in the wall to the head.
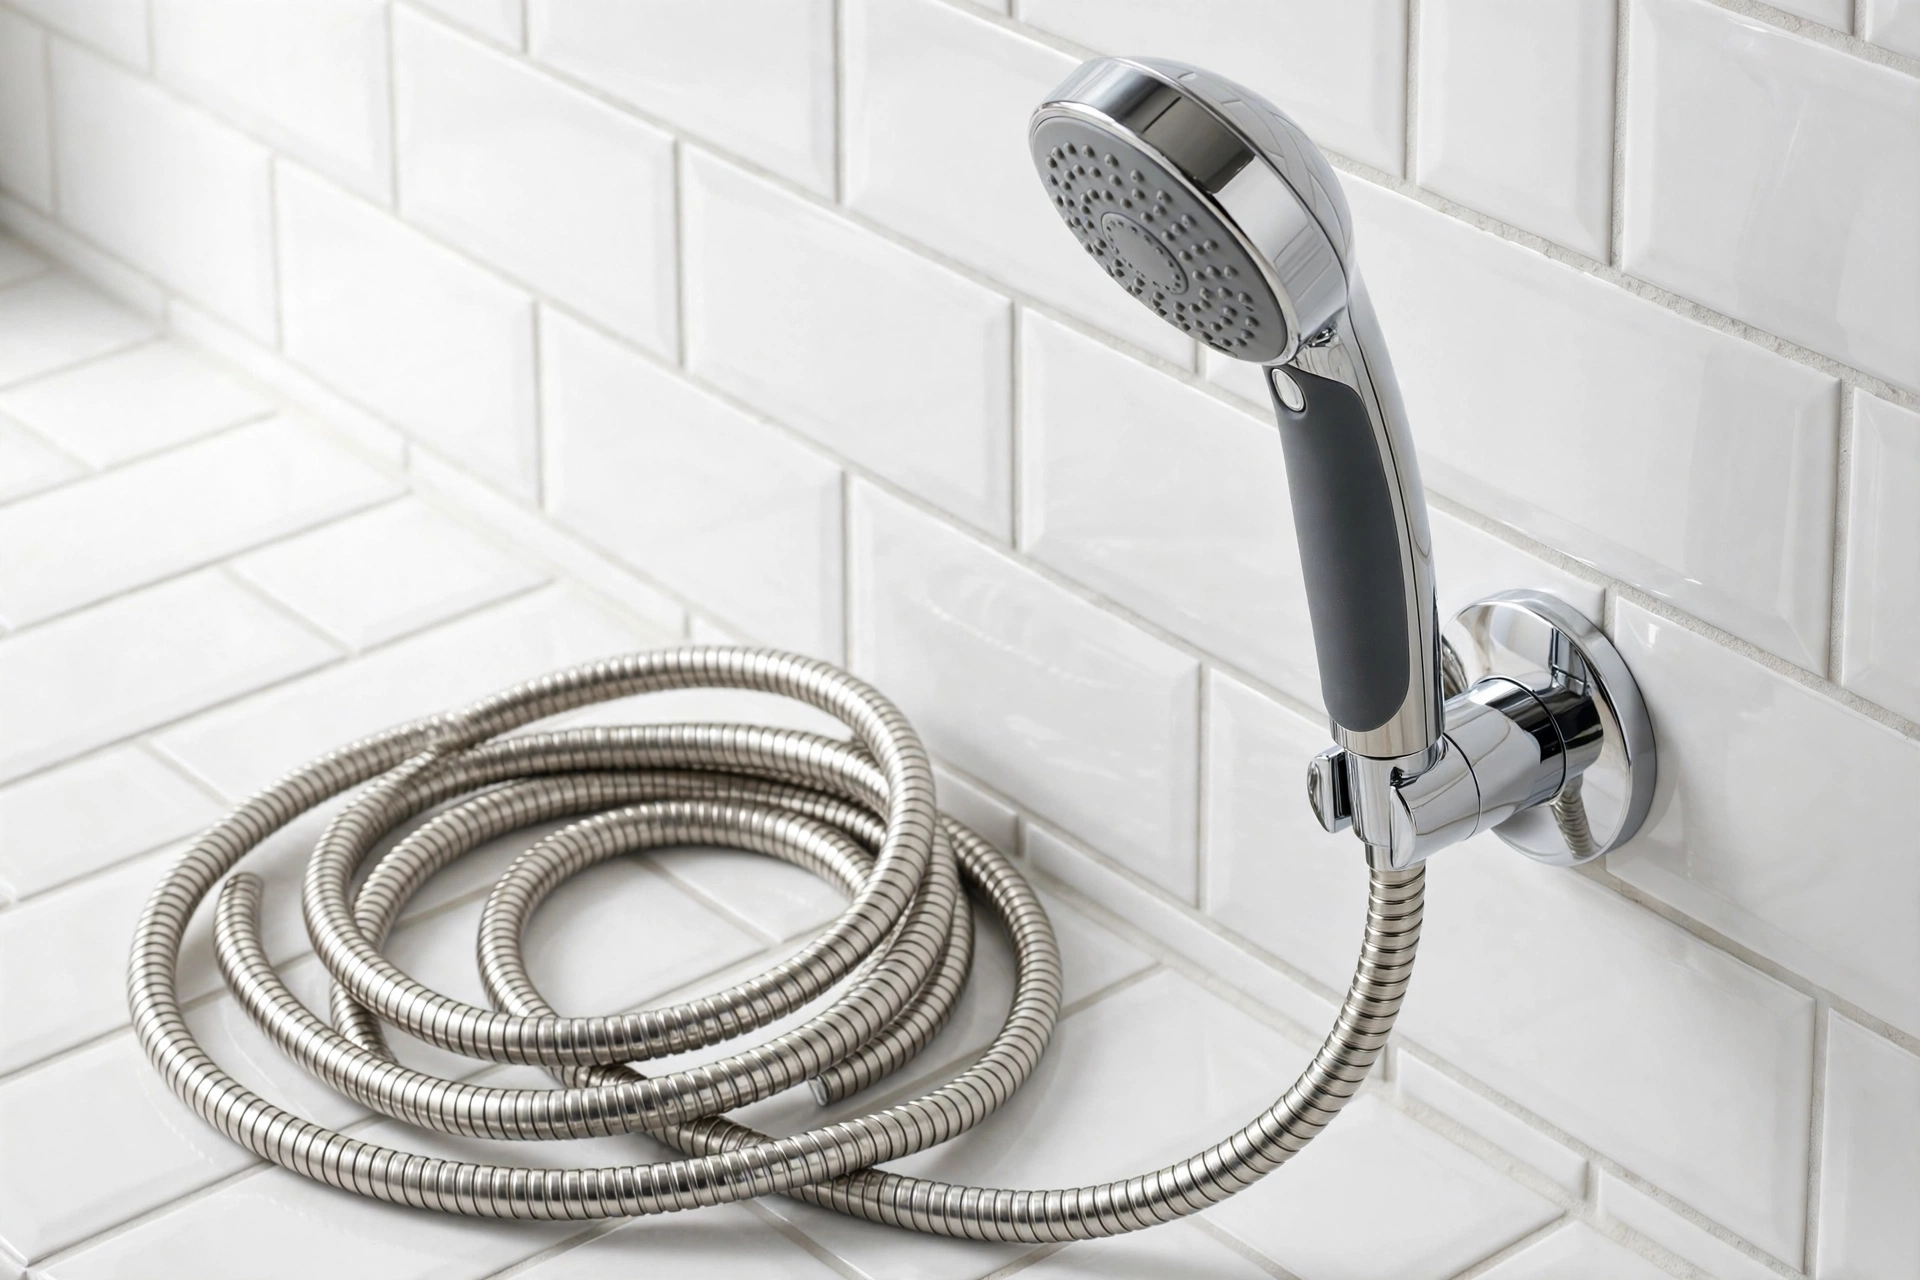
The shower hose is the flexible connector for handheld shower heads. One end screws onto the water outlet (or a holder bracket), the other onto the handheld wand. It’s what lets you lift the head off its mount, rinse the dog, clean the tub, wash your hair without doing gymnastics.
Extensions (extension arms, risers, S-arms) are height and reach boosters. They move the shower head higher, farther from the wall, or both. Tall people, rain shower heads, low ceilings — extensions exist for all of these.
Types of Shower Arms
Standard Straight Arms
The default. A straight (or gently bent) arm, usually 6–8 inches long, sticking out of the wall at a slight upward angle. It comes with most shower head combos and works fine for standard fixed heads at normal heights.
Best for: basic setups, renters, anyone whose current arm is fine and just needs a new head. Limitation: it puts the head close to the wall — fine for a 5’6″ person, less fine for a 6’3″ person standing directly under it.
S-Shaped Arms (Gooseneck Arms)
The elegant curve. An S-shaped shower arm rises up from the wall connection, then arcs forward and over, dropping the head 10–14 inches out from the wall and several inches higher than a straight arm. This is the classic look for rain shower heads.
Why people love them: they position the head where rain heads actually work — overhead, away from the wall. They also just look better; that curve reads “designed bathroom” in a way a straight pipe doesn’t.
Watch out for: cheap S-arms can wobble under a heavy rain head. If you’re hanging a big 10-inch head, get a solid brass arm, not thin-wall tubing. And measure your ceiling — an S-arm plus a rain head needs real vertical room.
Ceiling-Mount Arms
A straight drop from the ceiling instead of the wall. The true overhead rain experience — water falling straight down like actual rain.
Best for: dedicated rain shower setups, new builds, full remodels. The catch: it needs a water line run through the ceiling, which means it’s a during-renovation decision, not an afternoon swap. Retrofitting one into a finished bathroom means opening the ceiling.
Types of Shower Hoses
Not all hoses are equal, and the difference matters more than you’d think for something so simple.
Stainless Steel Hoses
The braided metal look — the most common and most durable option. They resist kinking, handle hot water without complaint, and last for years.
Why they’re the default: tough, affordable ($10–$25), and they look good with modern fixtures. Honest caveat: cheap braided hoses can be stiff and noisy, and the metal braid can scratch acrylic tubs if you let the hose drag. A silicone or PVC-coated version solves the scratching.
PVC / Plastic Hoses
Smooth, lightweight, flexible — and cheap ($8–$15). They come in chrome-look finishes that match fixtures surprisingly well.
Best for: rentals, kids’ bathrooms, anyone who prioritizes flexibility. The downside: they kink more easily than metal, and budget ones can develop that lovely permanent twist that makes the handheld spin like a weather vane. Spend the extra few dollars on a reinforced one.
Hose Lengths: What to Buy
Standard shower hose length is 60 inches (1.5m) — right for most setups. Taller installations or slide-bar setups sometimes want 72–80 inches. Shorter 48-inch hoses exist for compact tubs. Rule of thumb: the hose should reach the far corner of the tub with slack to spare, but not pool on the floor. Too long is worse than slightly short — excess hose tangles, kinks, and looks messy.
Shower Head Extensions: When You Actually Need One
An adjustable shower head setup or an extension arm solves problems that a new head alone can’t:
You’re tall. If you’re 6’1″+ and the shower head hits your forehead, an extension arm that raises the head 4–6 inches changes your mornings. This is the single most common reason people buy them.
You bought a rain head and it sits too low. Rain heads need height to feel like rain. If yours is mounted at 6’6″ on a straight arm, you’re getting “aggressive drizzle,” not rain. An S-arm or riser lifts it into the right zone.
Low water pressure. Sounds backward, but a shorter drop from a well-positioned head can feel stronger than a head mounted awkwardly high on a long arm. Positioning matters as much as pressure.
The head points at the wall. Some wall outlets are angled badly. An adjustable extension with a pivoting joint lets you aim the head where you actually stand.
Related: Rain Shower Heads — how to pick a rain head that actually works with your ceiling height and water pressure.
The One Threading Standard That Makes Everything Easy
Here’s the genuinely good news: nearly every shower arm, hose, head, and extension in North America uses 1/2-inch NPT threading. The arm screws into the wall outlet with 1/2″ threads. The head screws onto the arm with 1/2″ threads. Hoses use 1/2″ connections on both ends.
What does this mean for you? Parts from different brands mix and match. You can put a Delta head on a Moen arm with a no-name extension and it’ll all thread together. This is rare in home improvement — enjoy it.
Two things to watch: wrap threaded connections with PTFE (Teflon) tape — 4–5 wraps, clockwise — or they’ll weep. And hand-tighten plus a quarter-turn with a wrench; cranking metal fittings together like you’re angry strips threads and cracks cheap parts. Snug, not heroic.
Swapping Arms and Hoses Yourself
This is one of the easiest DIY jobs in the house. Honestly easier than changing a light fixture.
Swapping a shower arm: unscrew the old arm from the wall (counterclockwise; it just threads out). Clean the threads in the wall outlet. Wrap the new arm’s threads with PTFE tape, thread it in by hand, snug it with a wrench using a cloth to protect the finish. Done. Ten minutes.
Swapping a shower hose: unscrew both ends by hand (they’re designed for this). New hose on, hand-tight. If it drips at the connection, check the little rubber washer inside — 90% of hose leaks are a missing or flattened washer, not a bad hose. Replacement washers cost pennies.
Adding an extension: same as swapping an arm — the extension threads into the wall outlet, then the head threads onto the extension. The only extra step is checking that the extension is level and solid before you hang a heavy head on it.
No plumber needed. No special tools beyond an adjustable wrench and PTFE tape. If you can assemble flat-pack furniture, you can do this.
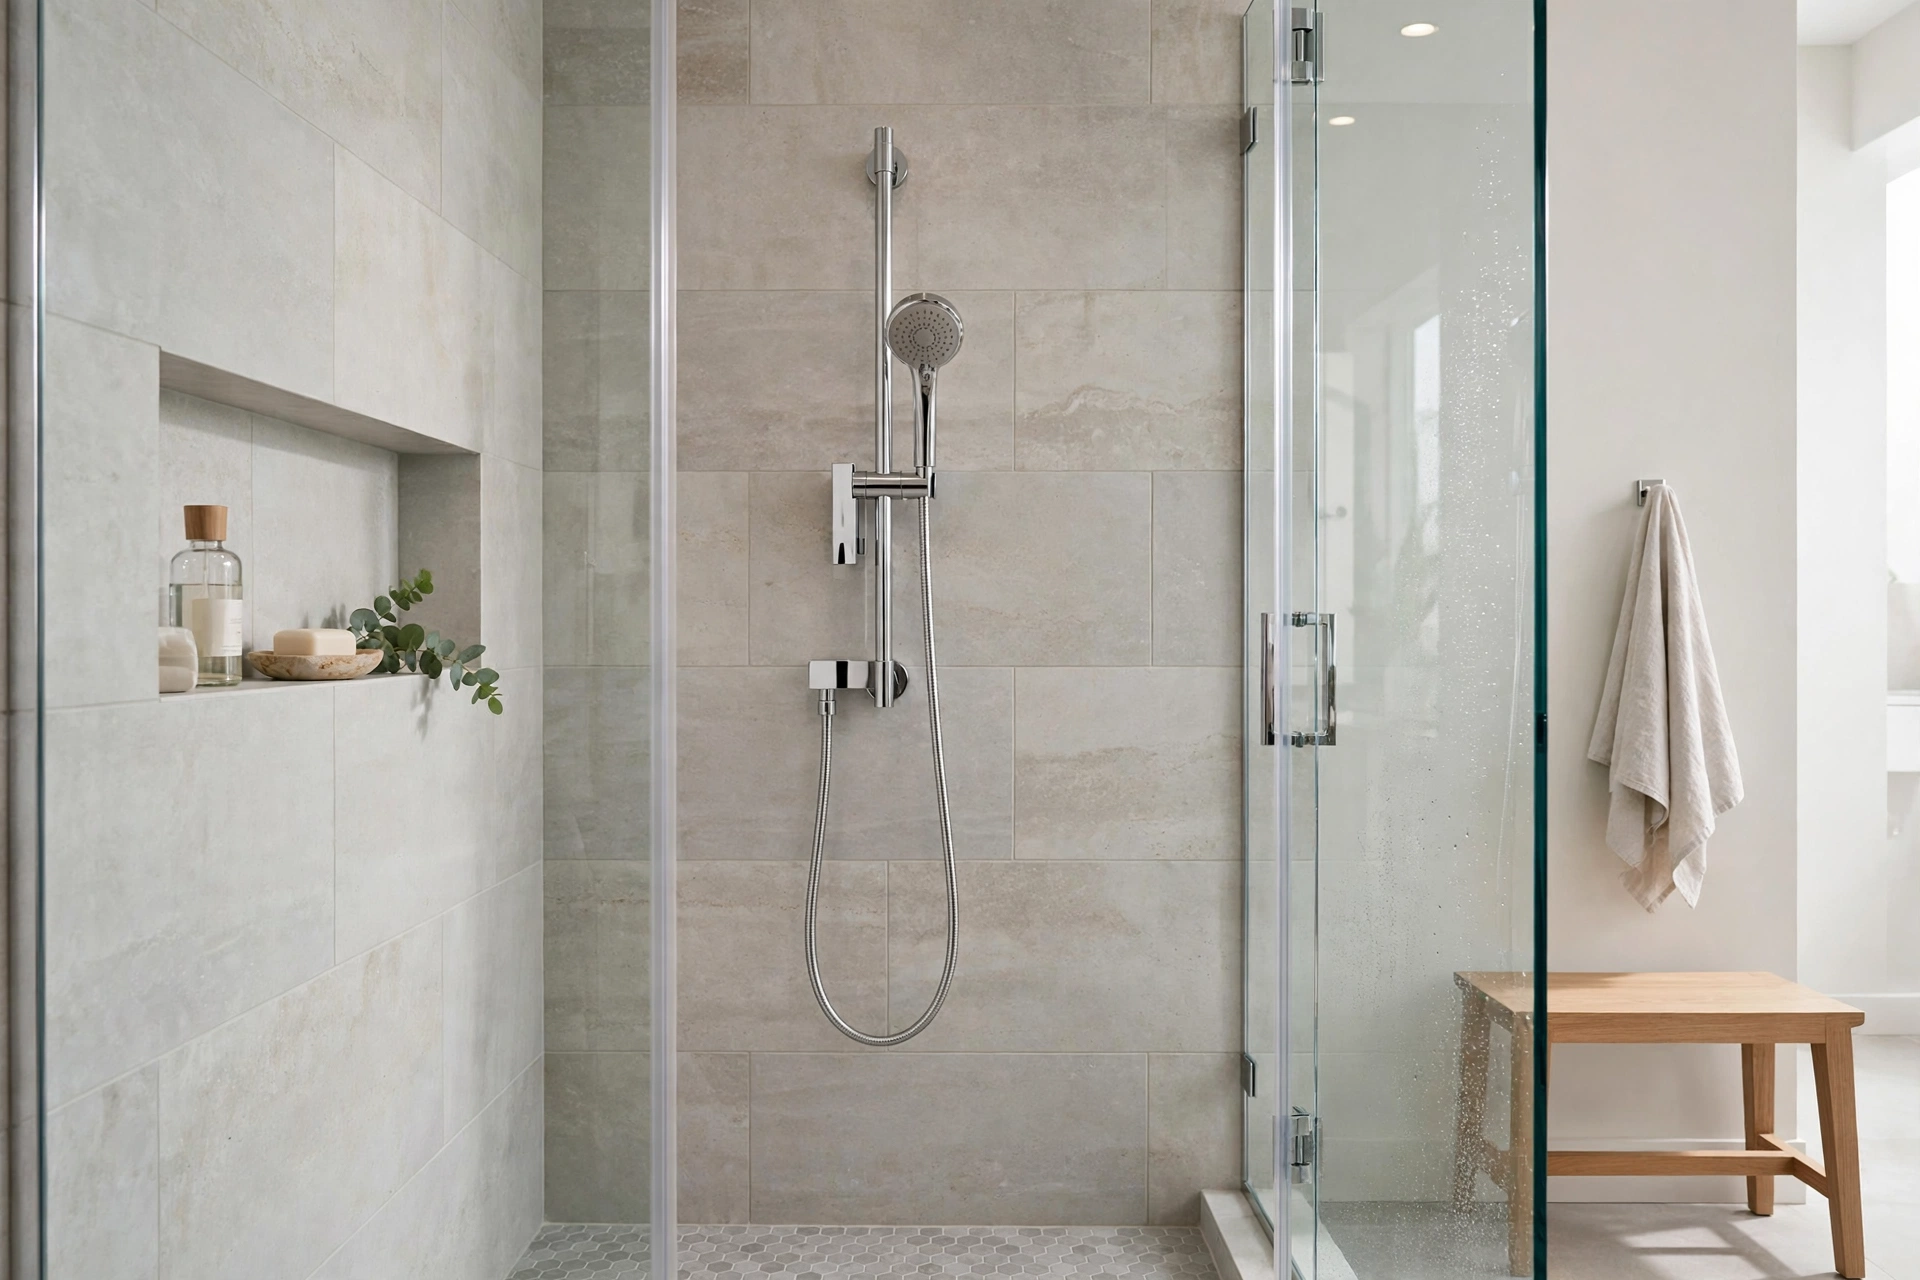
Related: Dual Shower Heads — fixed-plus-handheld combos, and the diverters and hoses that make them work.
Finishes: Match or Mix?
Chrome, brushed nickel, matte black, oil-rubbed bronze — arms, hoses, and extensions come in all of them. My take: match the arm and head finish to your existing fixtures. It’s the visible metal in the shower; mismatched finishes are one of those things you can’t unsee once you notice.
Hoses get a pass — a chrome-look hose blends with everything, and honestly nobody stares at the hose. But the arm? Match it.
Practical finish notes: chrome is cheapest and easiest to clean. Brushed nickel hides water spots better than chrome. Matte black looks fantastic and shows every speck of soap scum — wipe it down or embrace the patina. Pick your battles.
What Do They Cost?
The whole category is refreshingly cheap:
- Standard shower arm: $10–$30 (brass S-arms: $25–$60)
- Ceiling-mount arm: $20–$50
- Shower hose (stainless): $10–$25
- Shower hose (PVC): $8–$15
- Extension/riser arm: $20–$45
- PTFE tape + washers: under $5 (buy them anyway)
For under $50 total, you can reposition your shower head, replace a kinked hose, and fix a dripping connection. Few home upgrades deliver this much comfort per dollar.
Frequently Asked Questions
Are shower arms universal?
Effectively yes — the 1/2″ NPT threading standard means arms, heads, and extensions from different brands fit together. The main exception is some proprietary rain-head systems, so check before buying.
How high should a shower arm be?
Standard mounting puts the head around 6’6″–7′ from the floor. For rain heads, higher is better if your ceiling allows — 7’6″+ gives the water room to spread. Tall household? Size up.
Why is my shower hose leaking at the connection?
Almost always the washer. Unscrew the hose, check the small rubber washer inside the coupling — if it’s missing, cracked, or flattened, replace it. A 10-pack costs a couple of dollars and fixes most hose leaks instantly.
Can I use a longer hose with my handheld shower?
Yes, as long as the connections are standard 1/2″. Going from 60″ to 72″ is fine. Just don’t go overboard — excess hose kinks and tangles, which defeats the purpose.
Do I need a plumber to replace a shower arm?
No. It unscrews by hand (or with light wrench help) and the new one threads in. The only time to call a plumber is if the arm breaks off inside the wall fitting — that’s an extraction job, and it’s rare.
The Bottom Line
Shower arms, hoses, and extensions are small parts with outsized impact — the right arm turns a mediocre shower into a good one, and the whole upgrade costs less than a dinner out. Match your threading (it’s 1/2″, it’s always 1/2″), use PTFE tape, don’t overtighten, and match the finish. Ten minutes of work, years of better showers. That’s about as good a trade as home improvement gets.